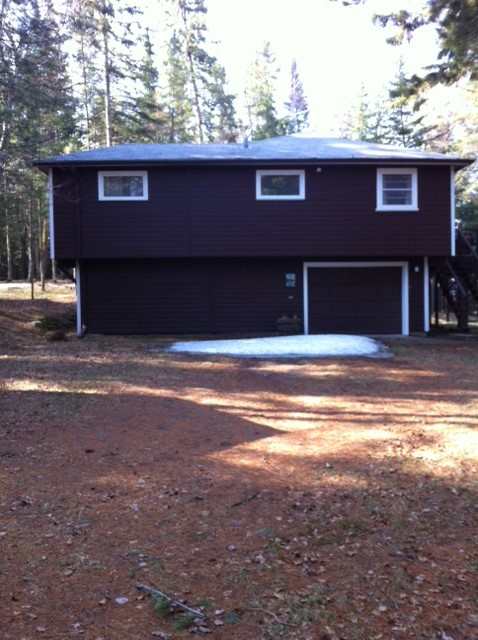
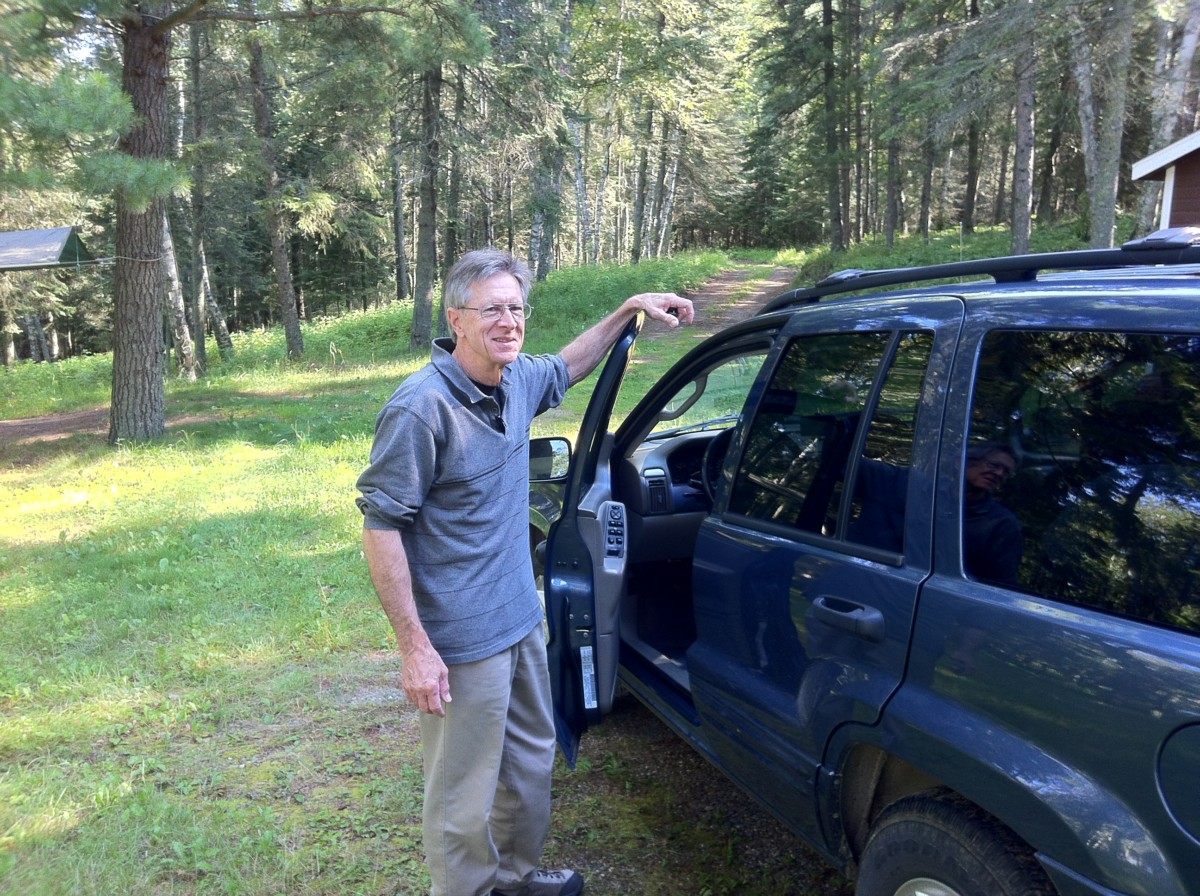
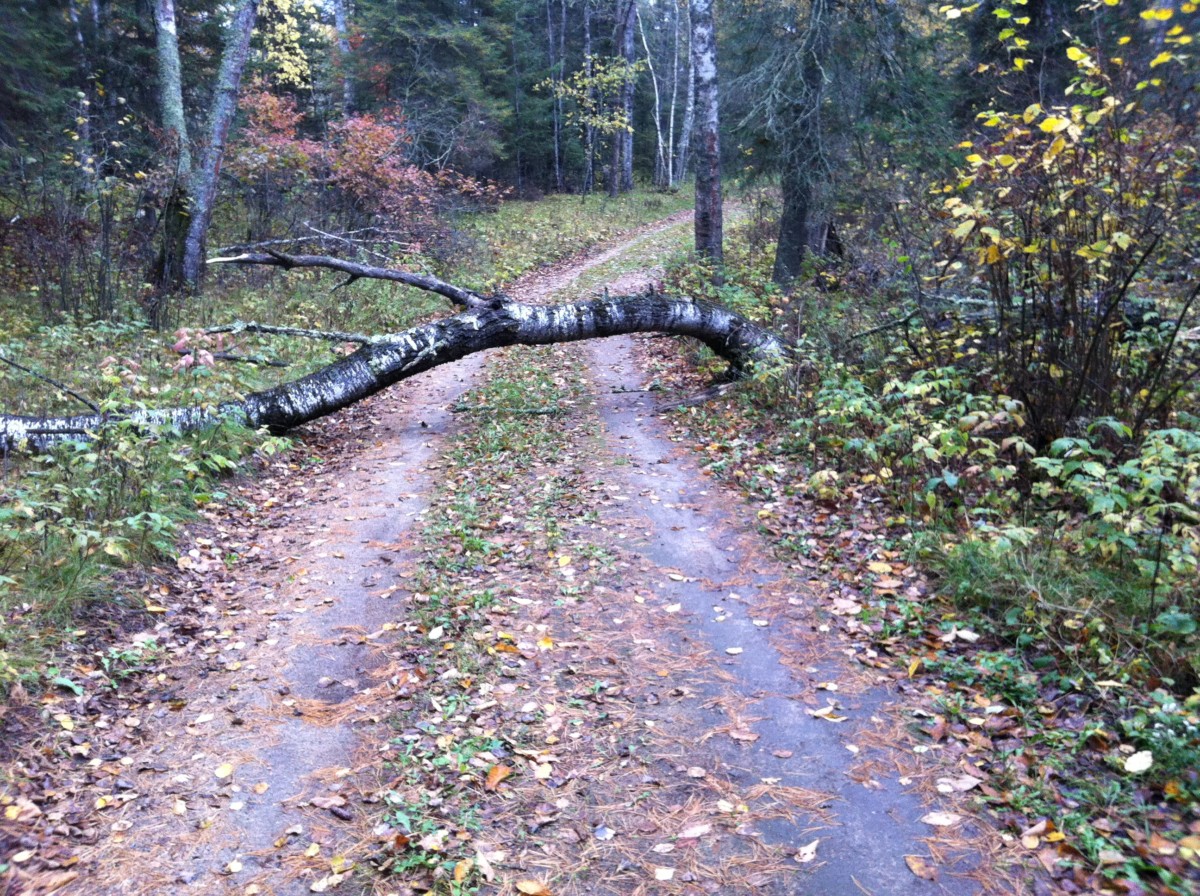
Back at the cabin. I parked the car at the end of Widow's Point and walked in with supplies because the road isn't clear yet
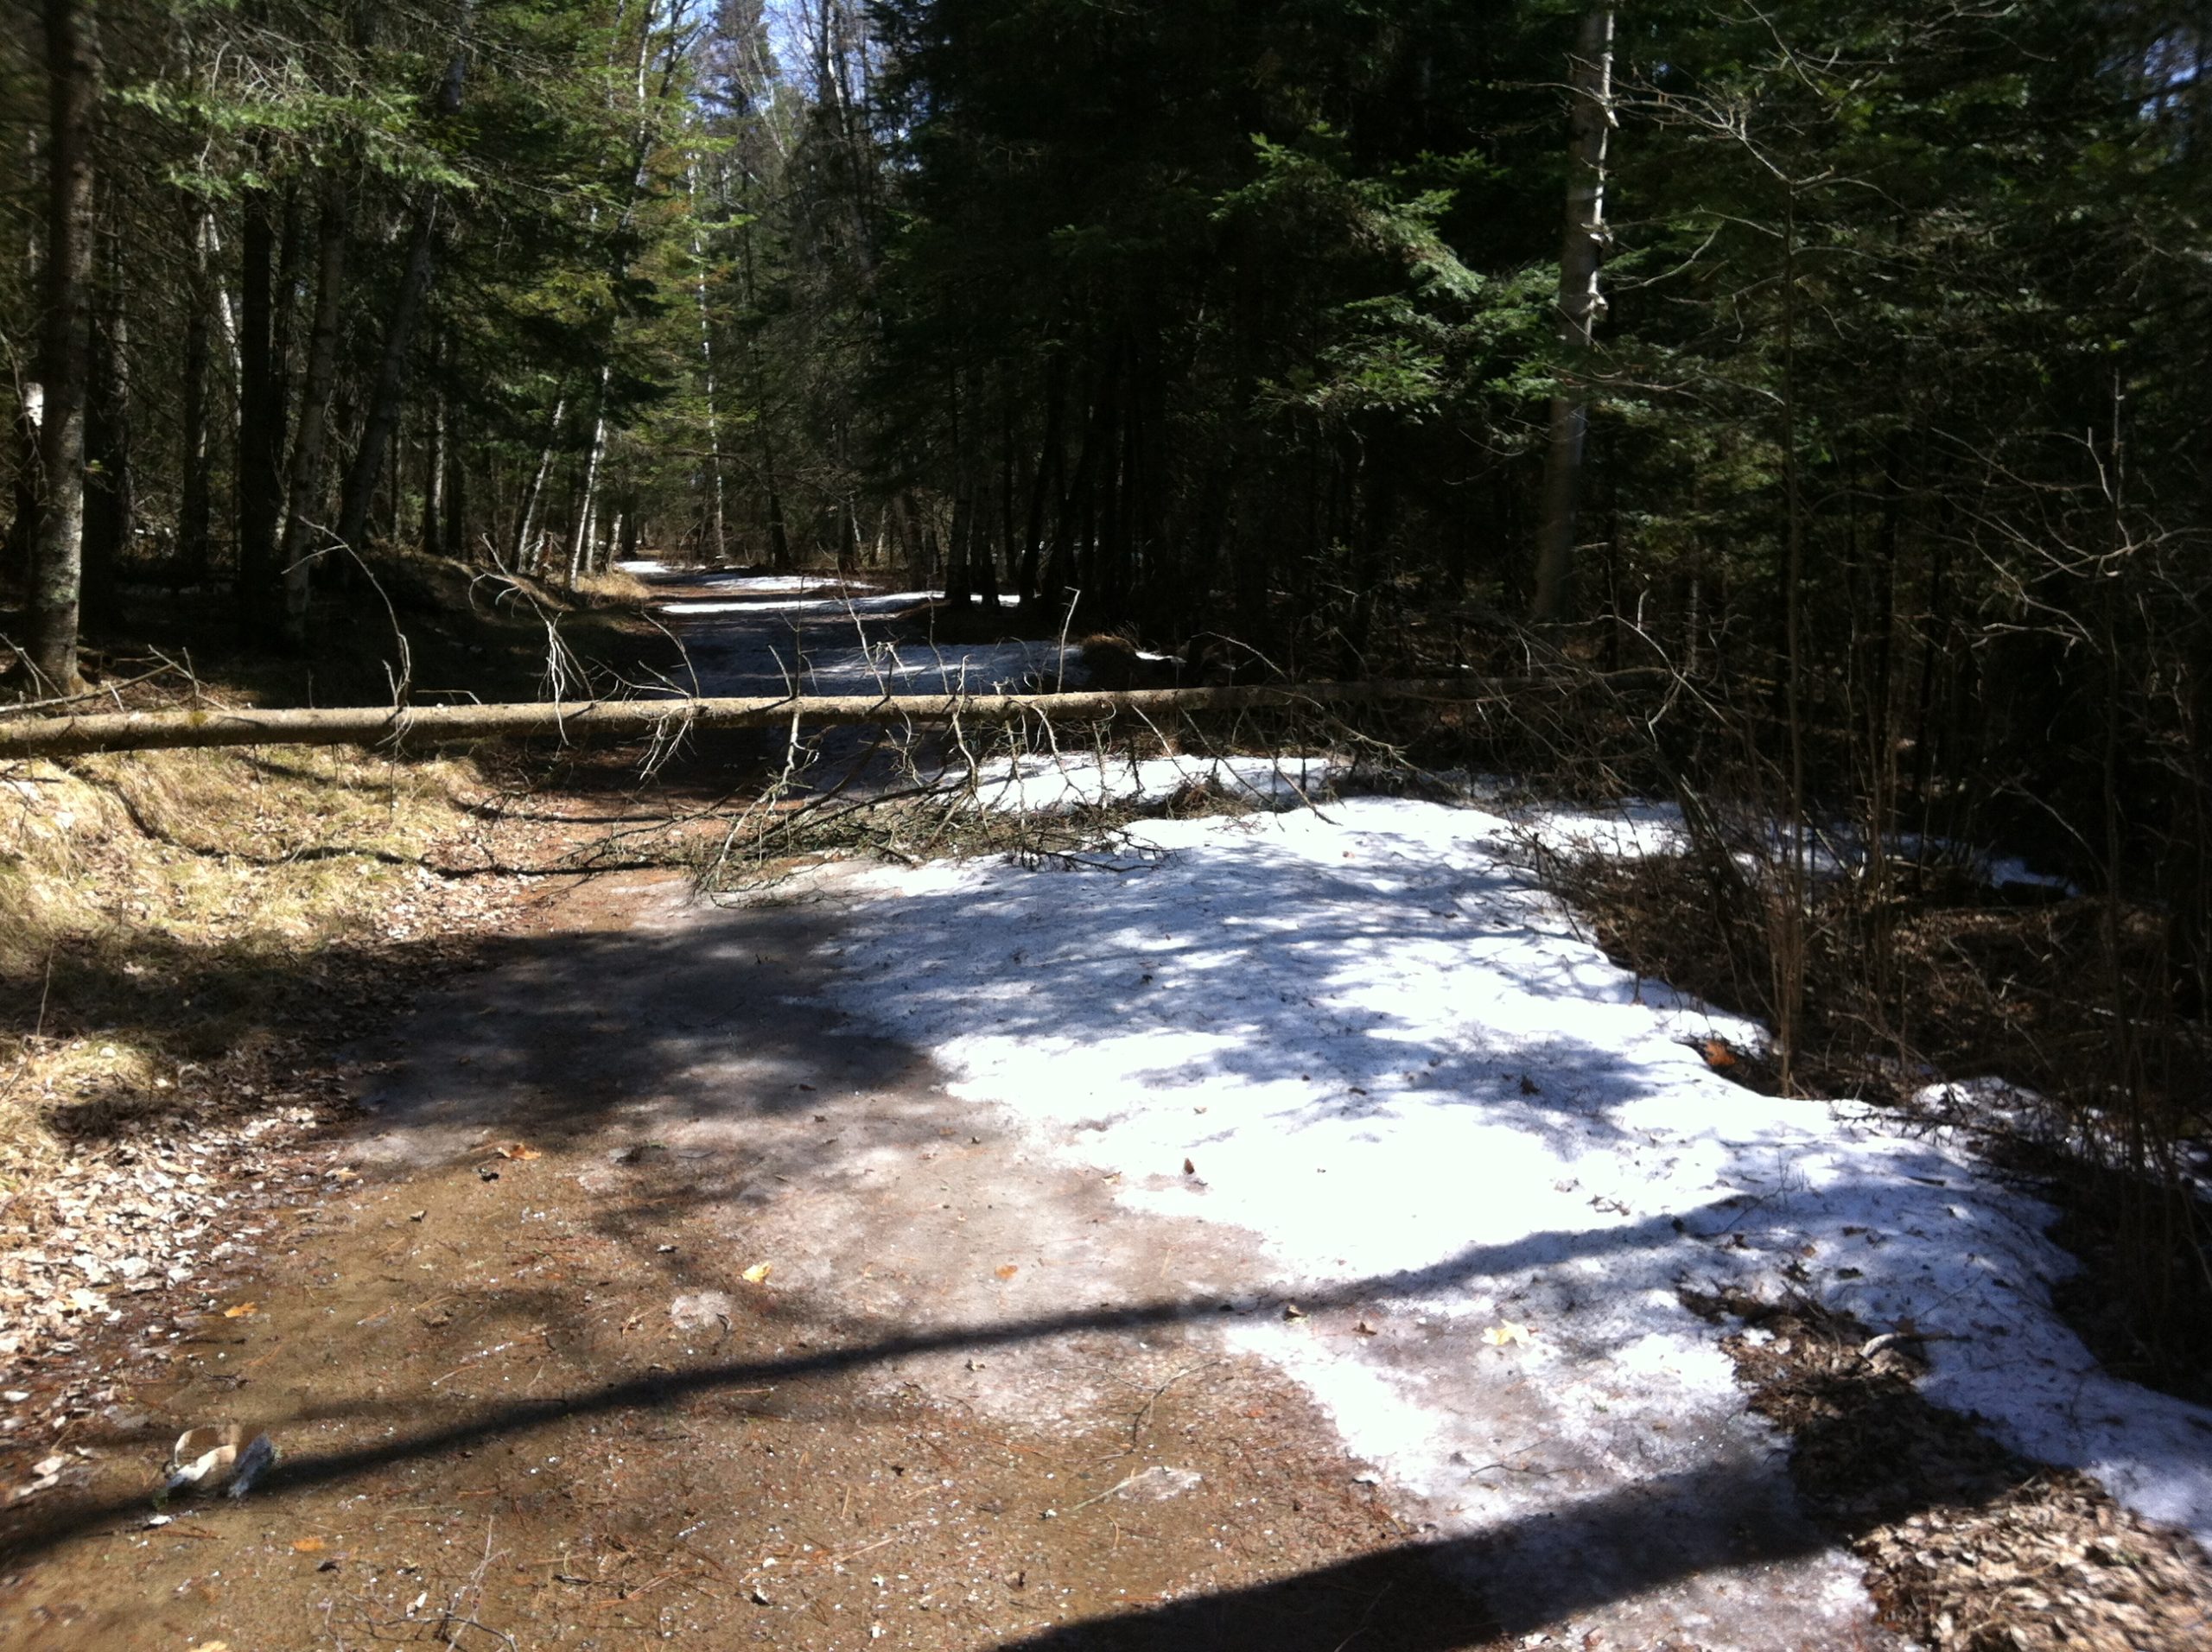
Here's a look at the road. Only one tree to remove but there are 6 or 7 spots with snow like this.
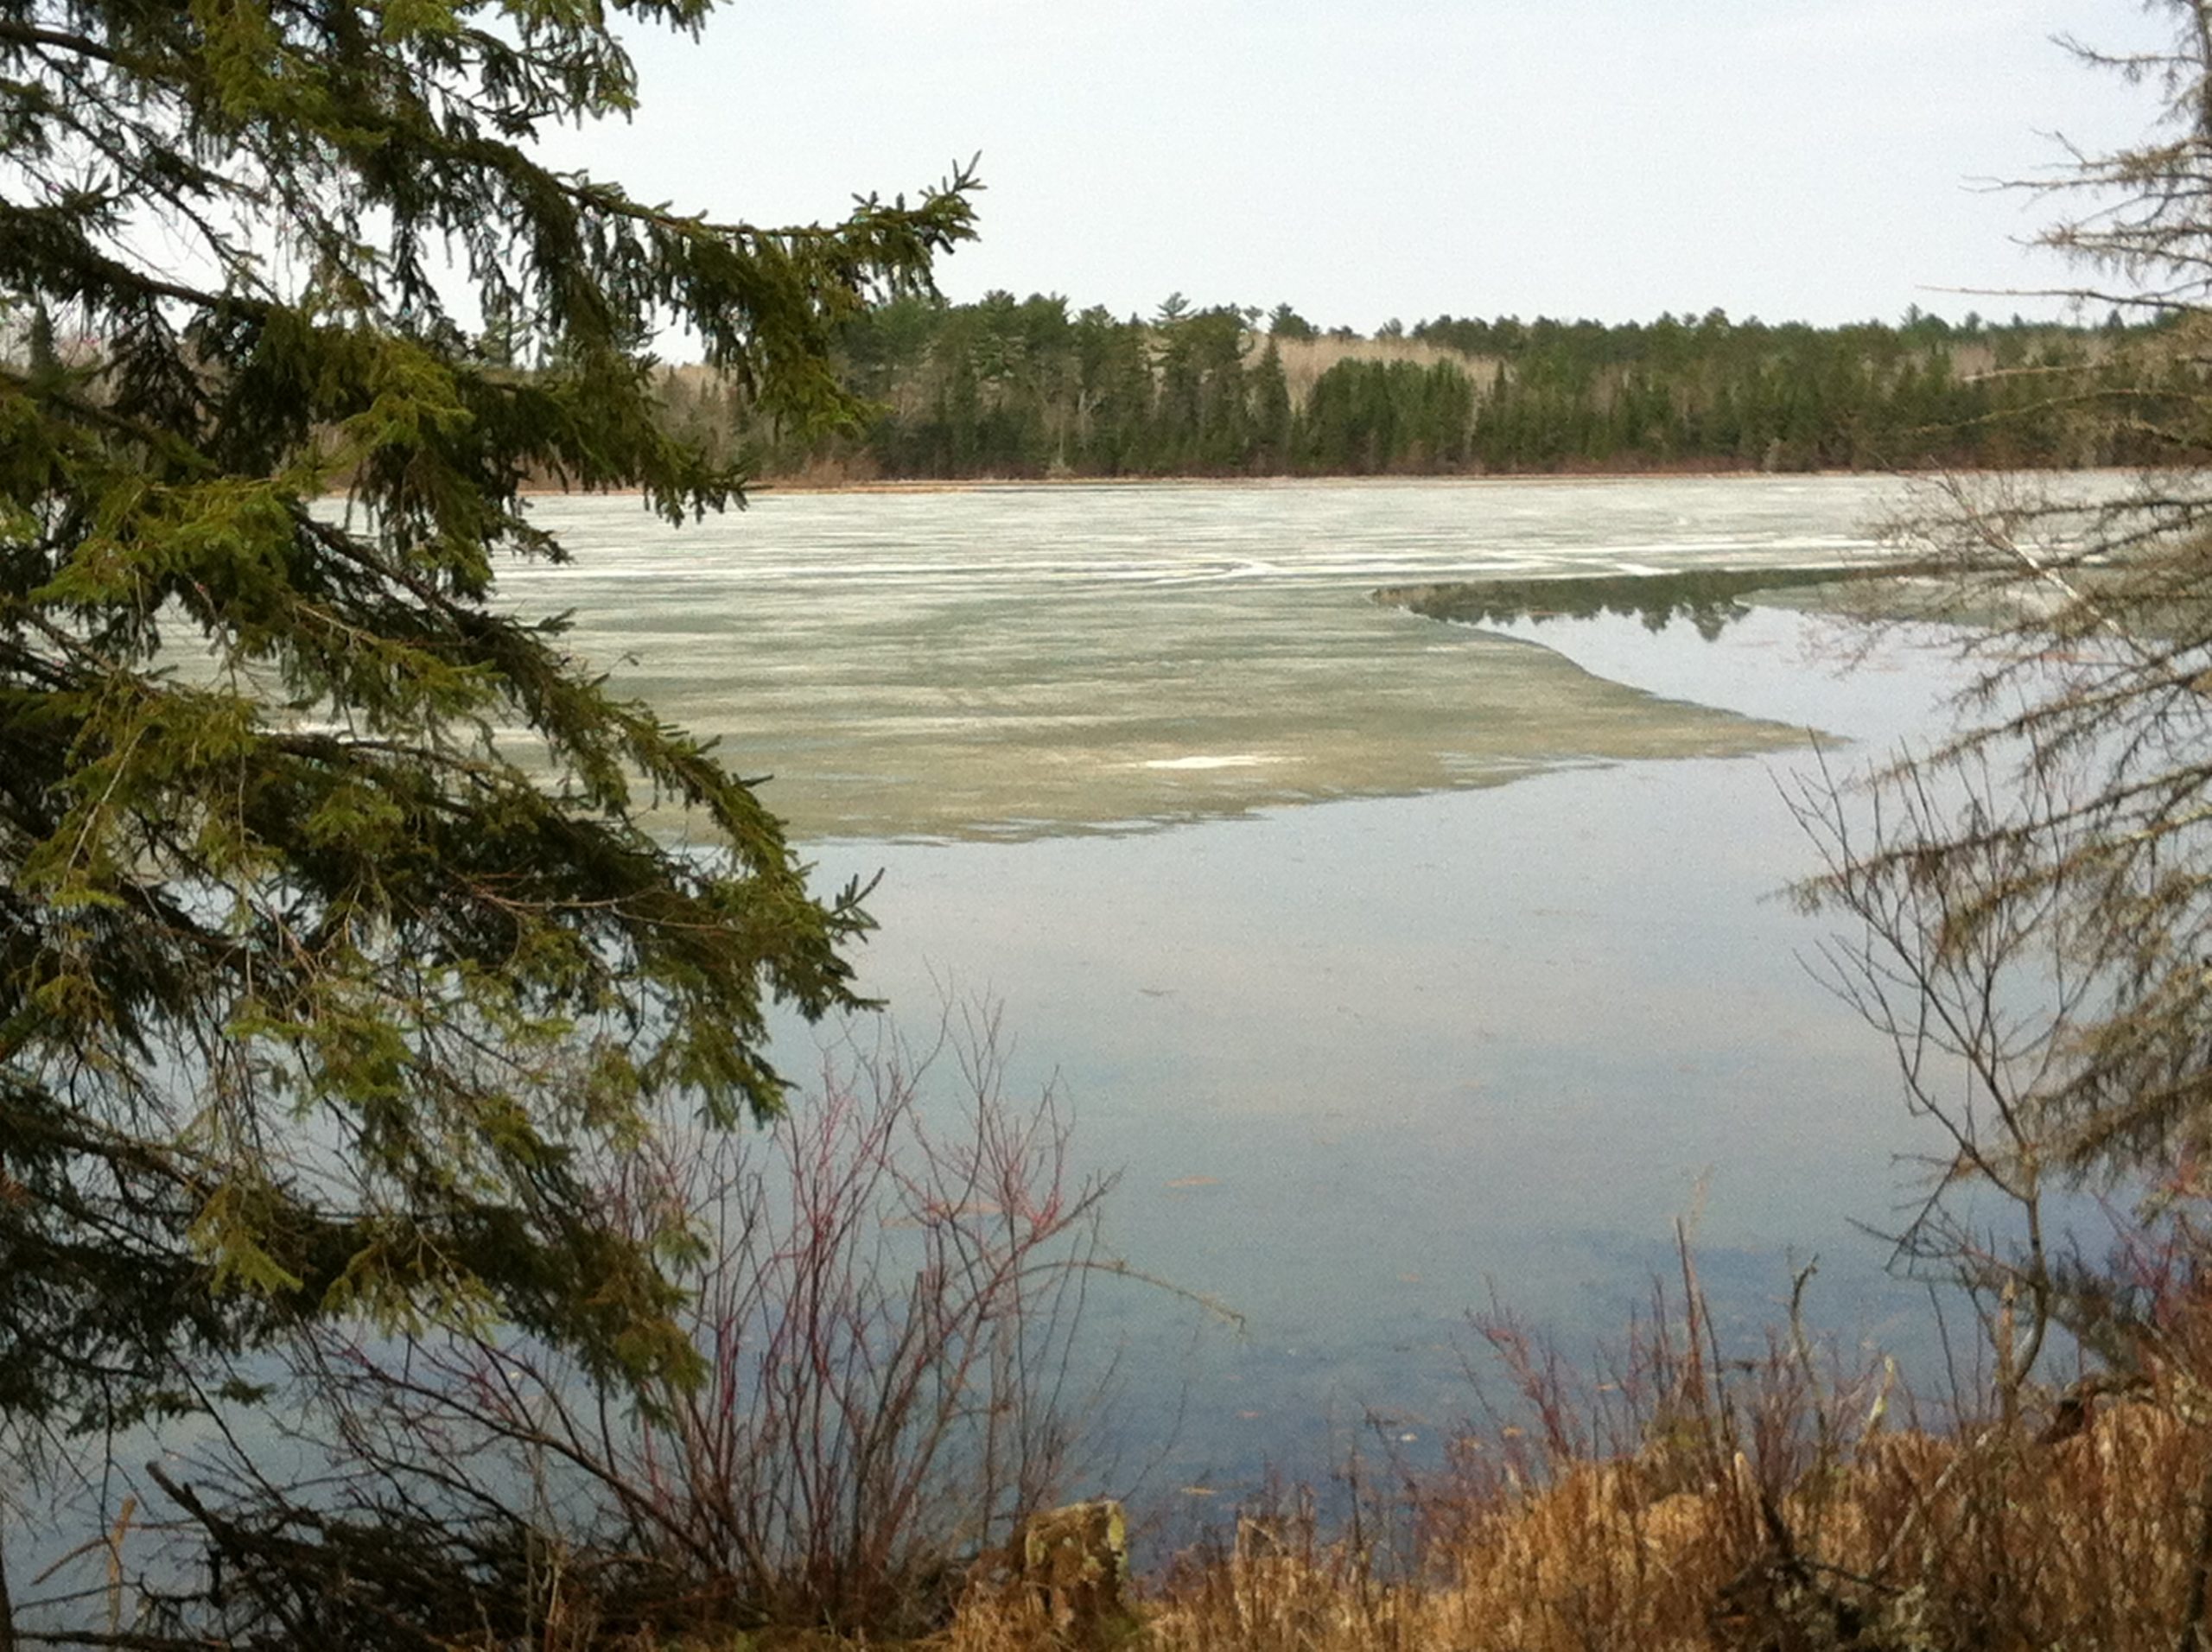
Still ice on most of the lake but the temperature is in the 60's so maybe ice out soon and maybe I can drive in soon.
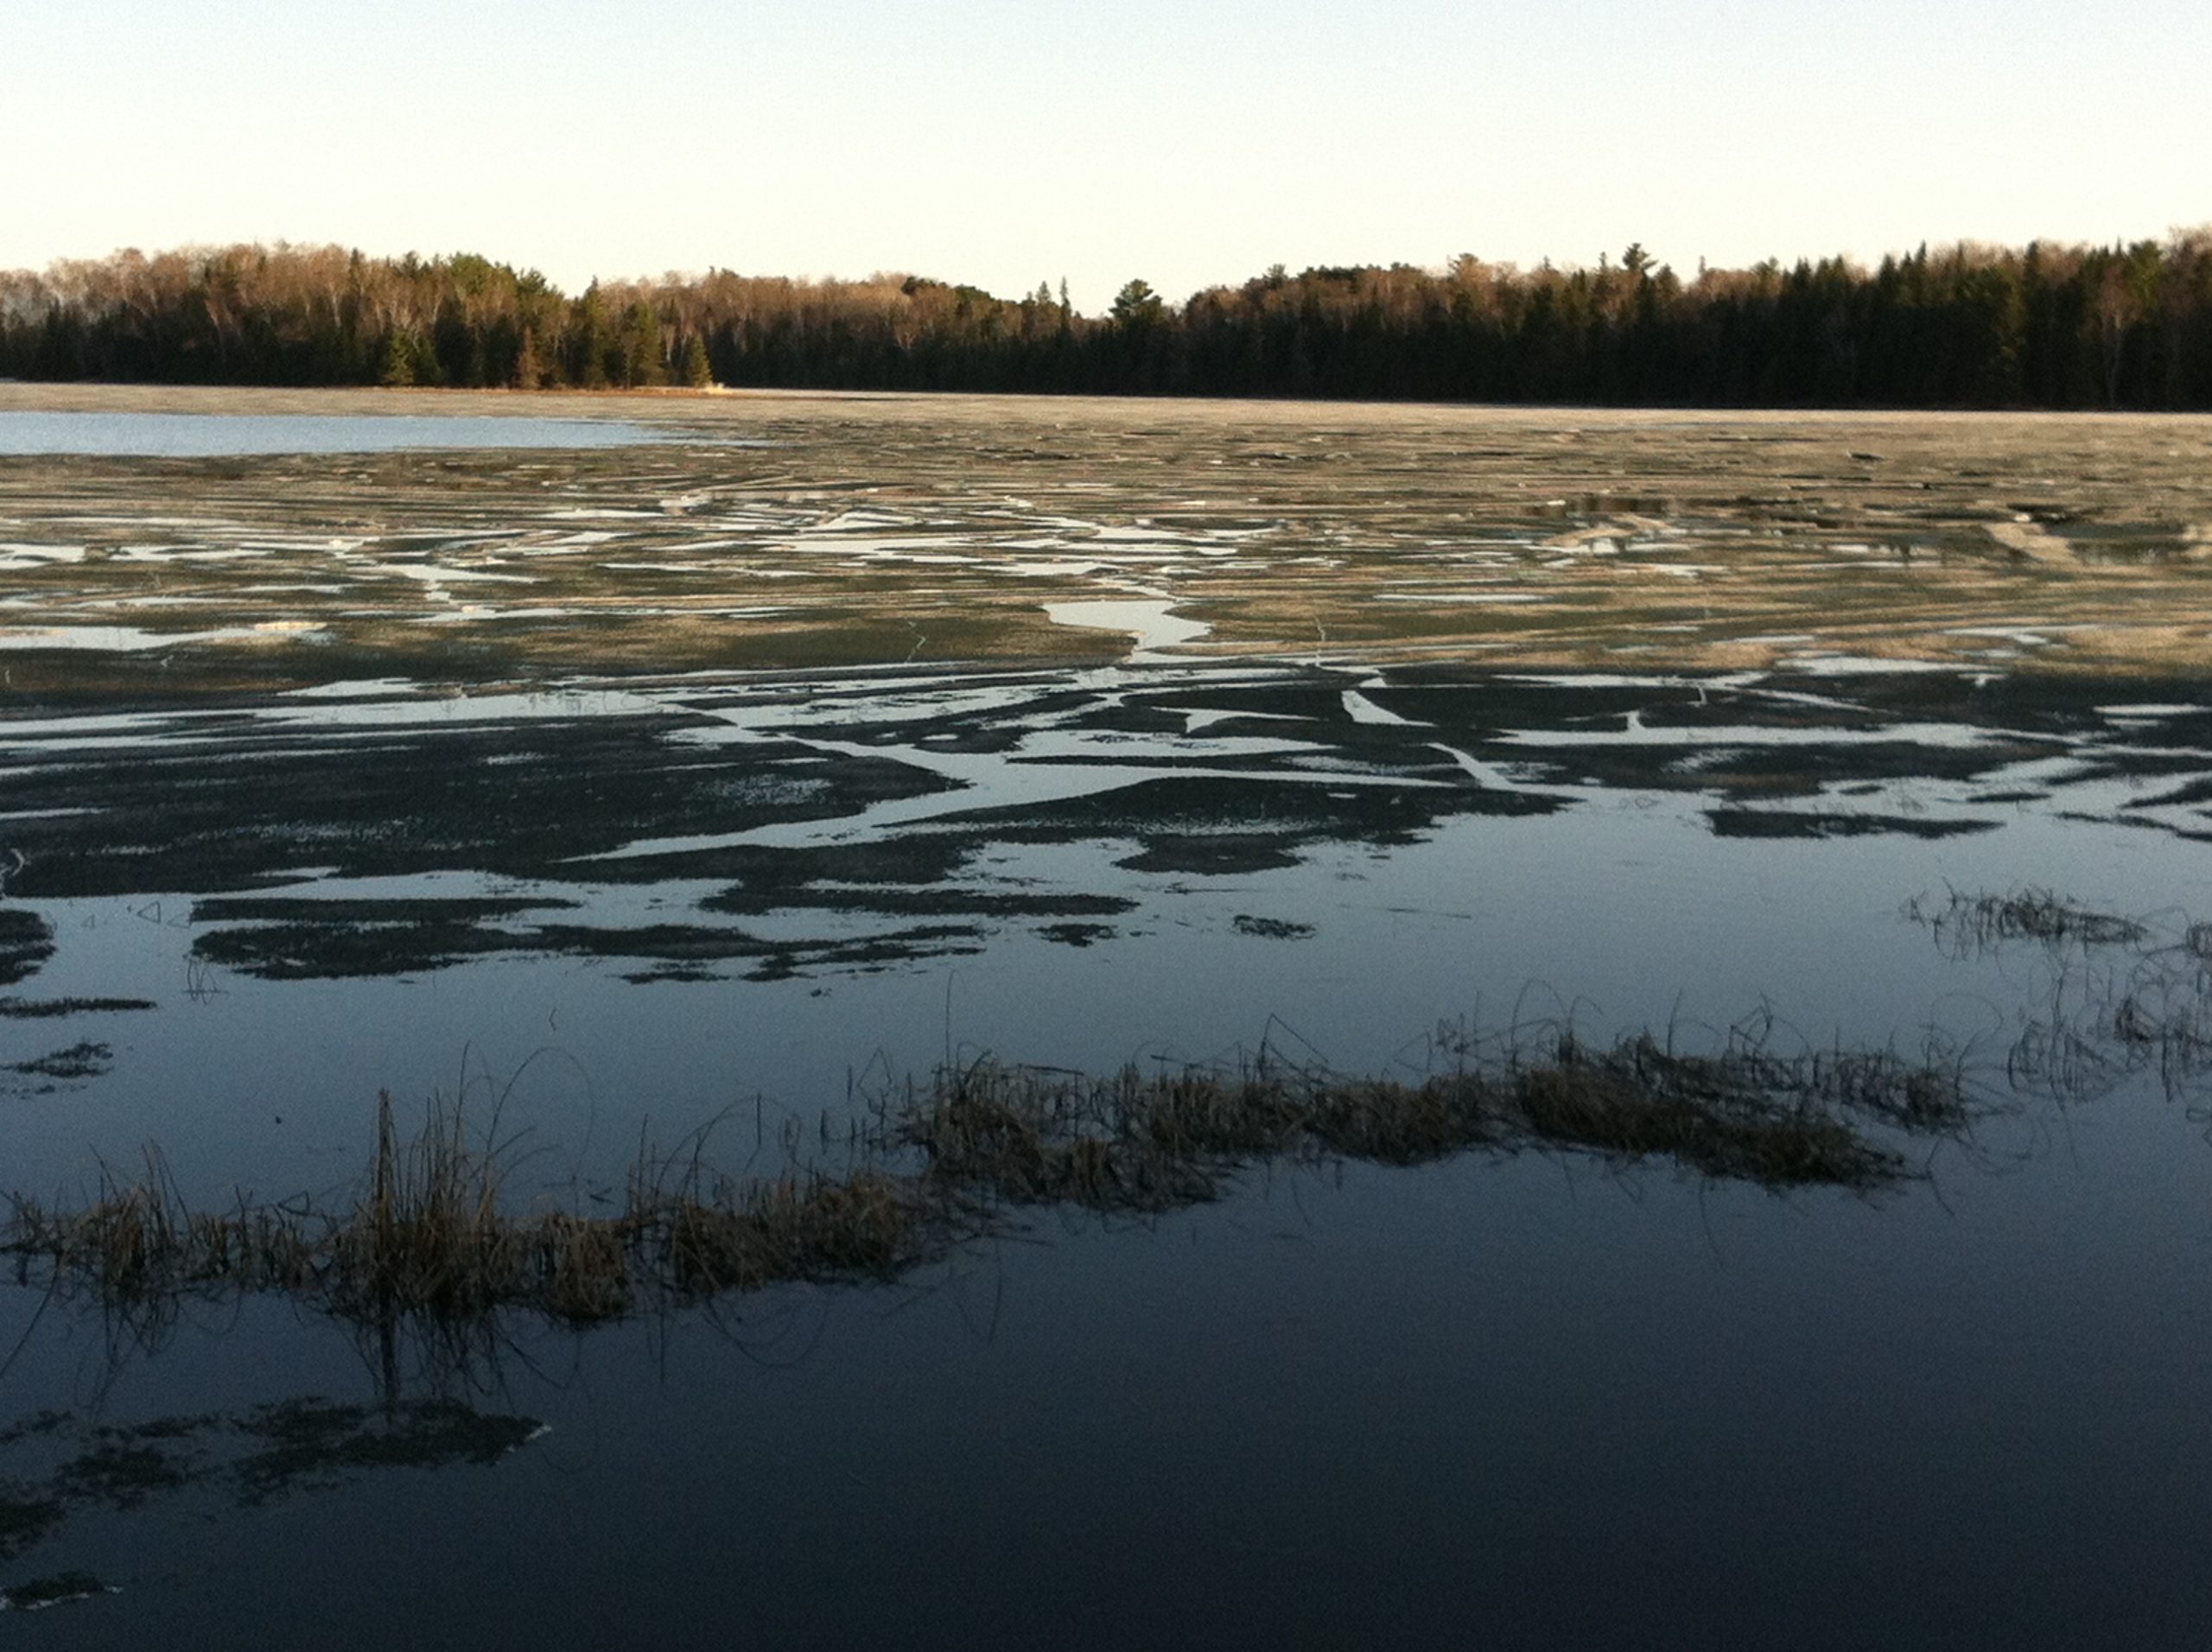
The ice is really starting to fracture now. Ice out cannot be more than a day or two away.

The ice went out on our bay last night. Smaller bays like hoist bay still have some ice and there are still a few stubborn pockets of snow left in the woods.
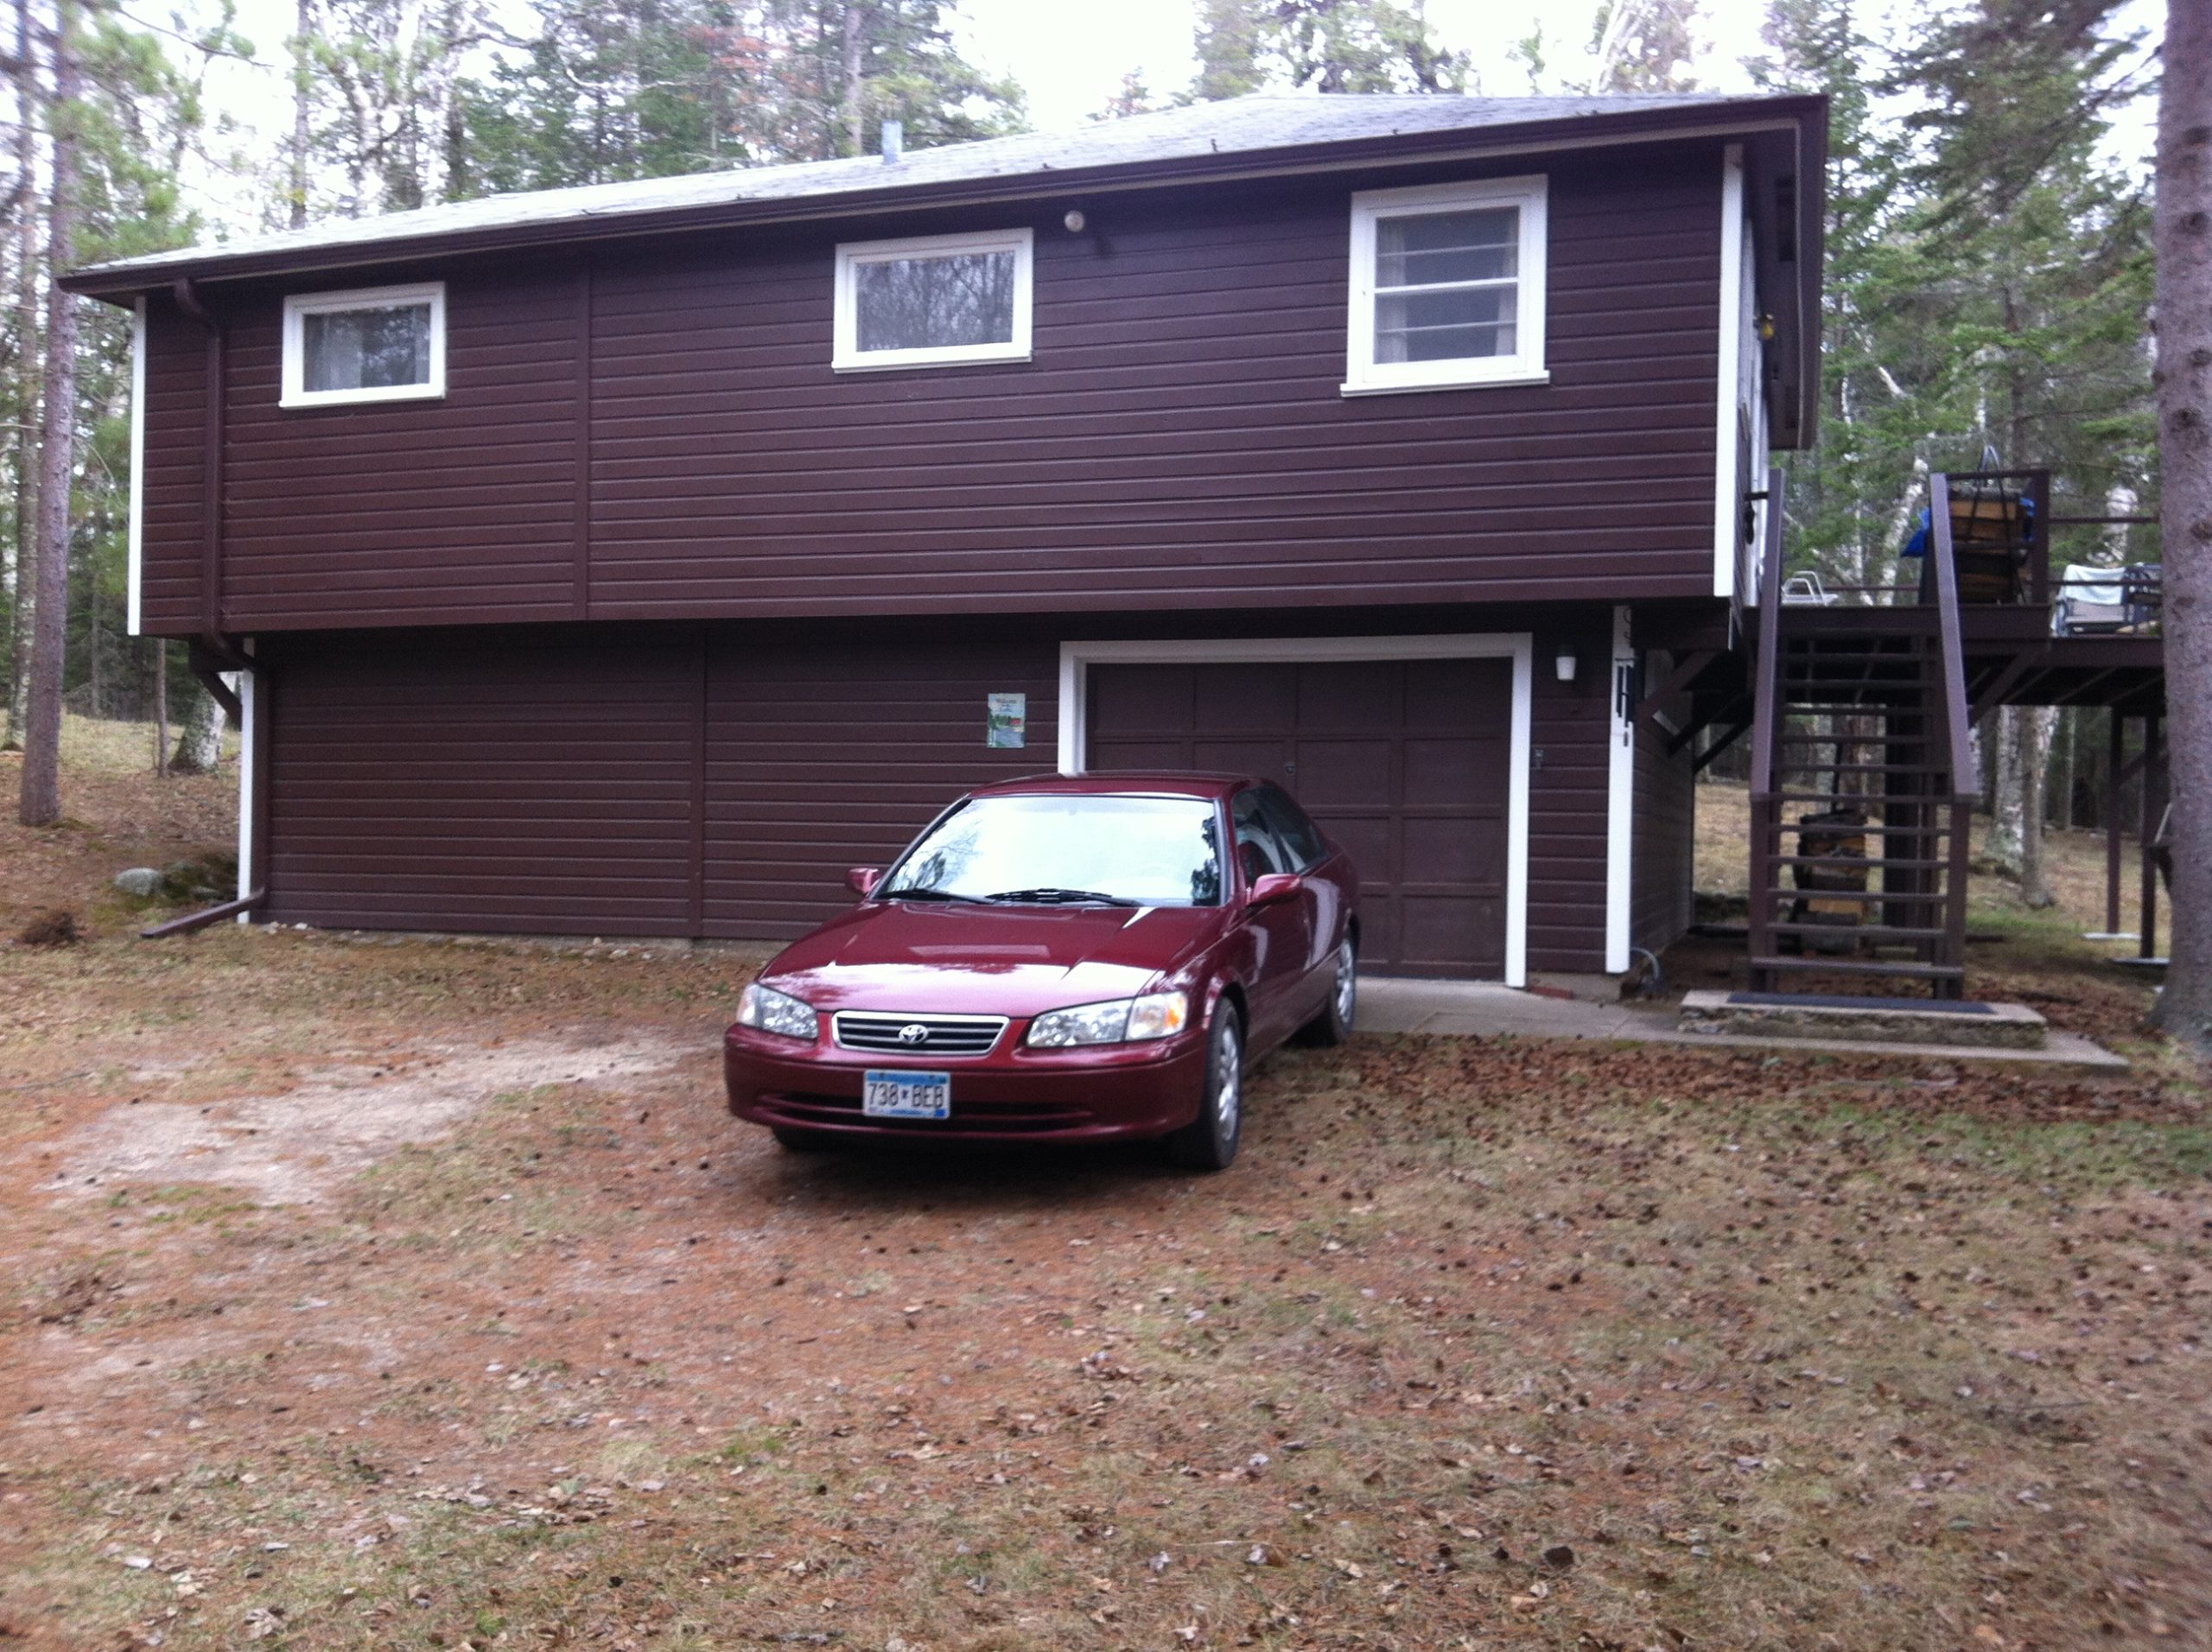
At last the road is open and I can unpack the car

It's still a little chilly but that's no excuse not to start raking.
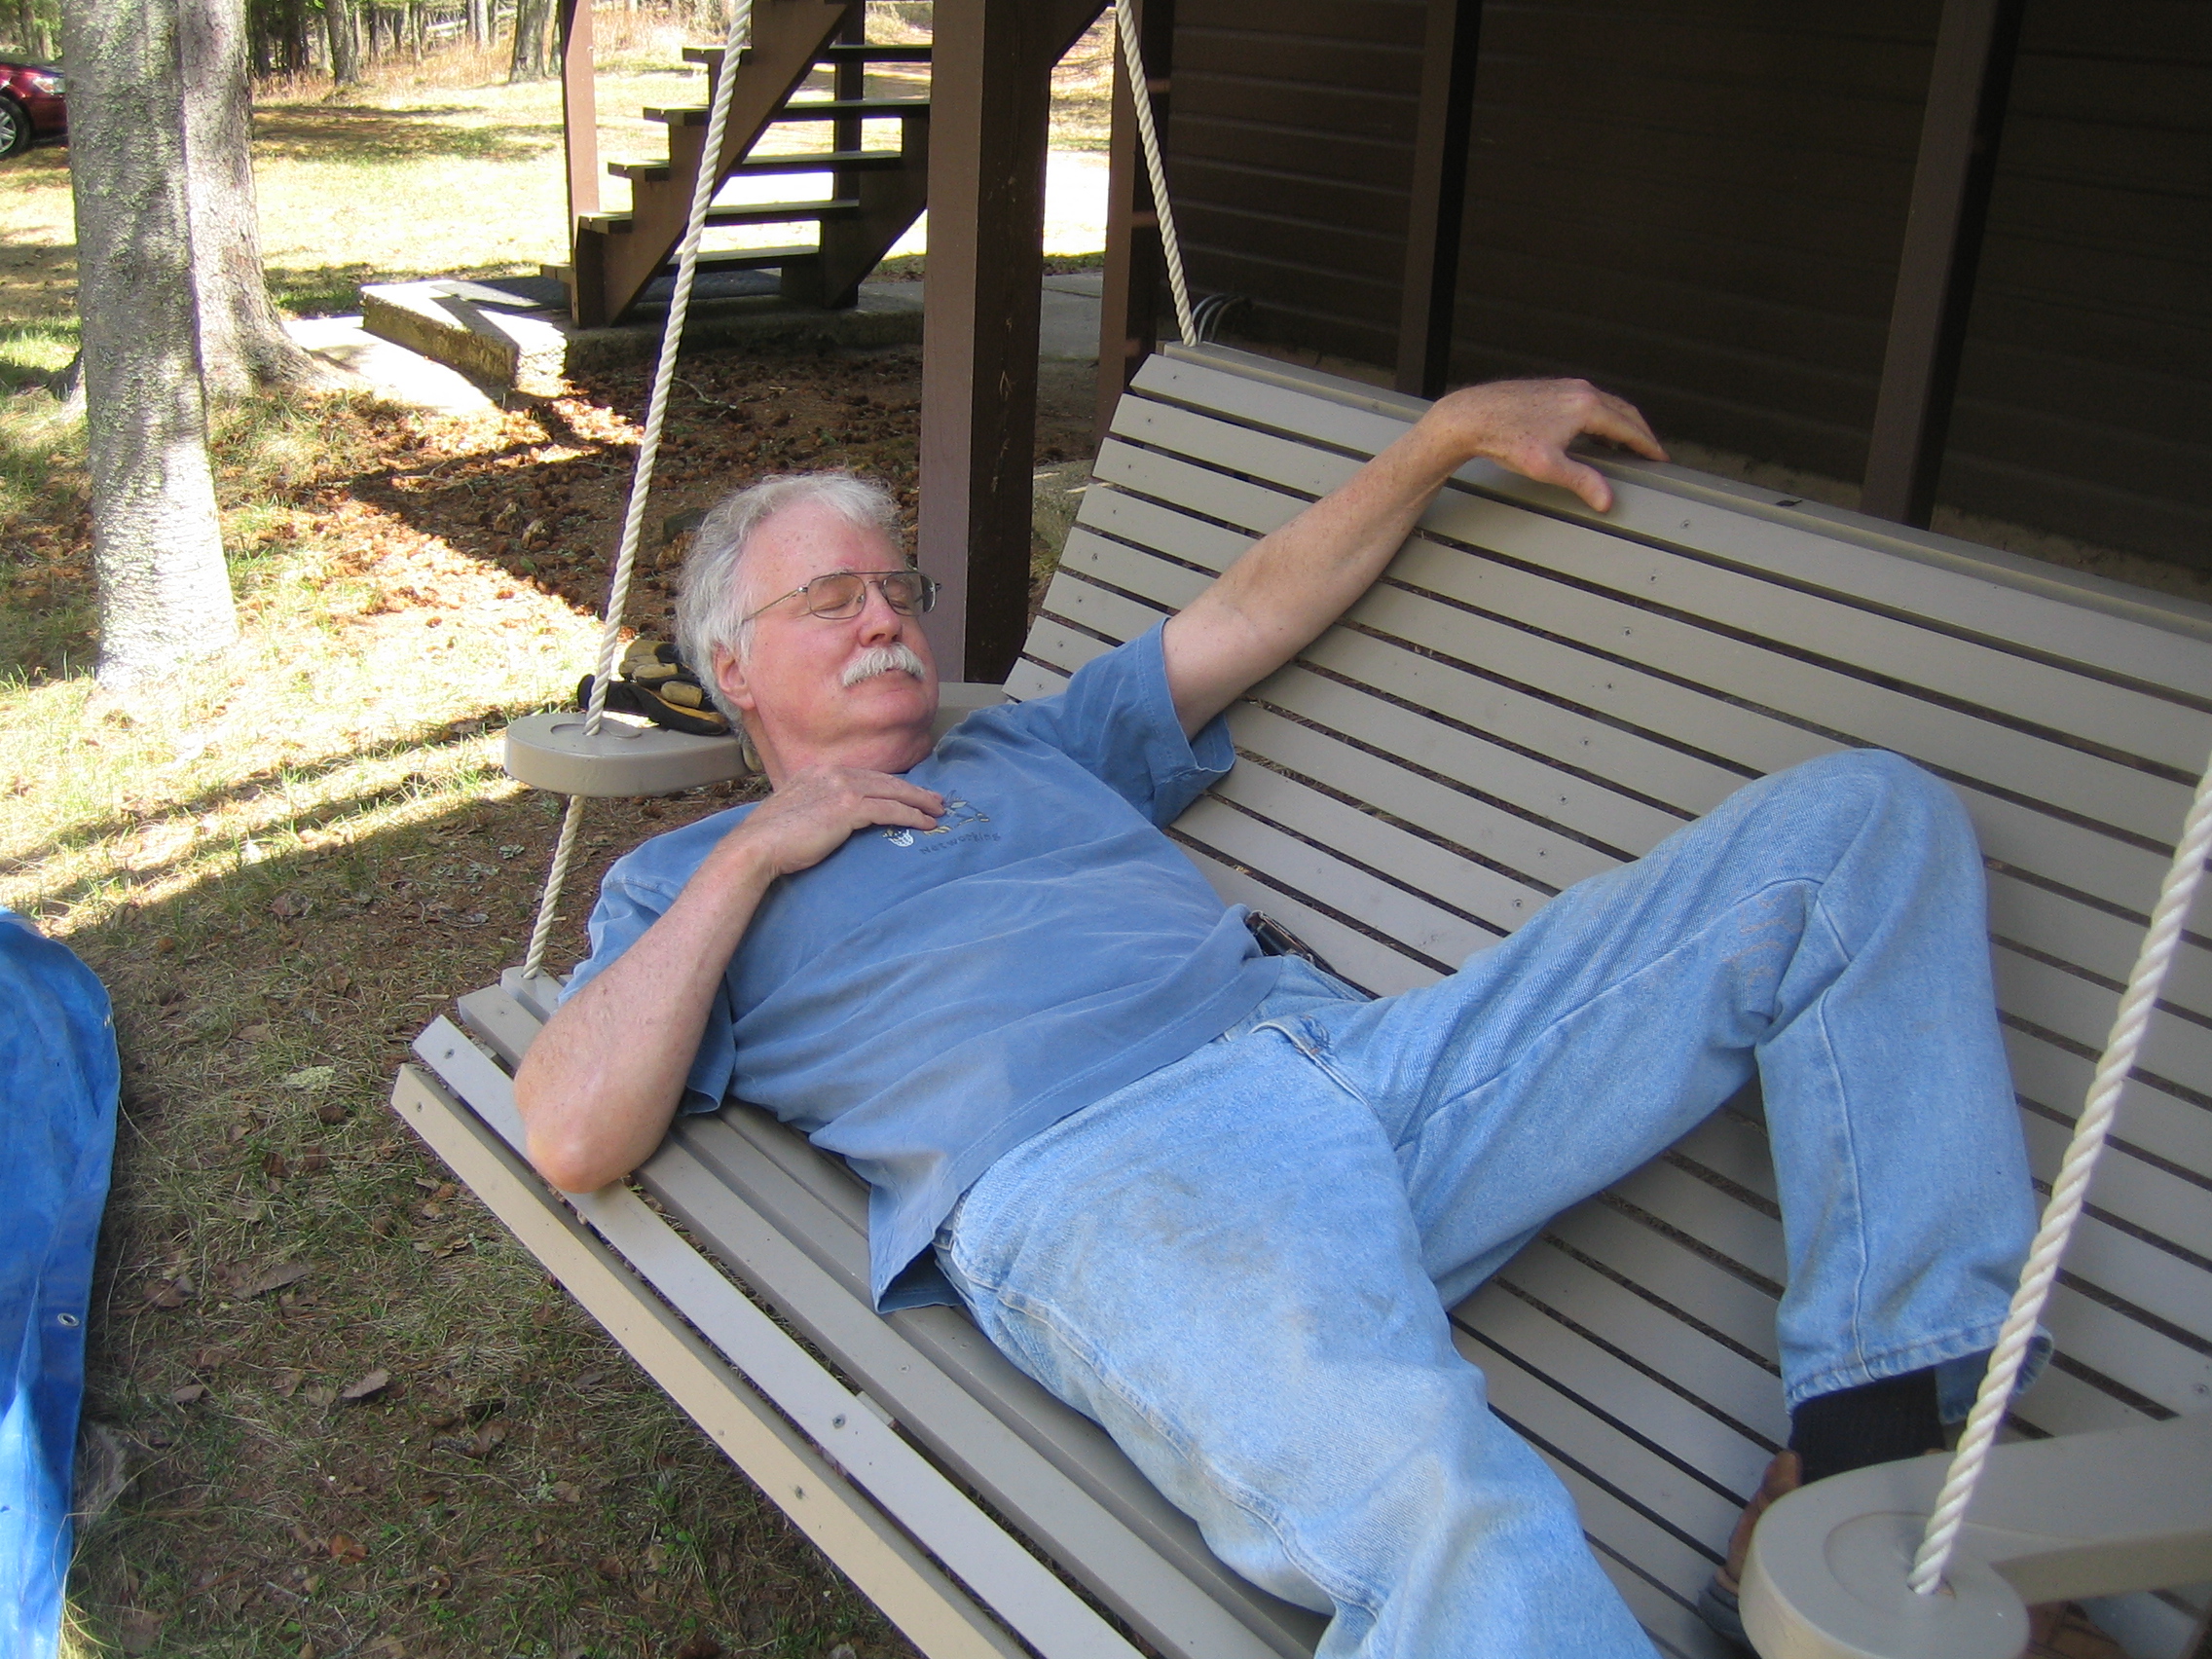
Lots to do today but there's always time for a little nap.

Better late than never. Hummingbirds are back.
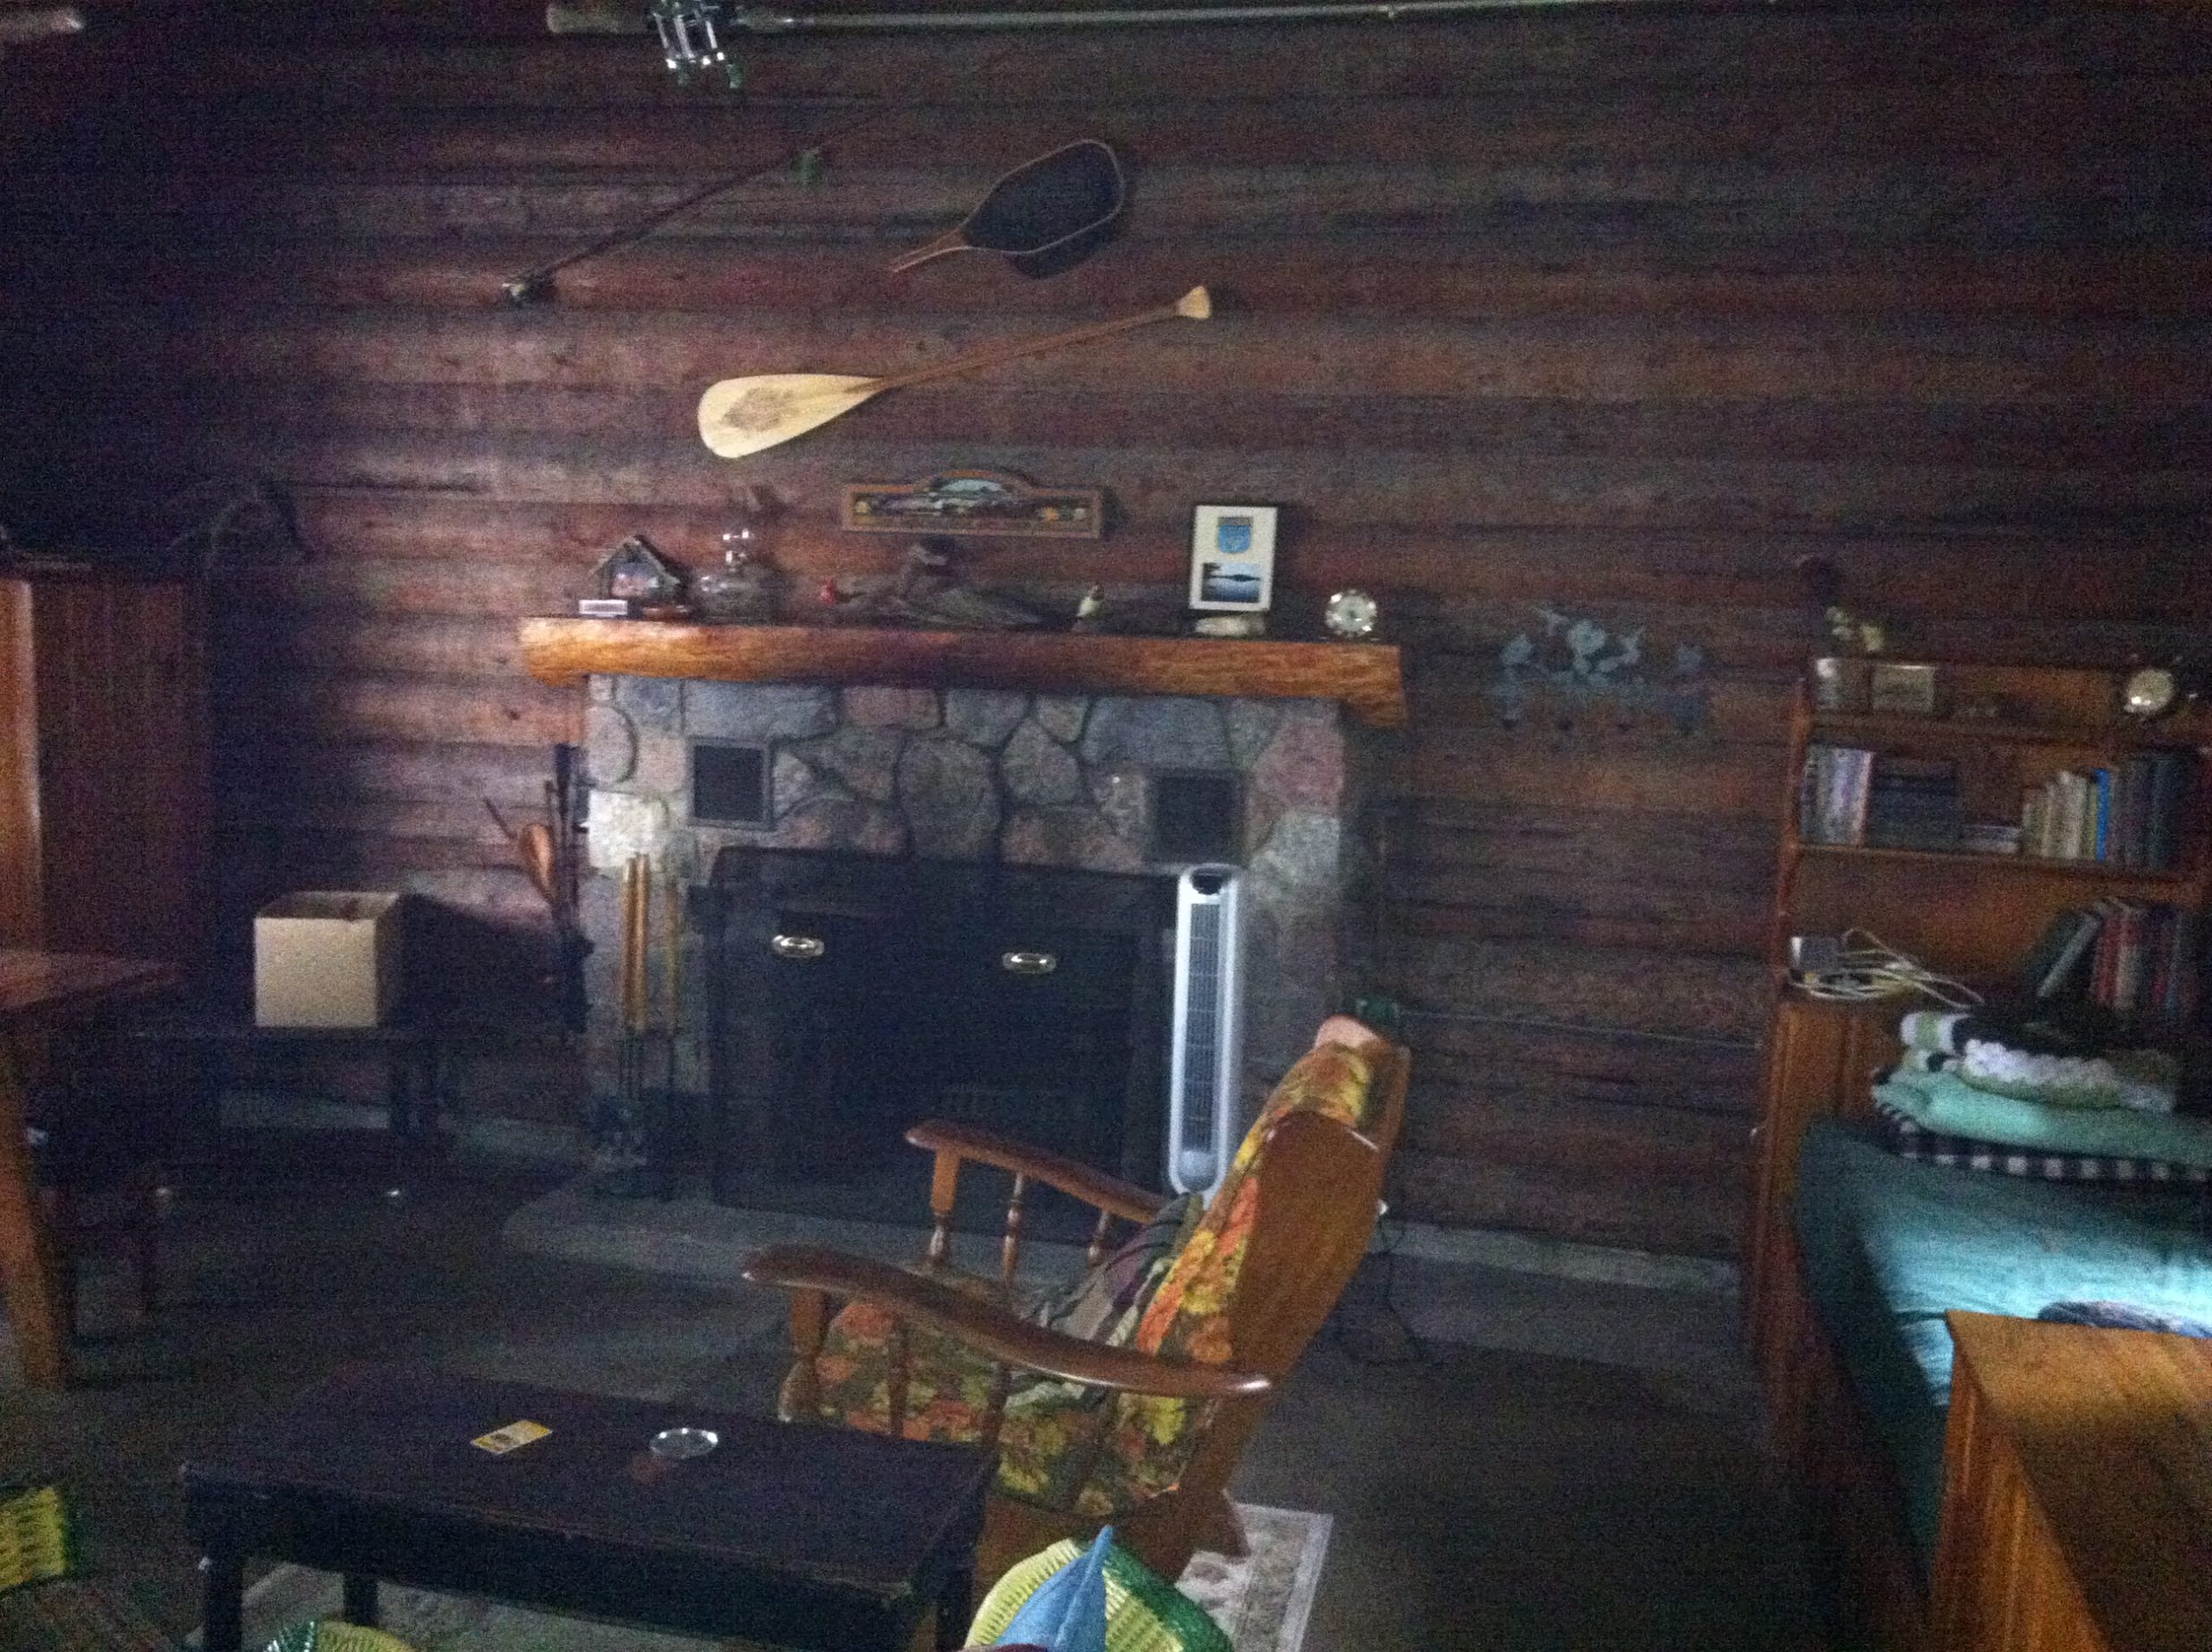
The log cabin is open. My luck still holds: no leaks, no mice, no problem.
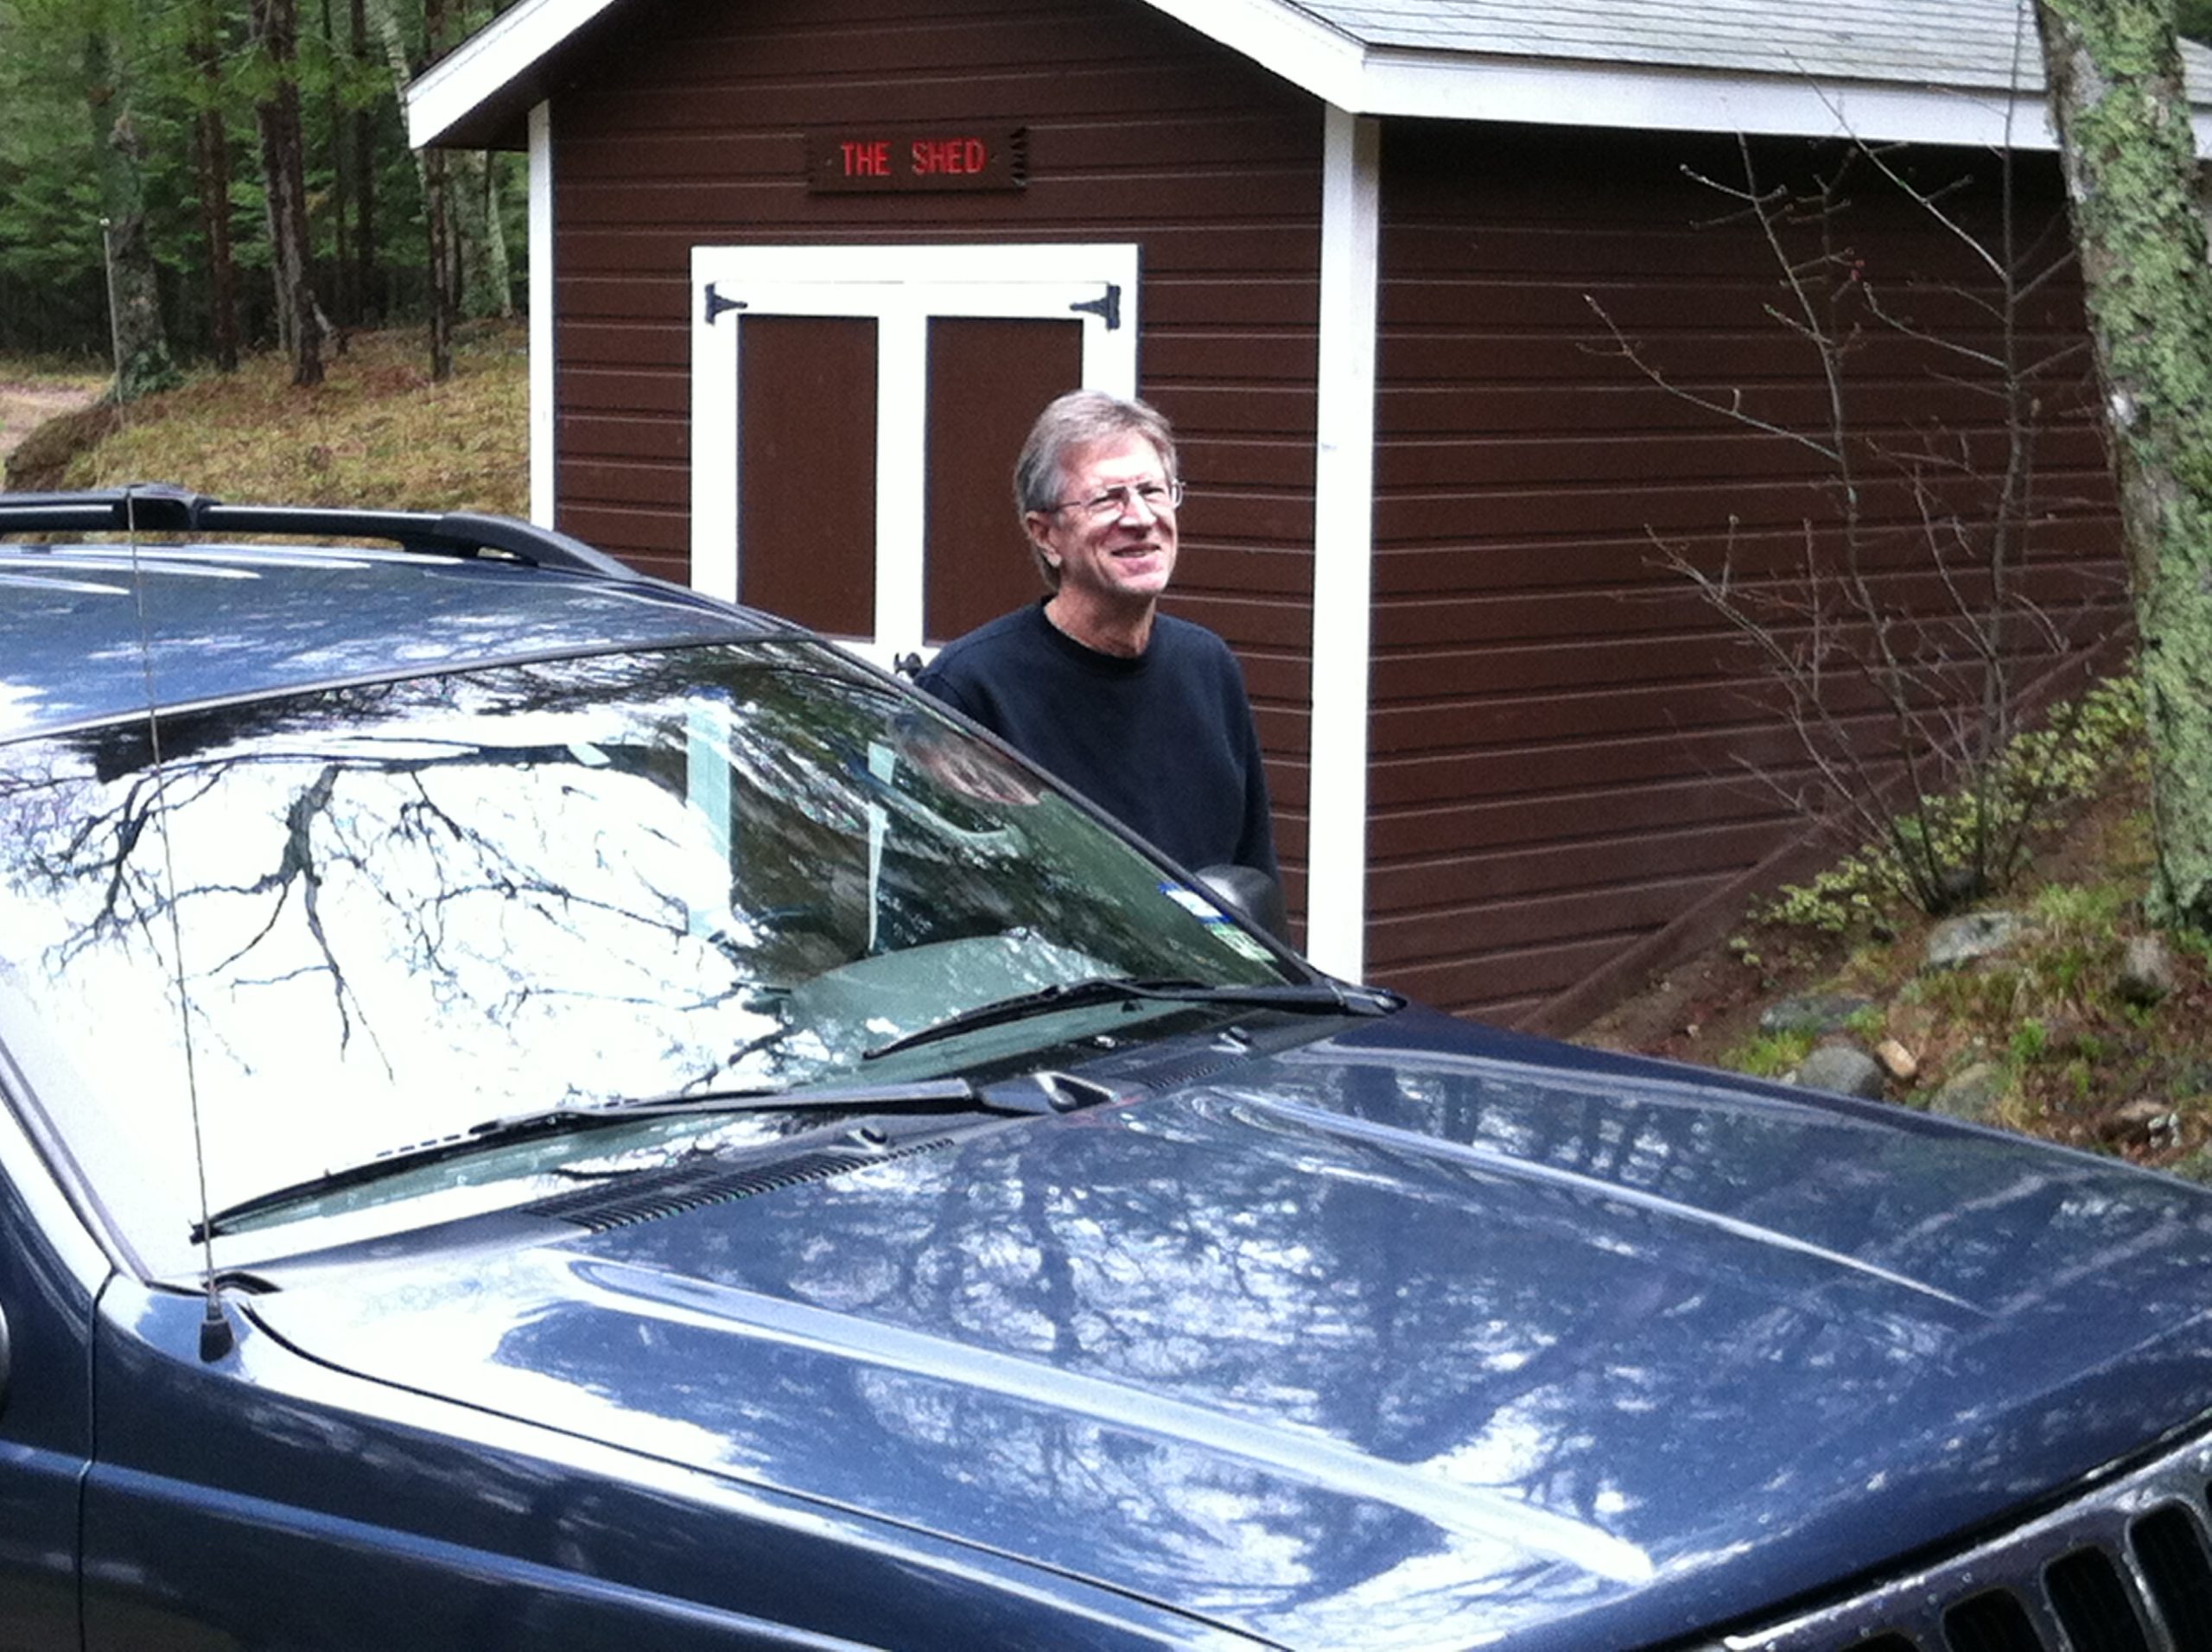
Chris arrived. We have many projects to do this summer. (Balsams beware.)

Dock and boat are in just in time for the bass opener tomorrow. Let's hope it doesn't rain.

3 First bass of the season.

It appears that the creeping phlox made it through the winter this year.
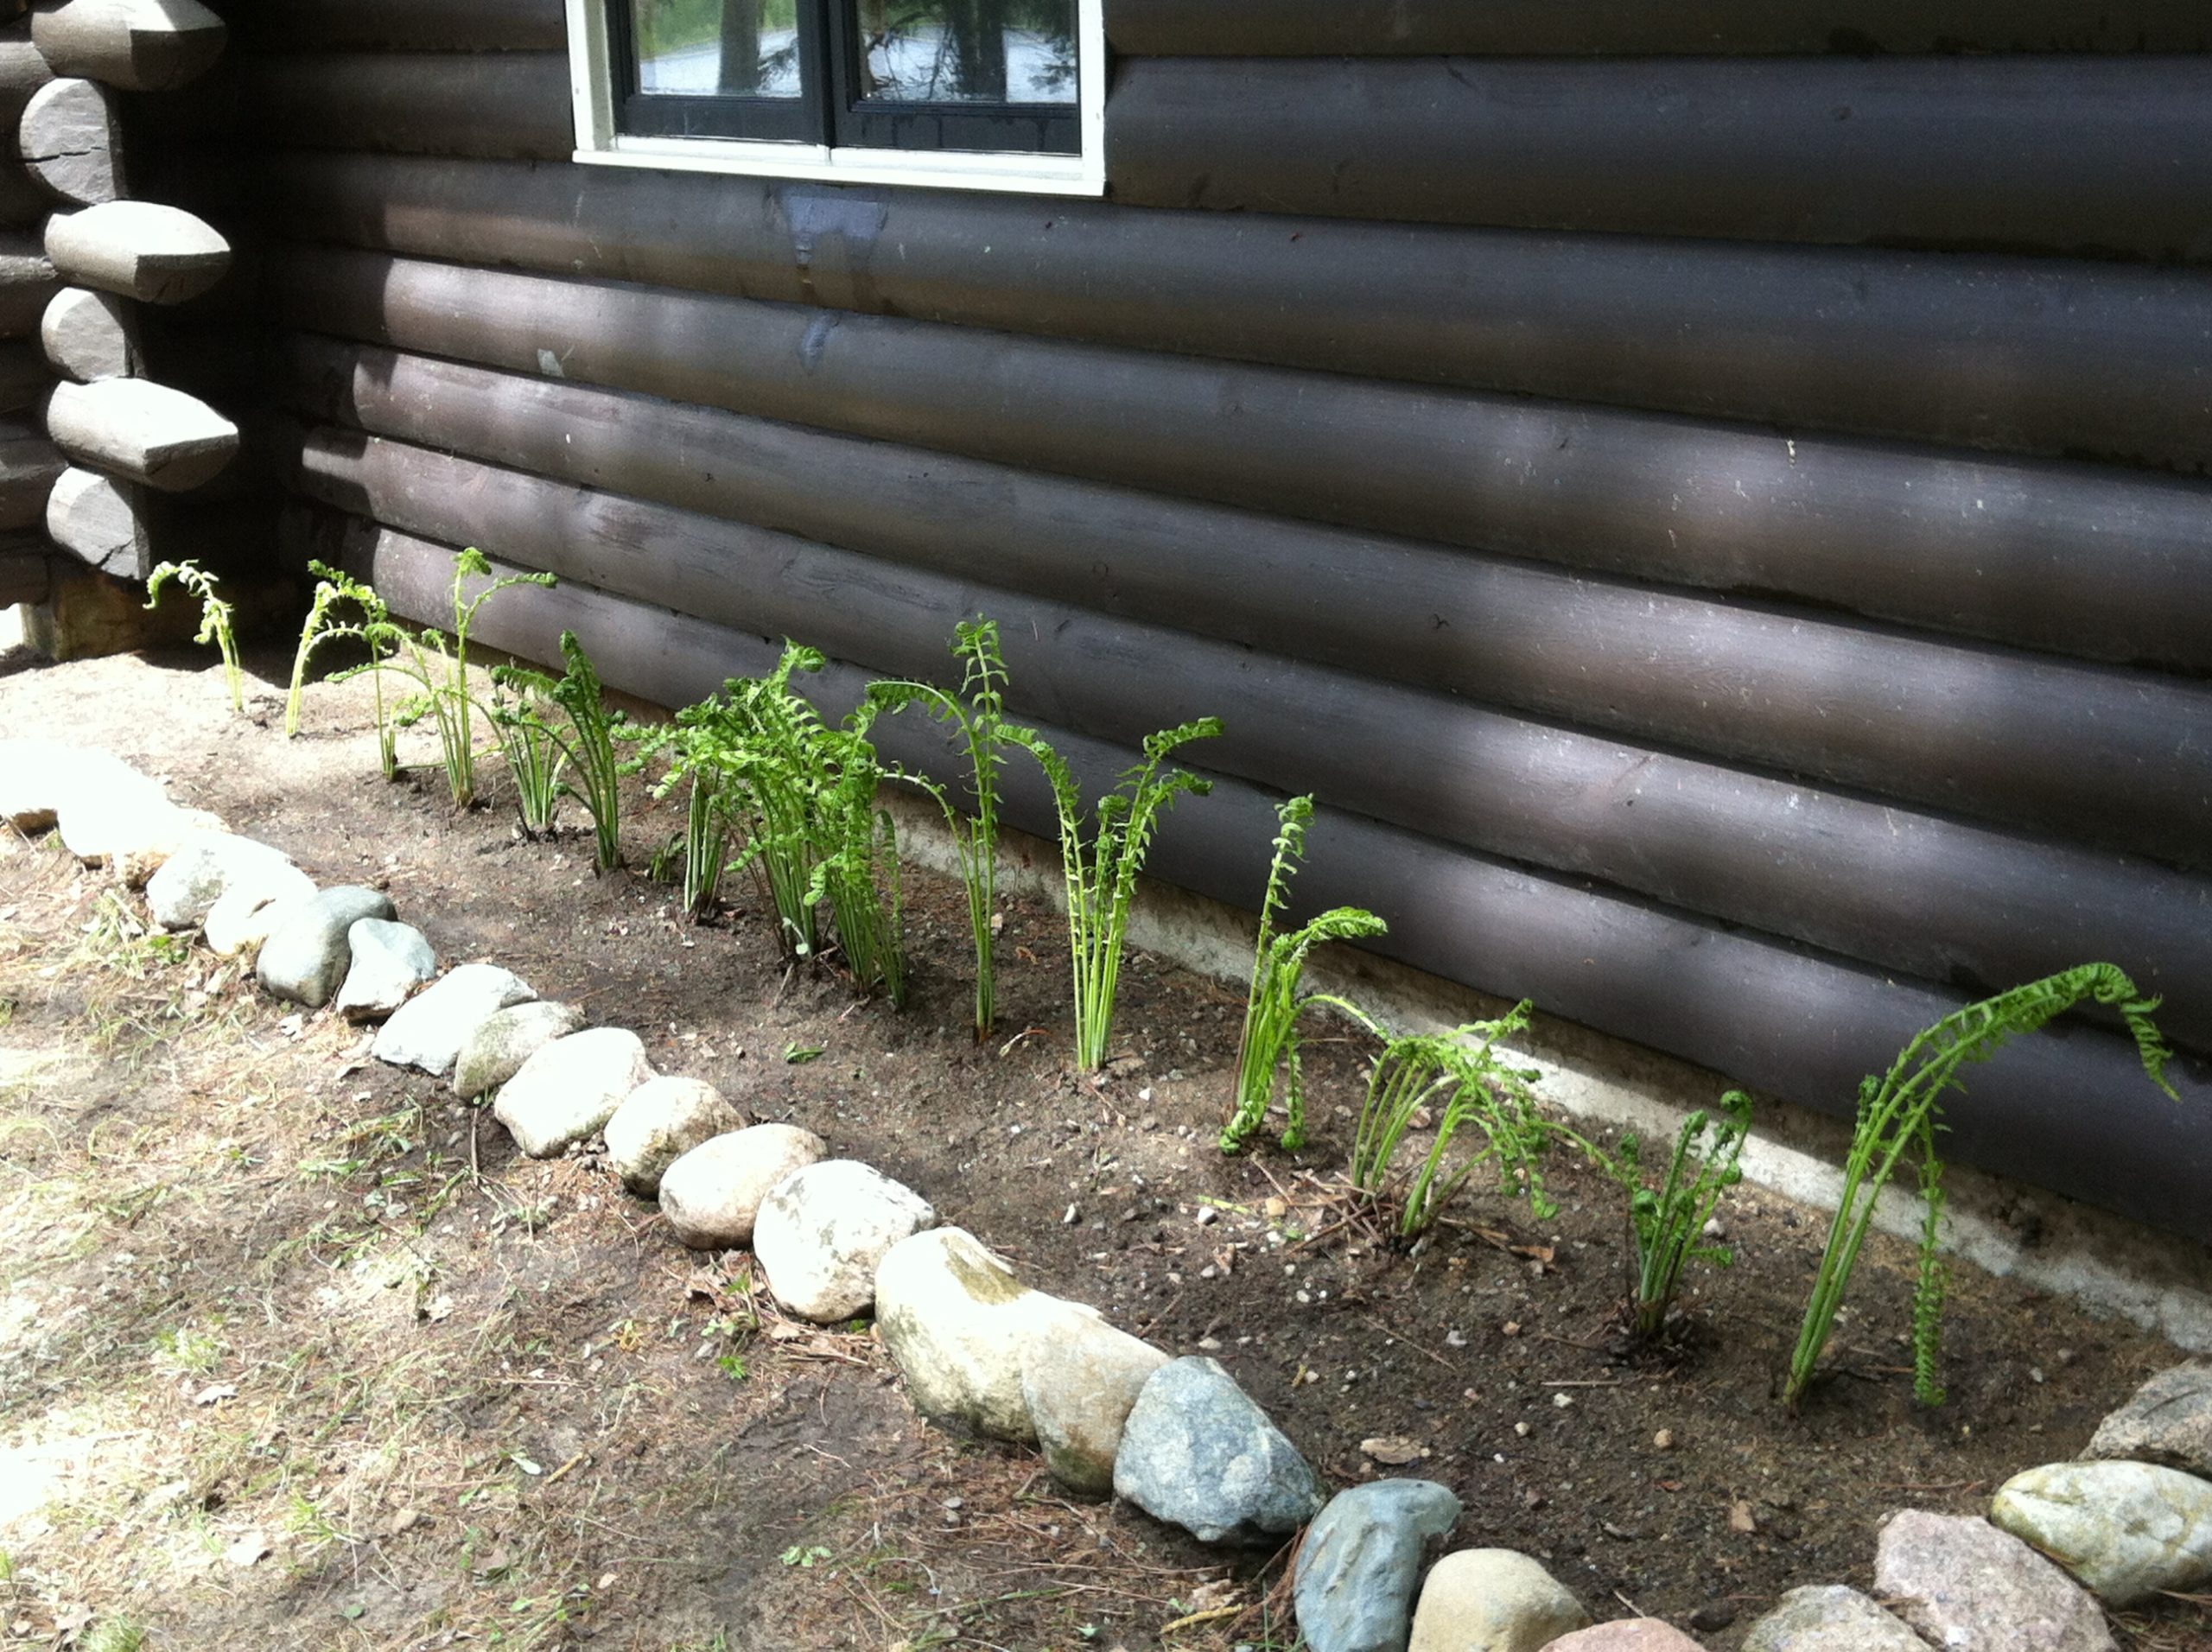
While transplanting ferns in front of the garage did not work out too well I'm going to give them a try down by the log cabin.

Here's the workbench in the garage. This has worked fine for the last 50 or so years.

Everything cleared off and out ...
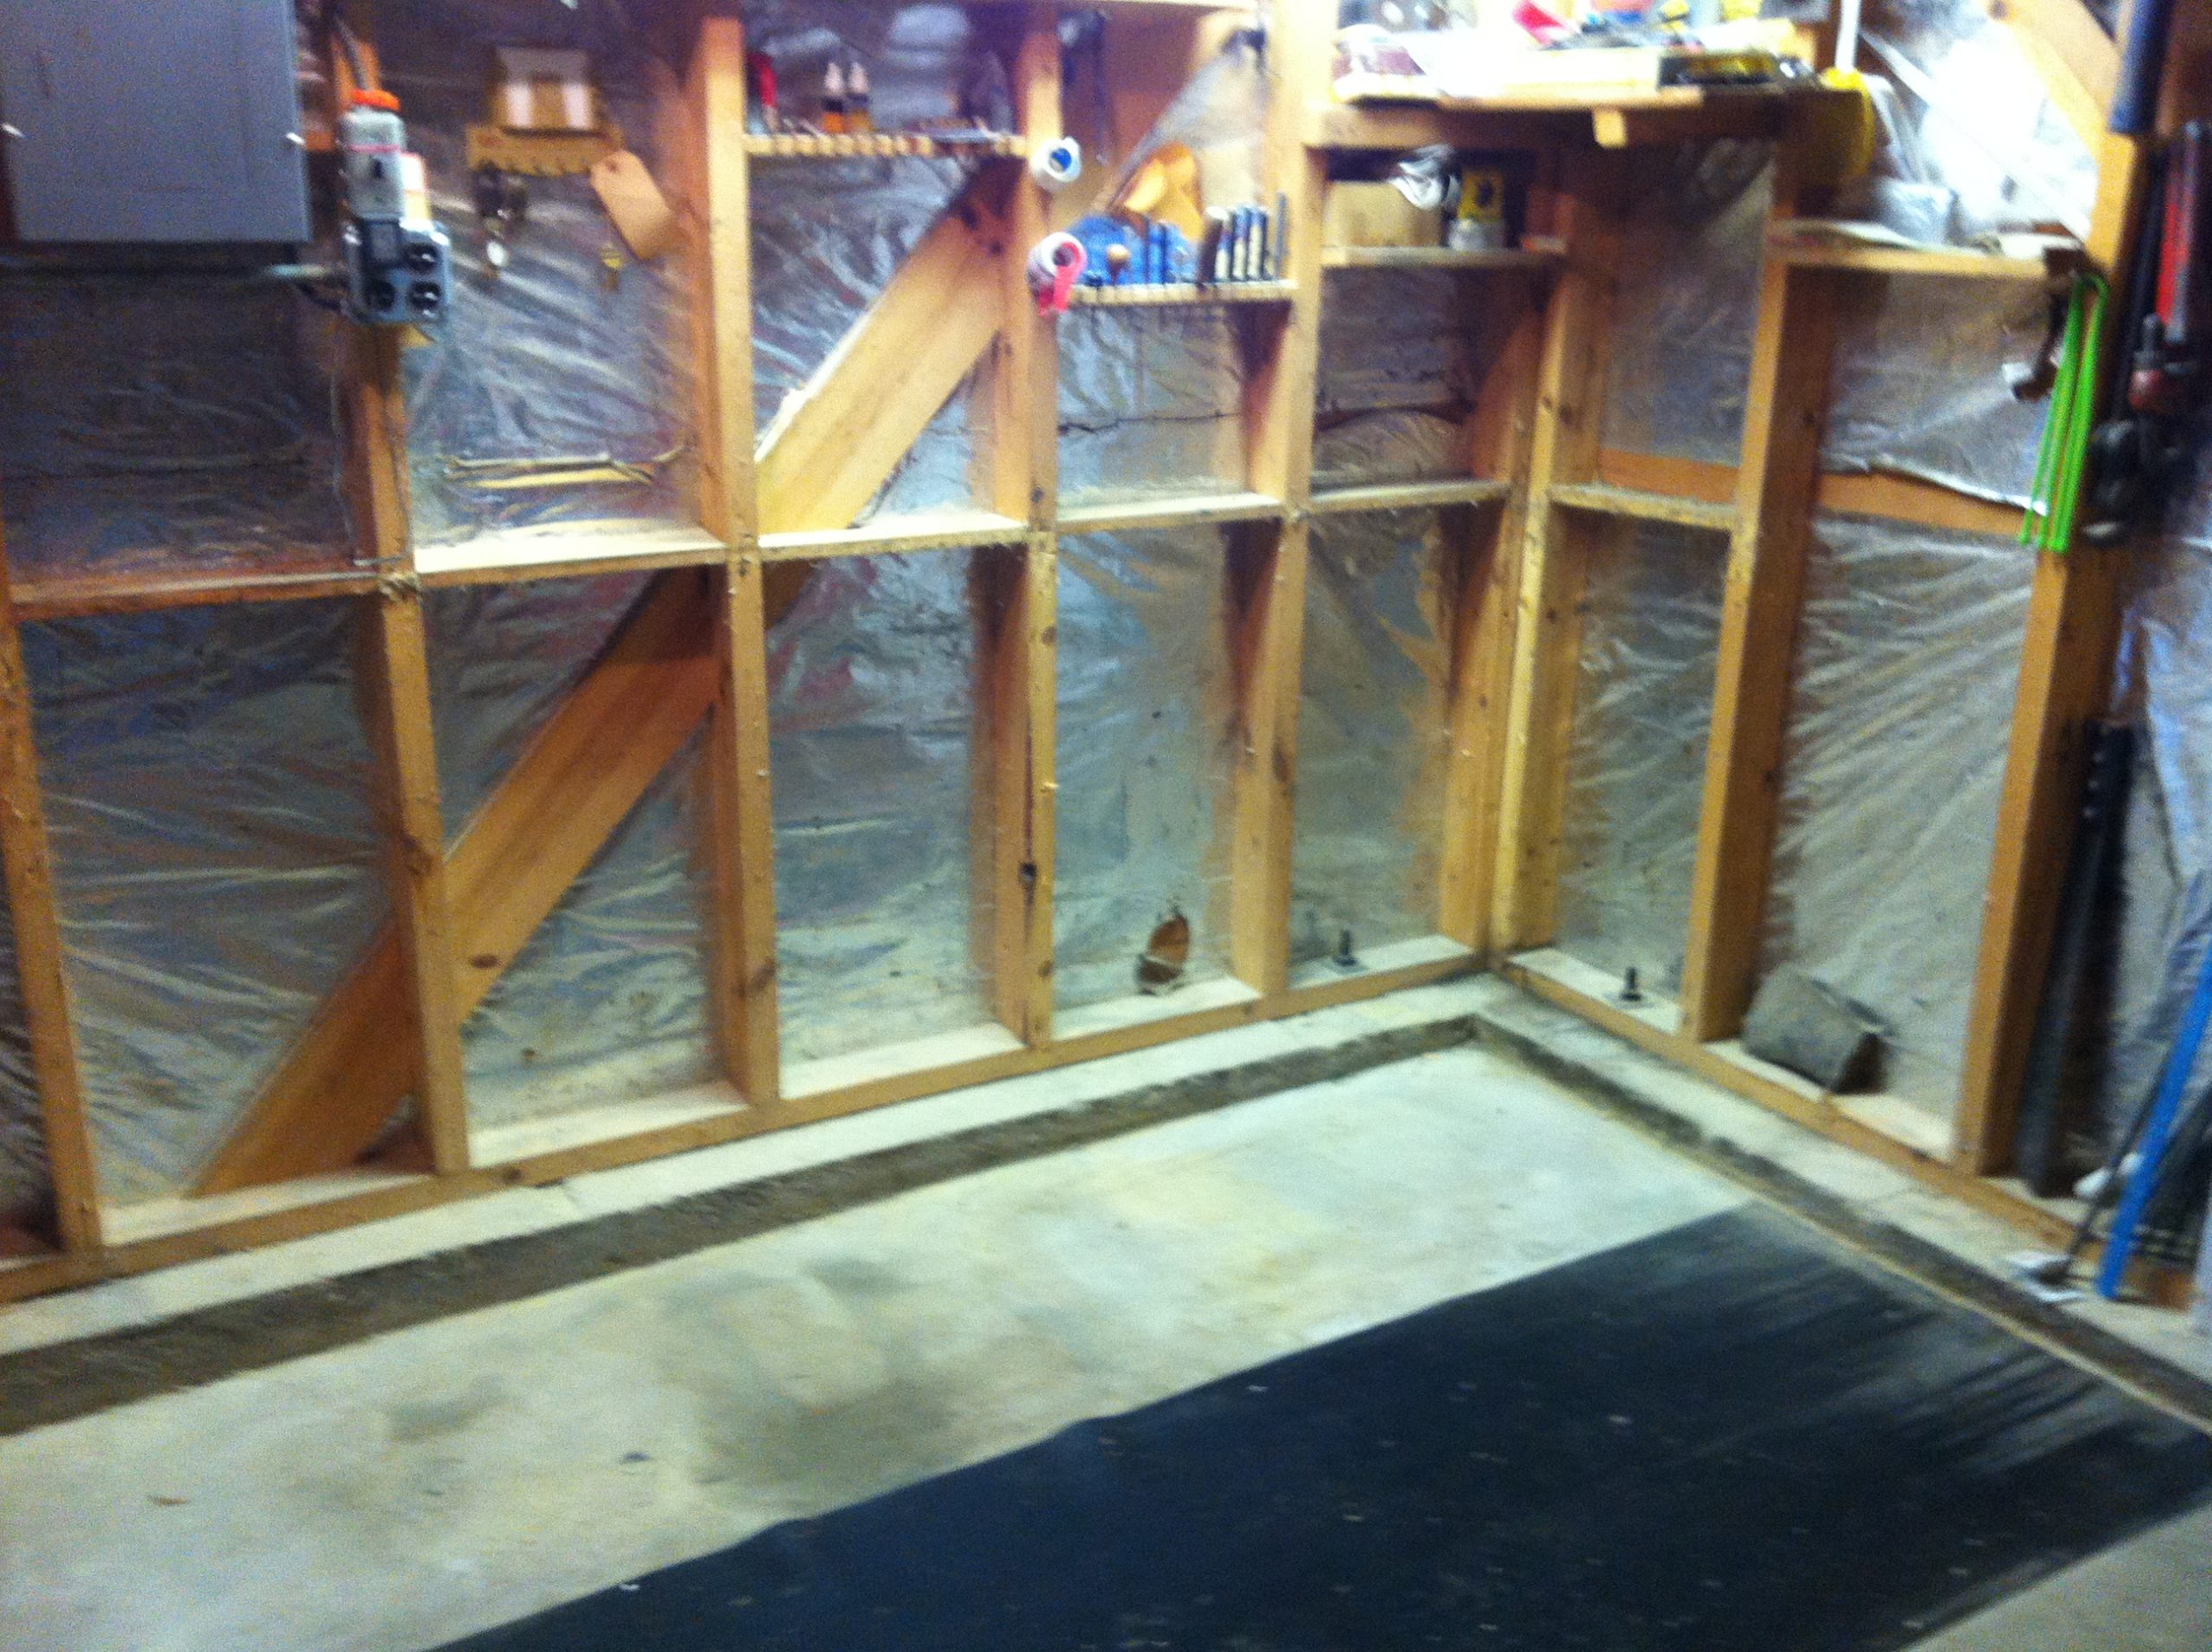
... and now it's gone. There's not turning back now.
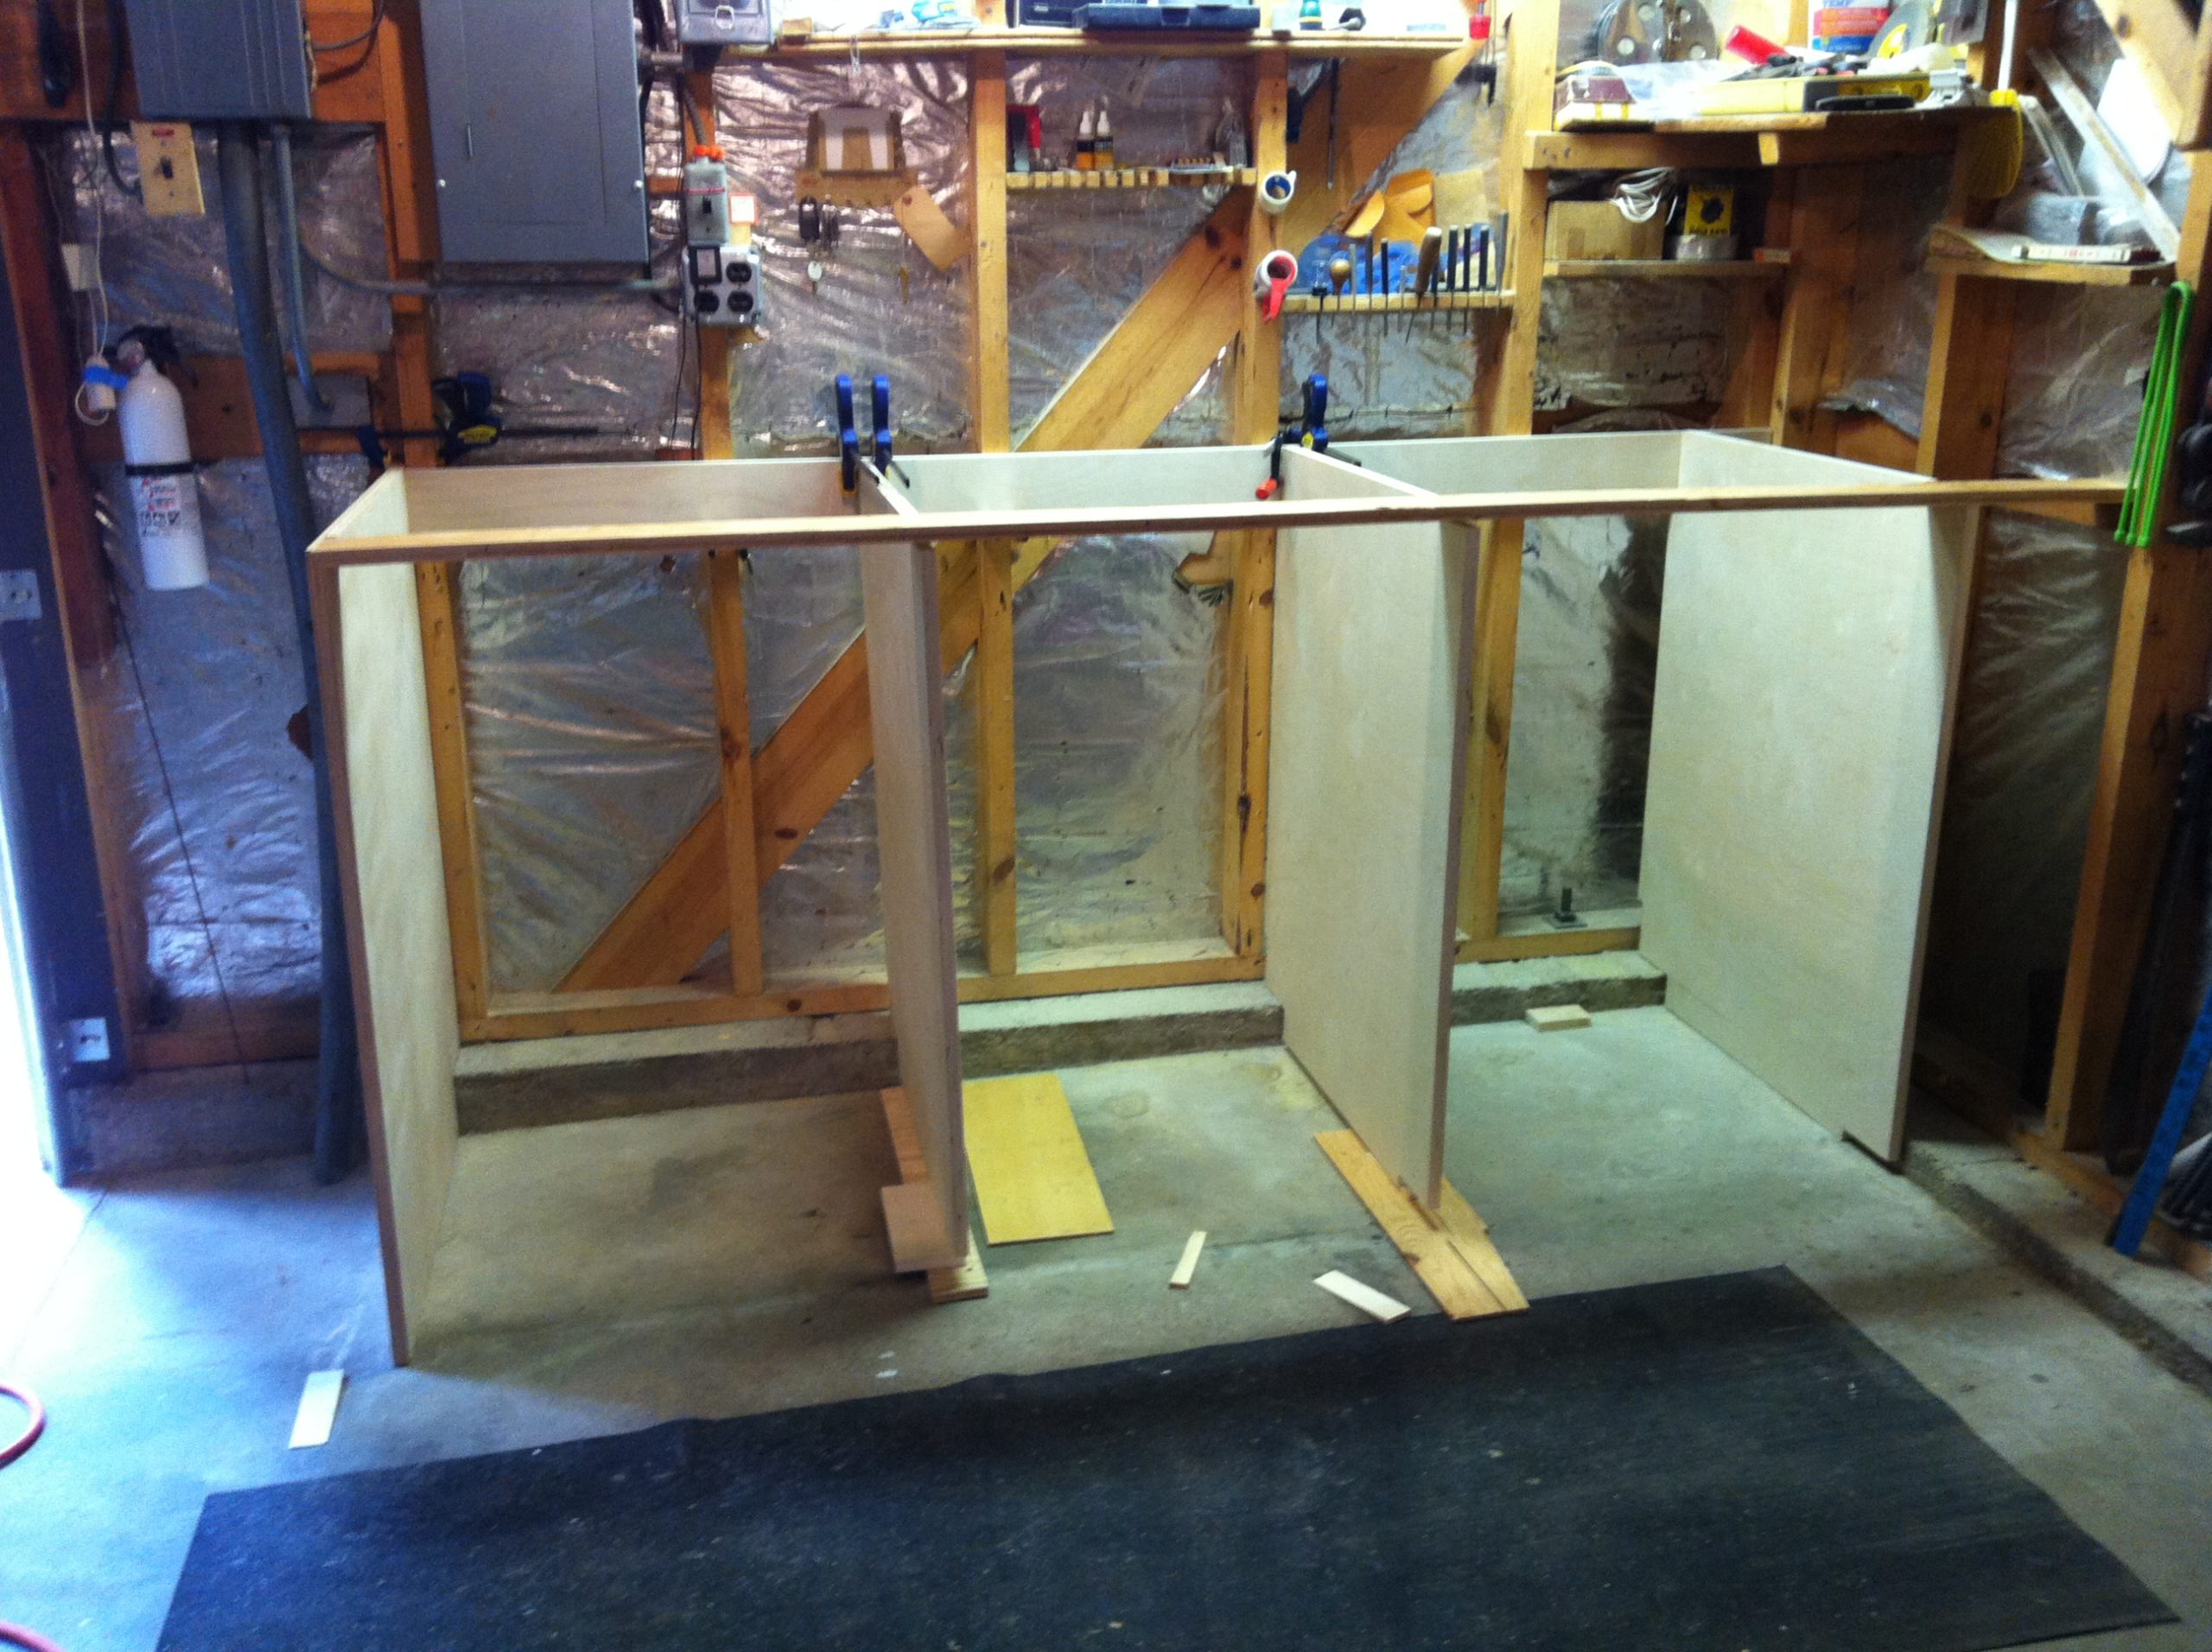
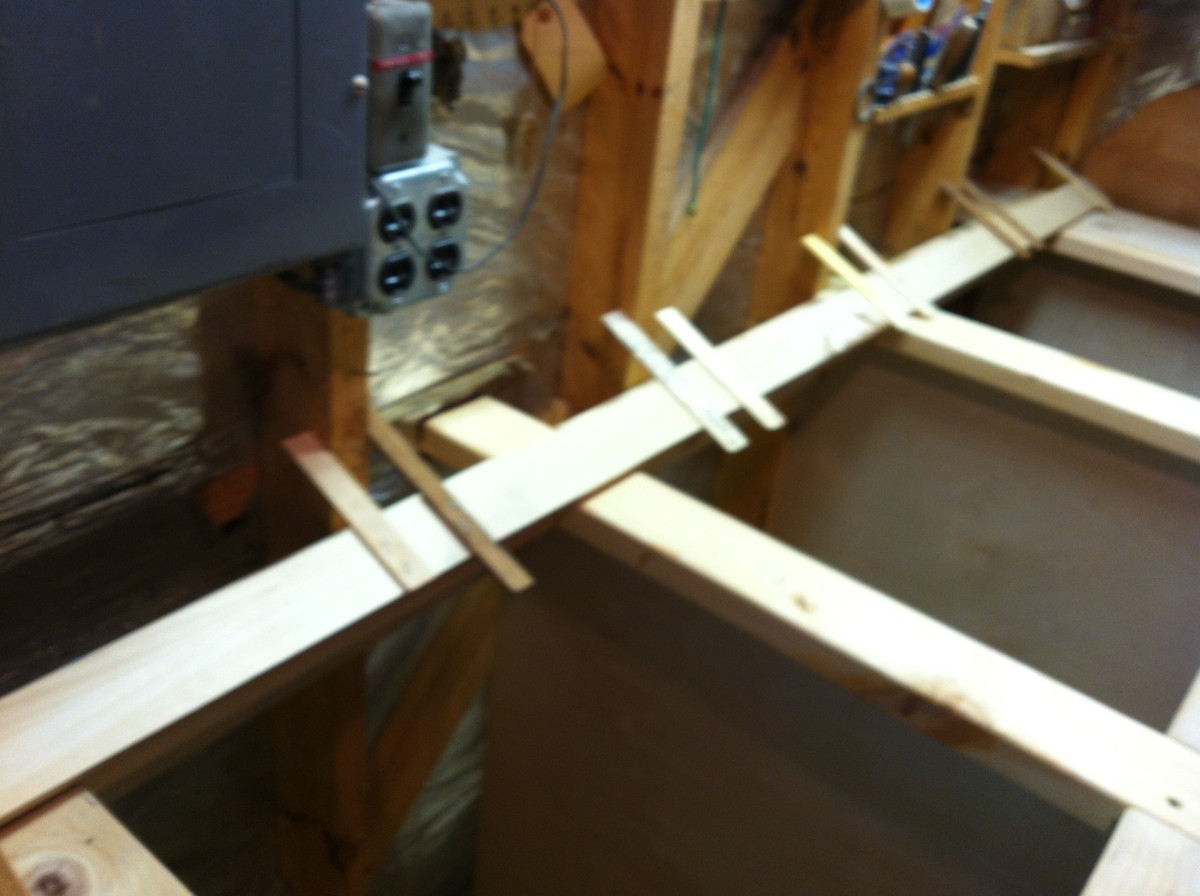
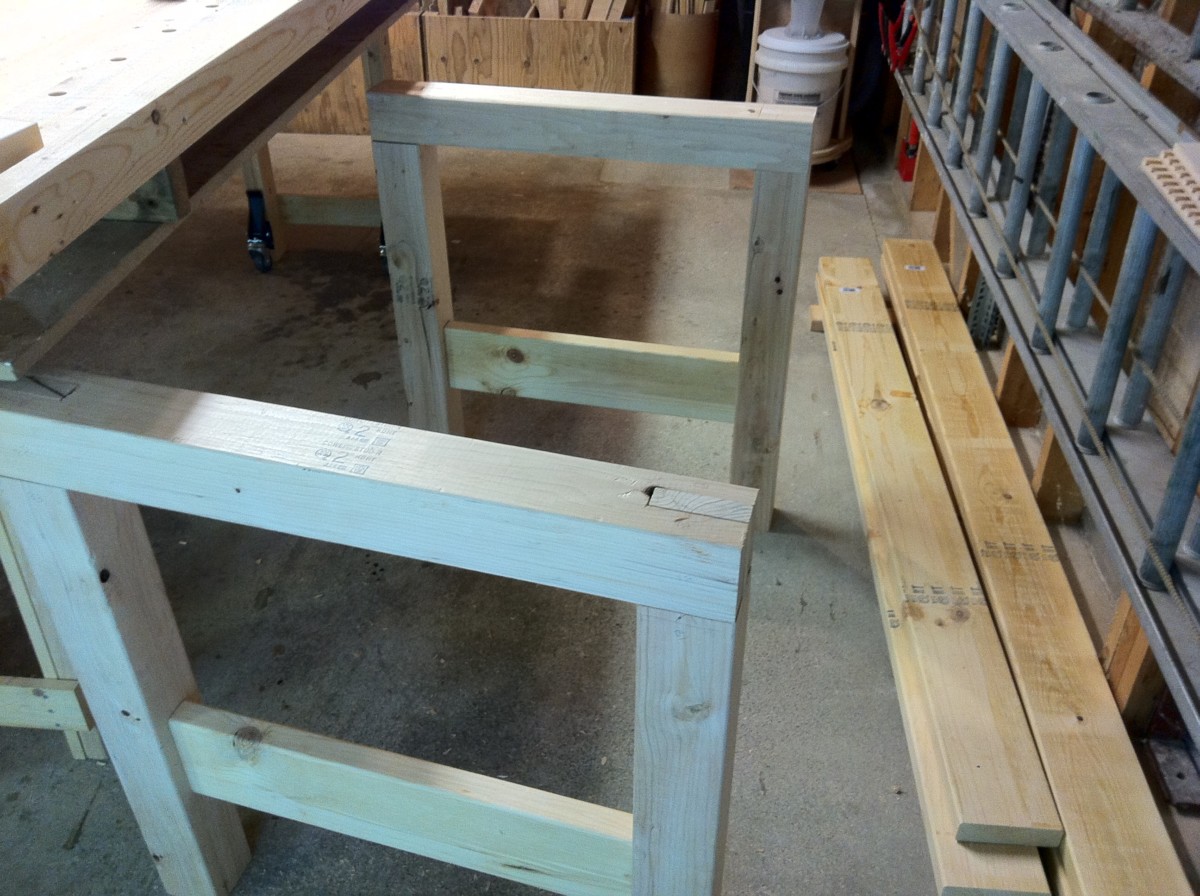
We've started on the new workbench. This is just an early mockup. The floor slopes 2" from right to left.

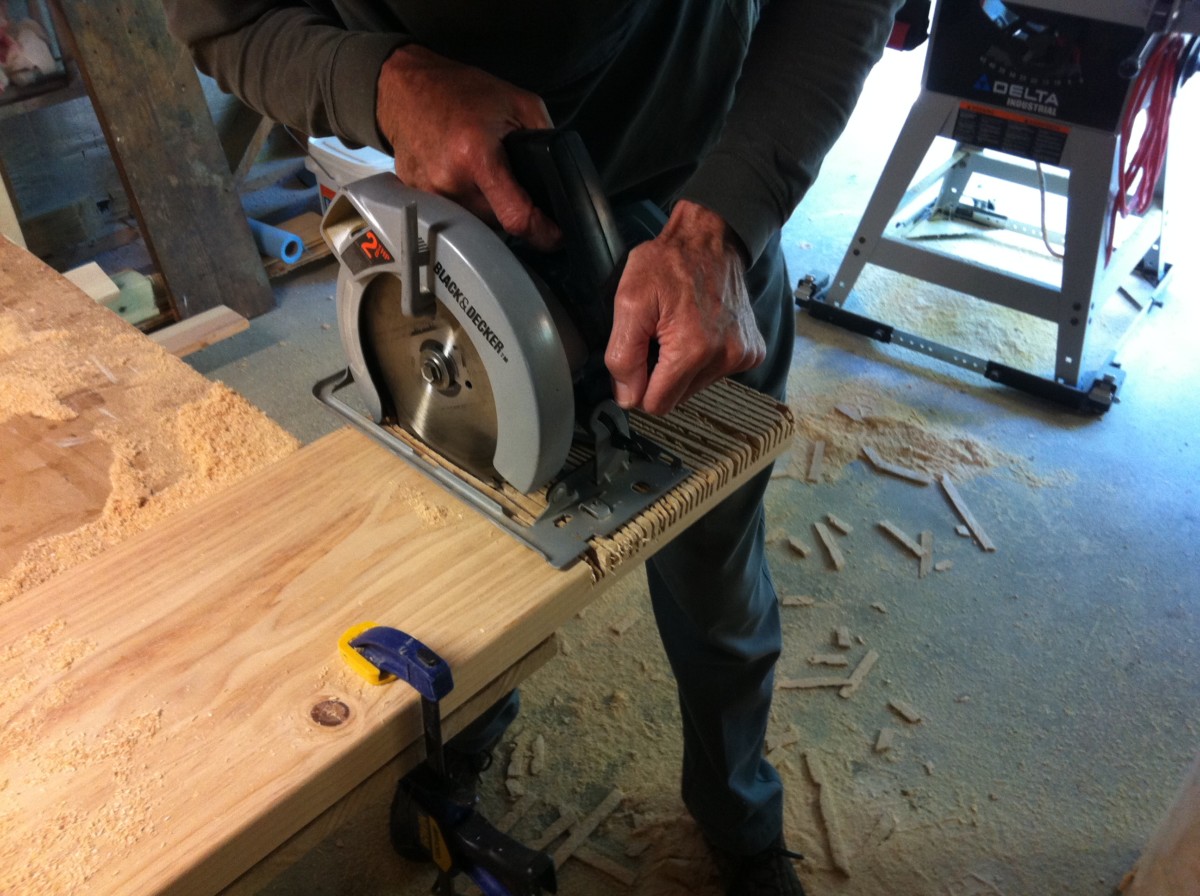
With the 2" slope on the left I decided that the bench would be too tall so here I am trimming a few inches off the bottom.
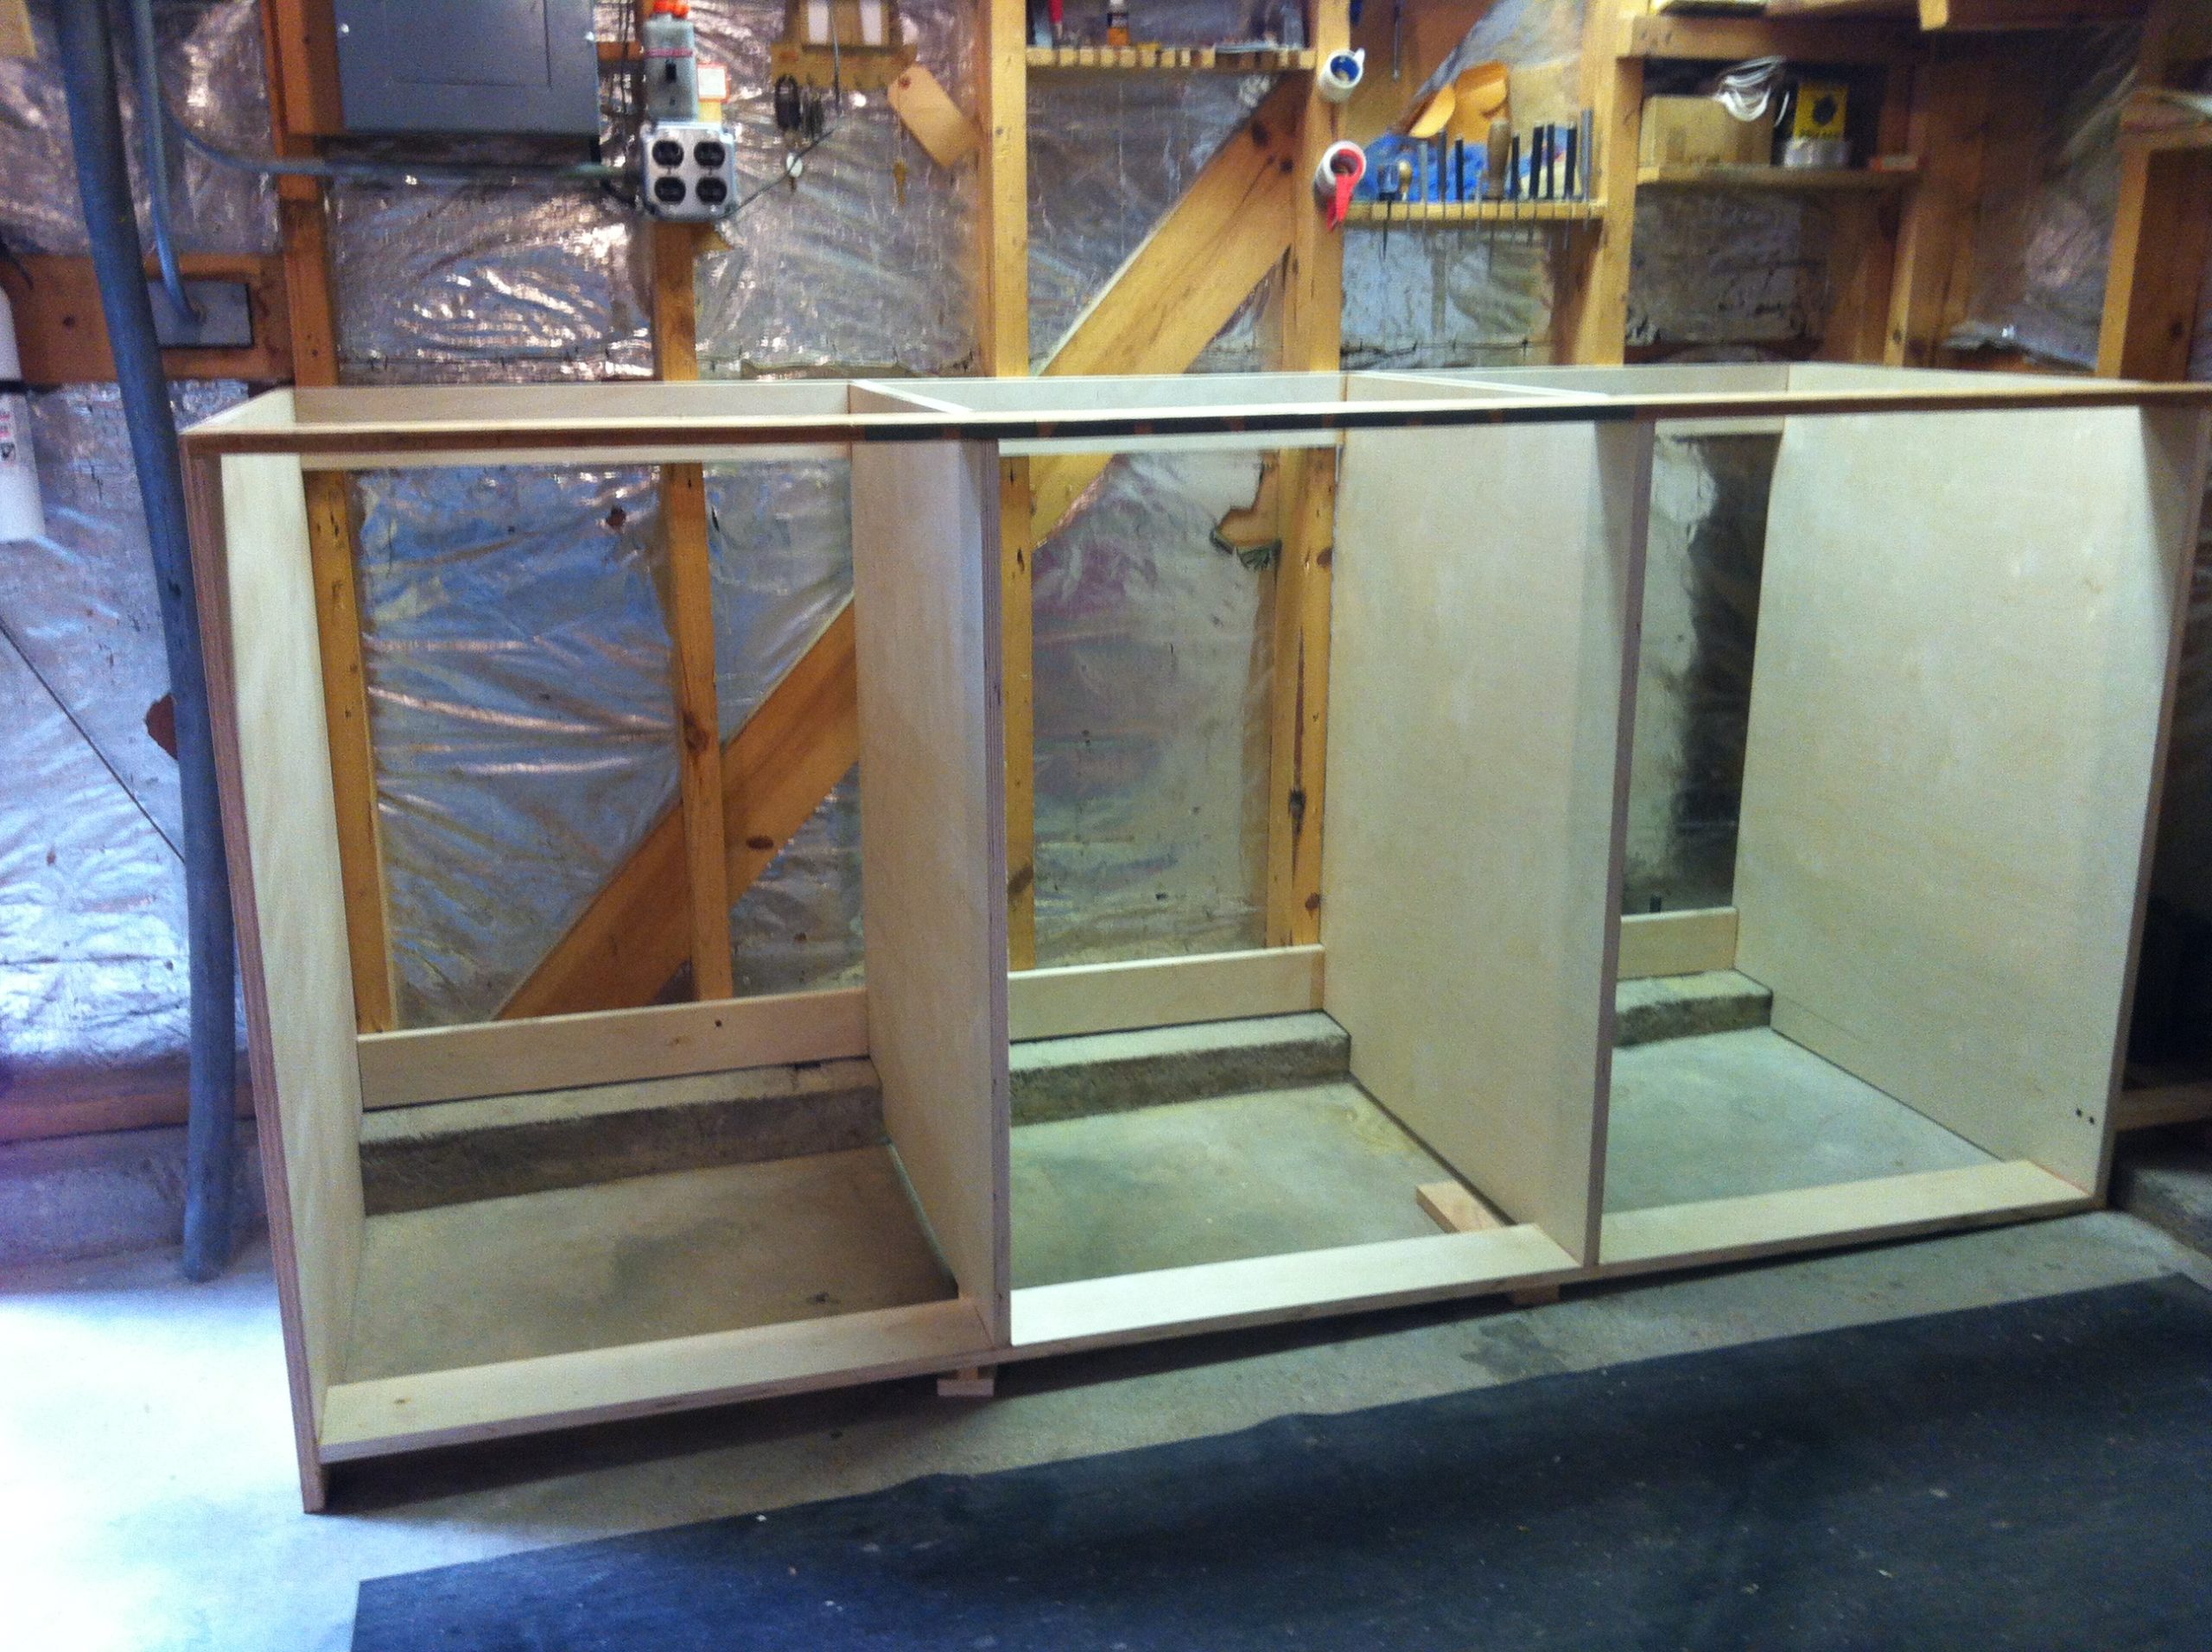
There! That looks better.
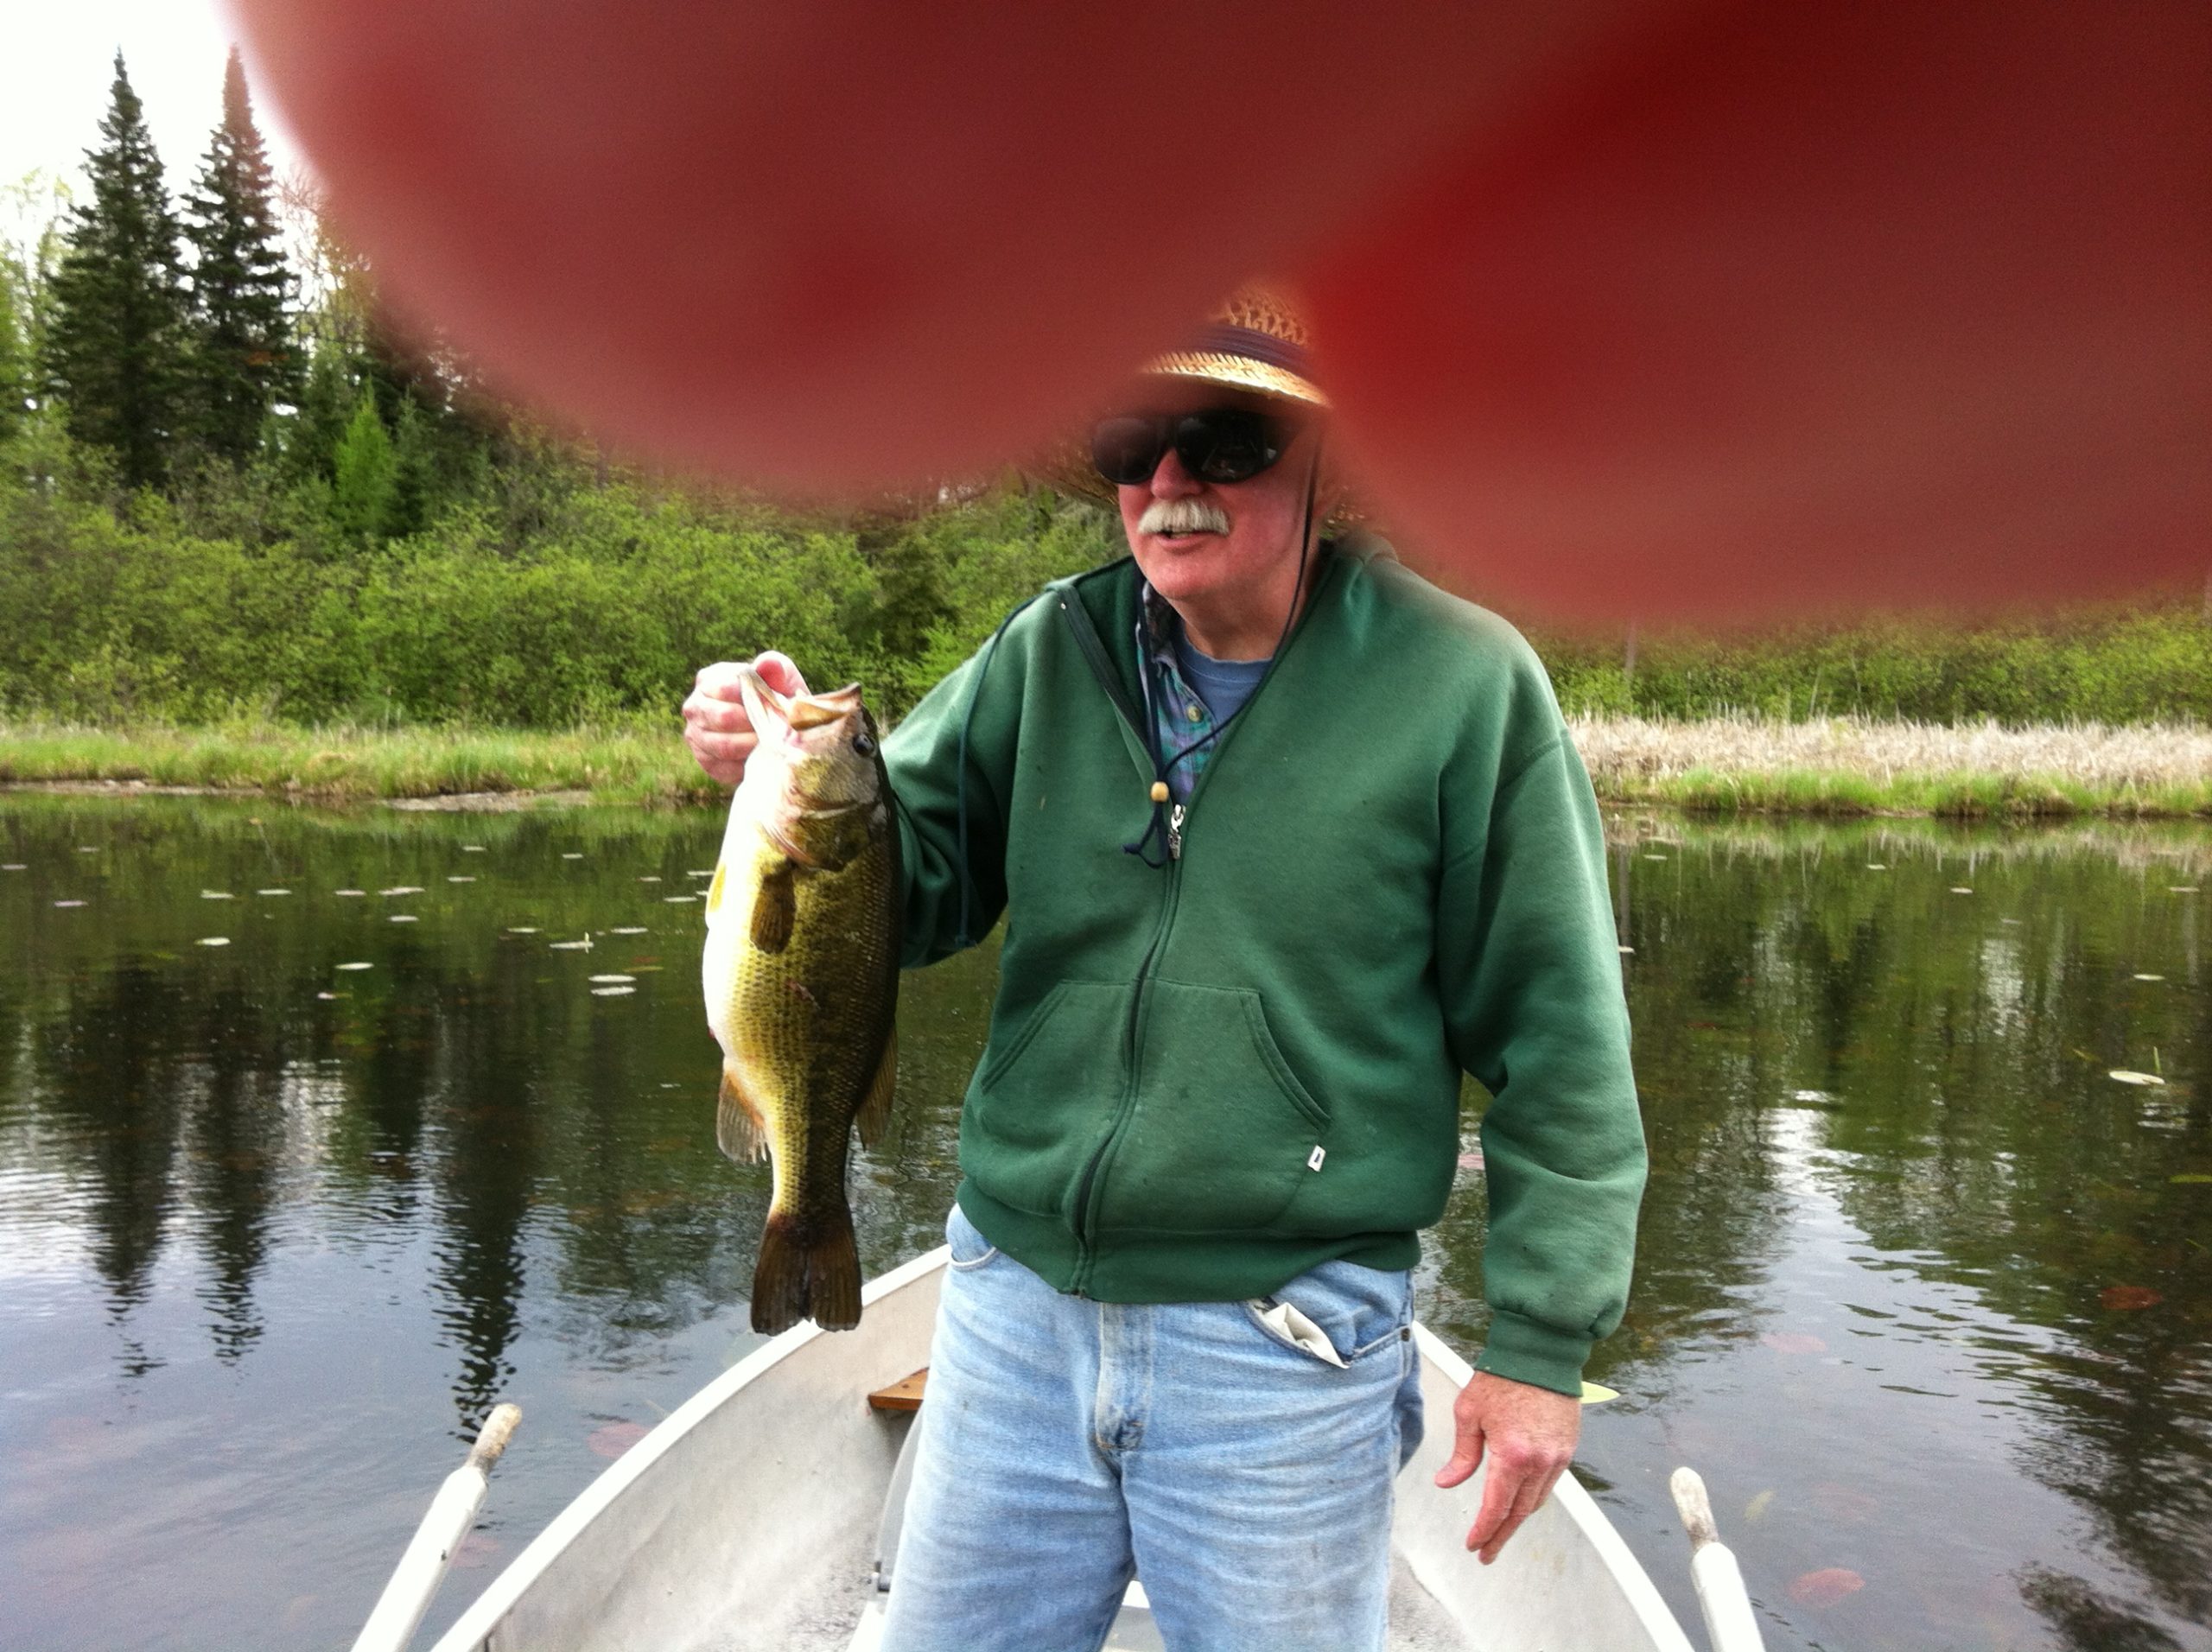
4.1 pounds. Biggest fish so far this year.

Another dead old ba birch tree. As tricky as it is to cut these down without killing ourselves hauling it to the burn pile is still the hardest part.

This is a bad picture but that is a turkey sitting on the railing out there trying to get seeds out of the thistle feeder.
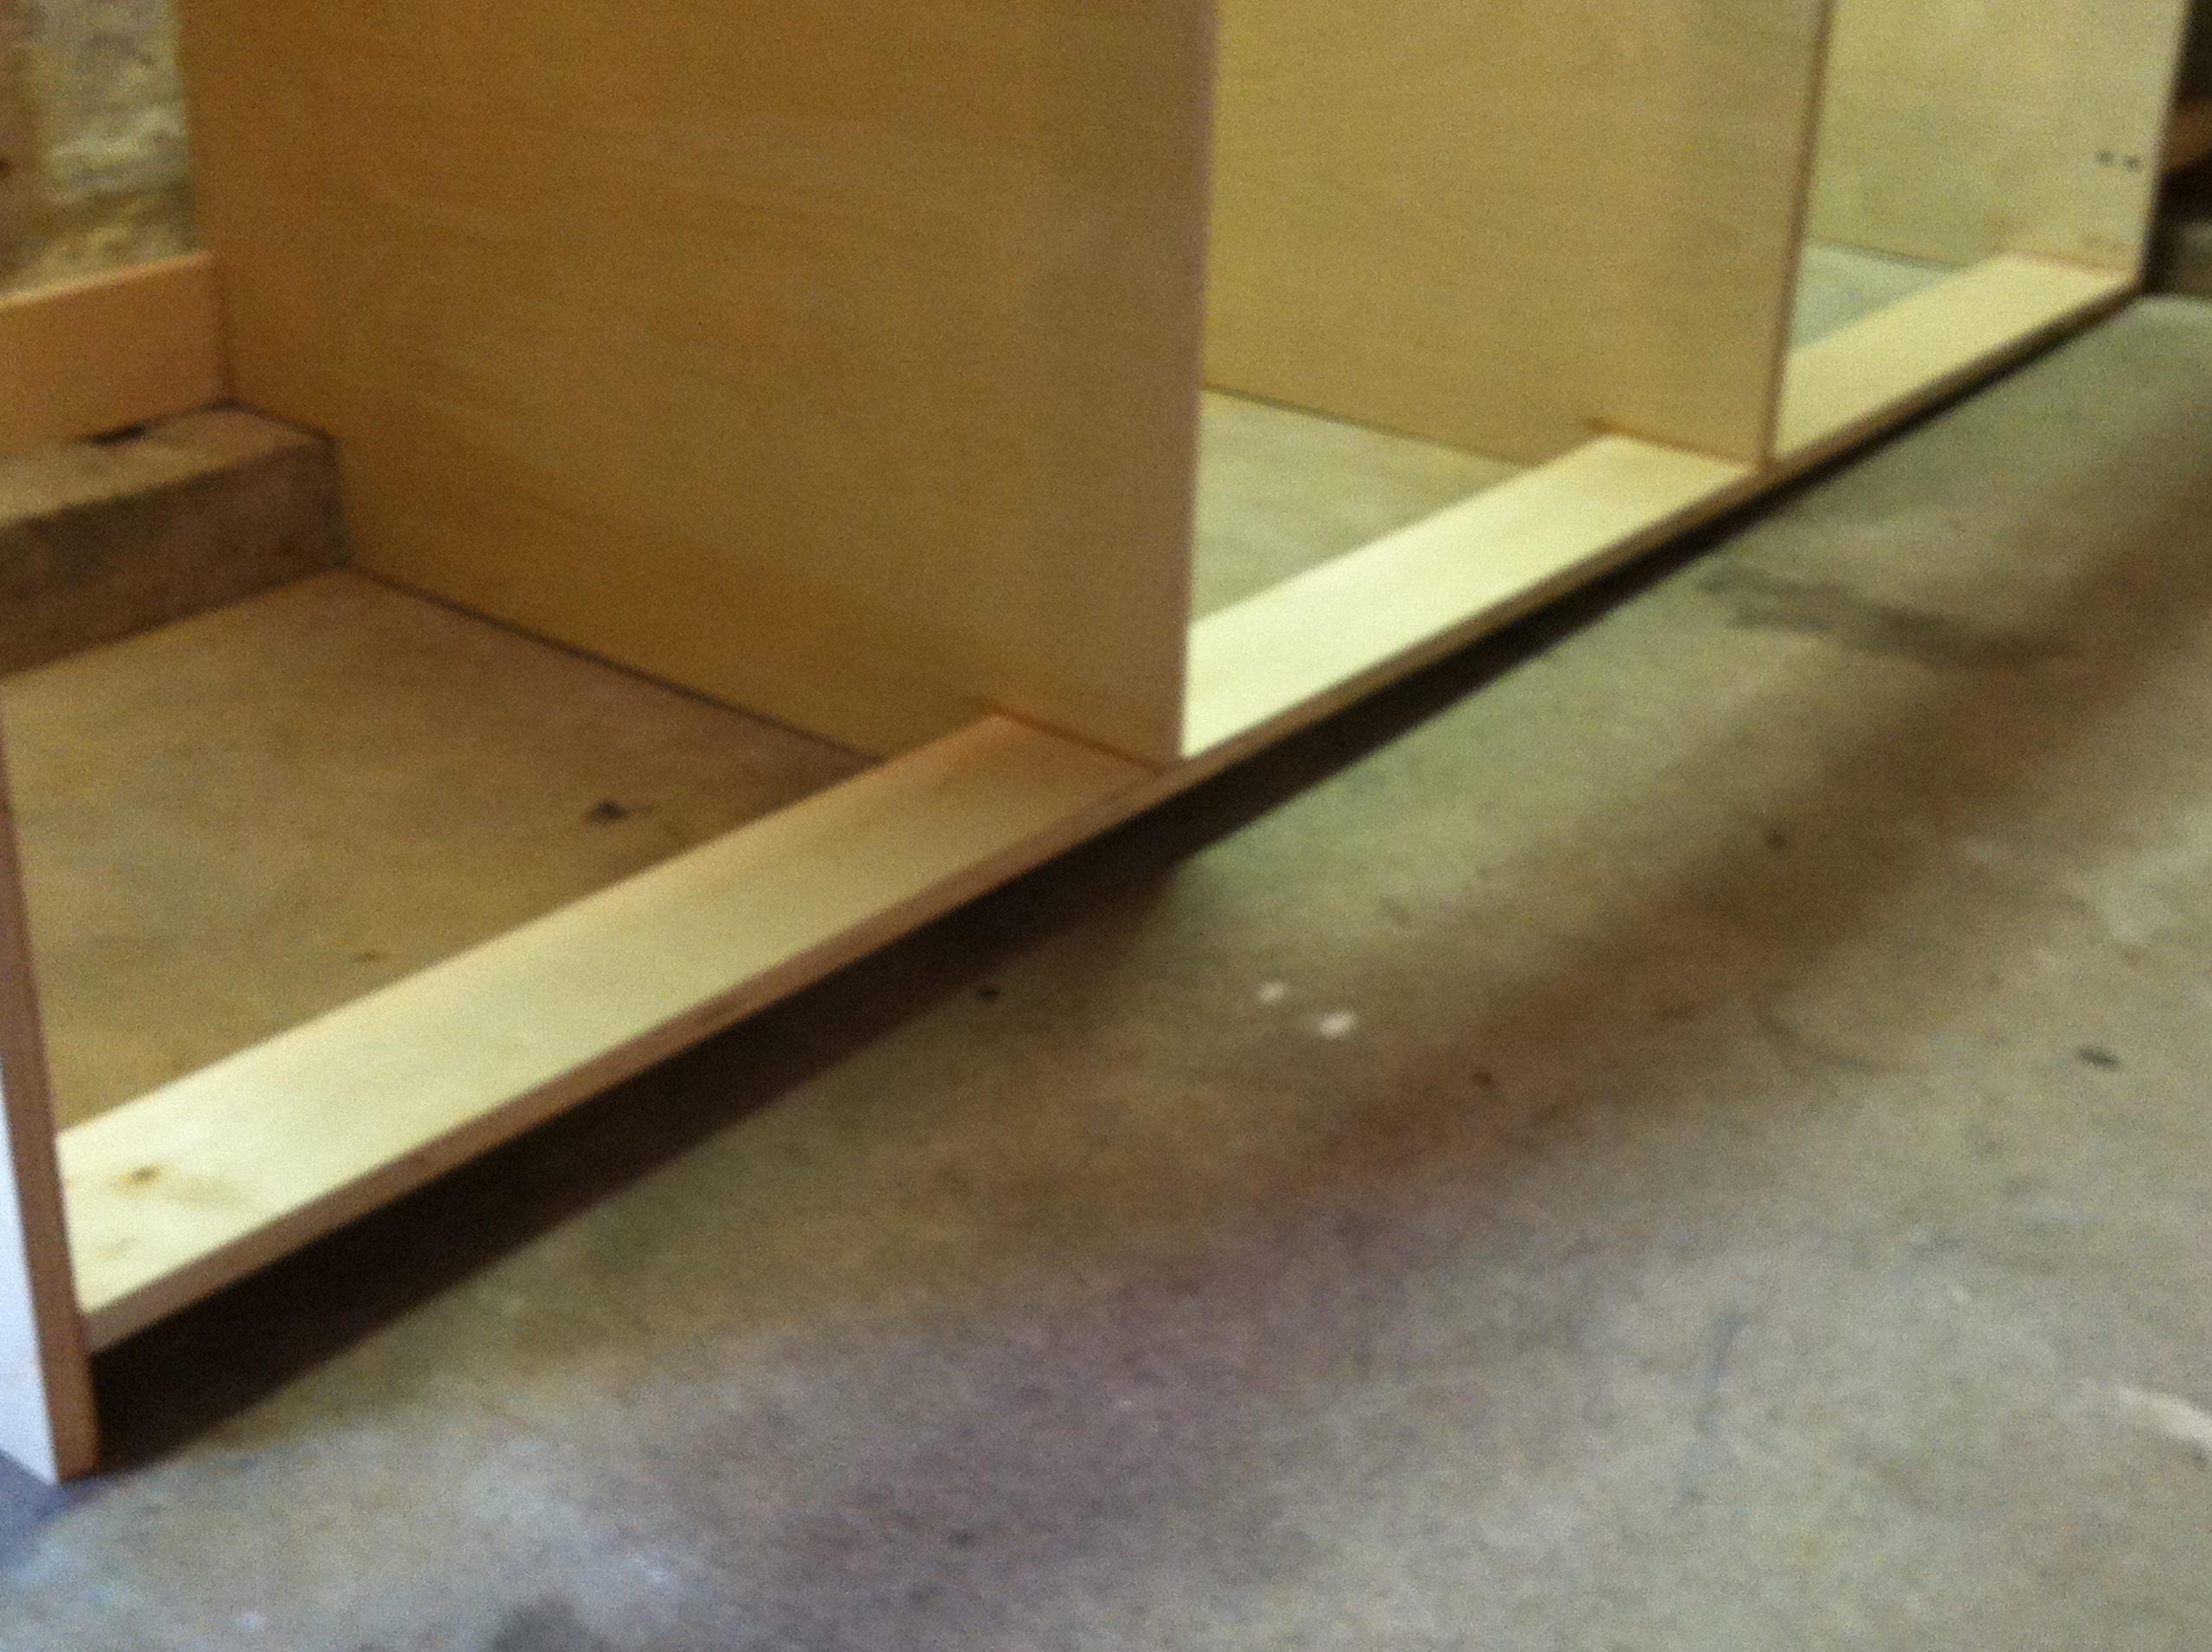
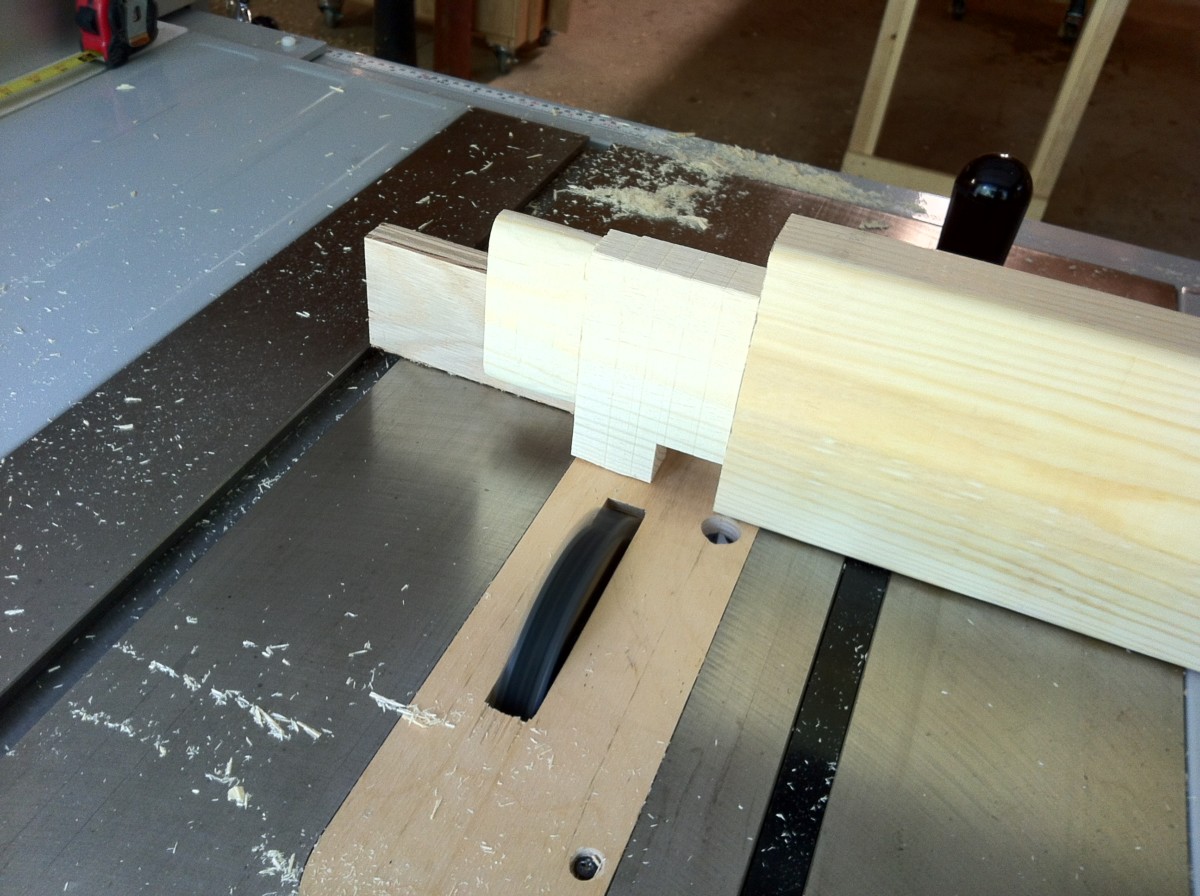
Here is the 2" gap caused by the slope in the floor. We put a 2x4 in front of it and marked along the top of that bottom cleat.

Then we fixed a straight 1x8 on the line and used that as a guide for the table saw. This is the resulting wedge.

It fit pretty well.
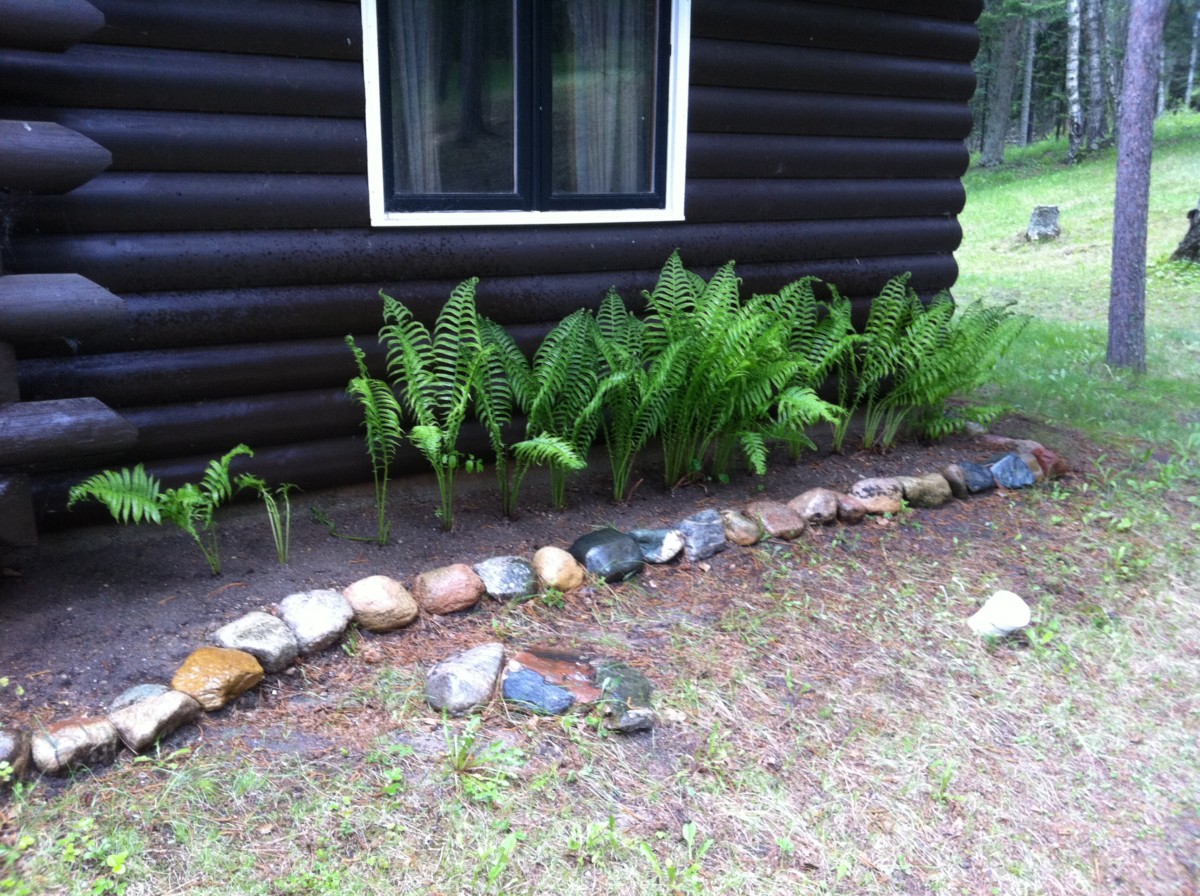
It's still early days but the ferns by the cabin look pretty good.
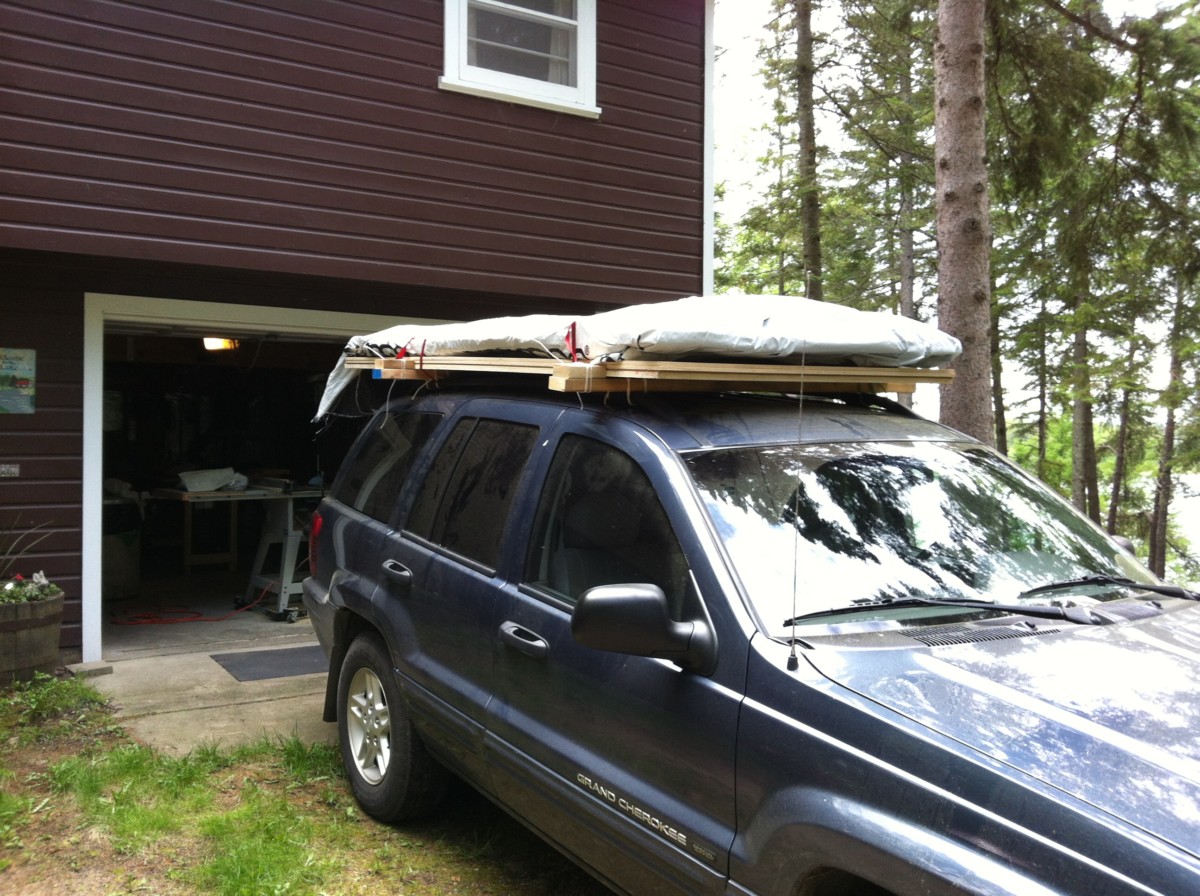
A trip to Menard's in Bemidji to get the rest of the plywood I need for the workbench.

And now we have another buried cable in the yard (internet).
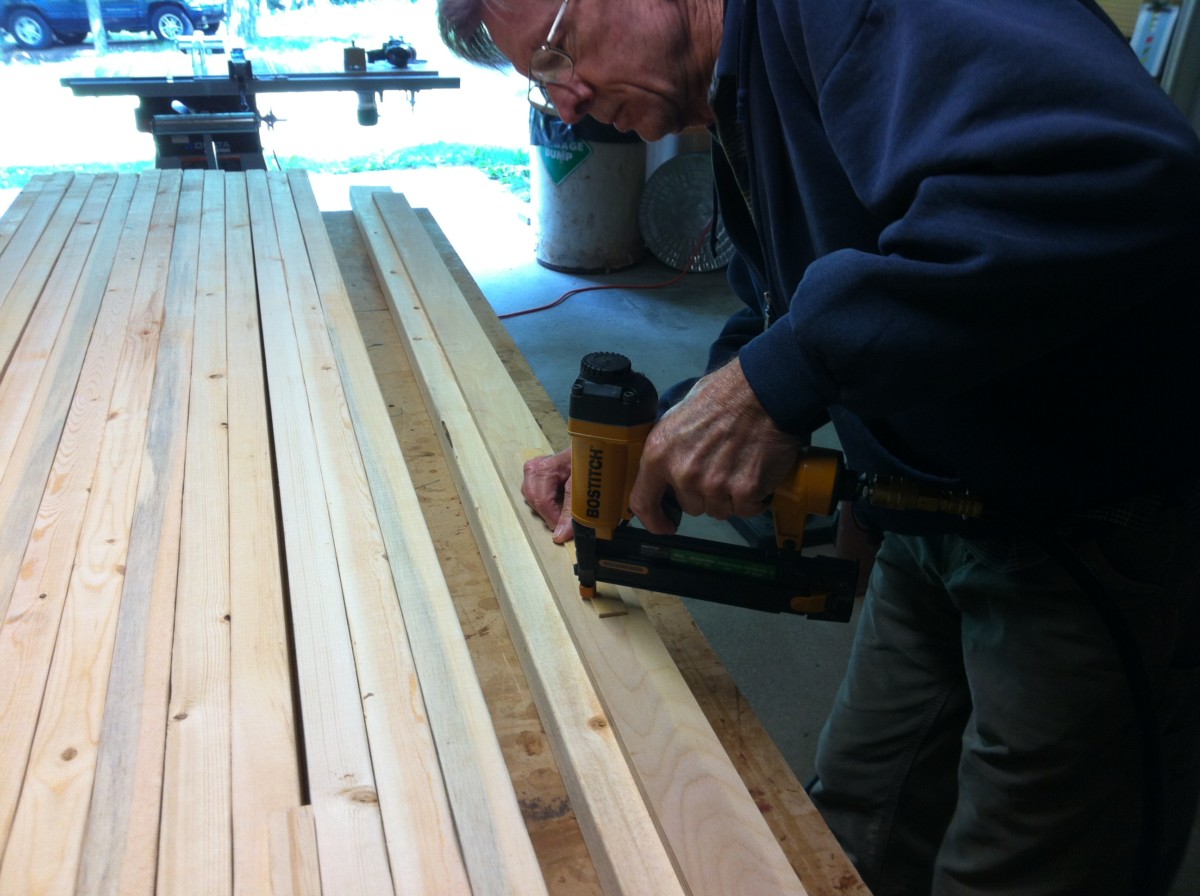
Back on the workbench. Cutting kerfs in 2x10s for a half-lap joint.

The circular saw removes most of the waste.
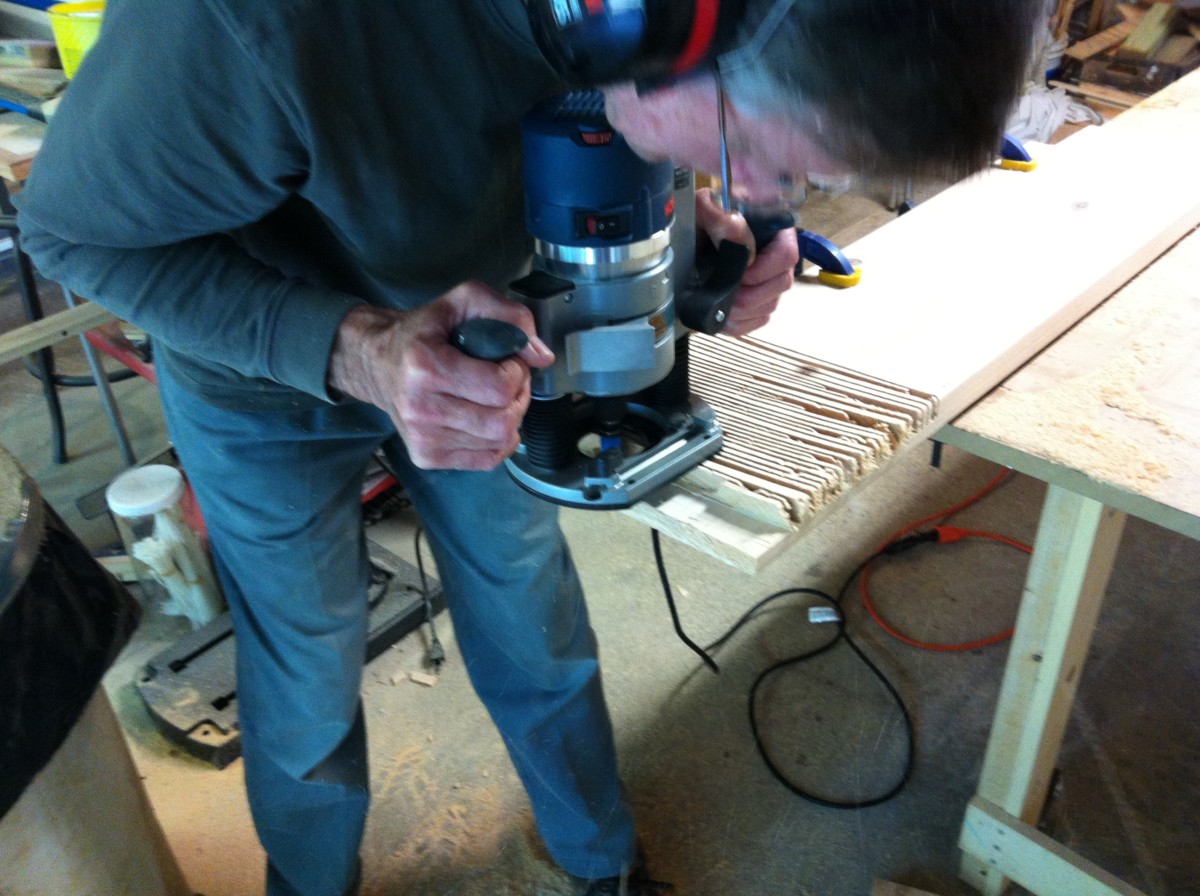
Then the router can remove the rest as long as we start at the end and work inward so the router base has something to rest on.
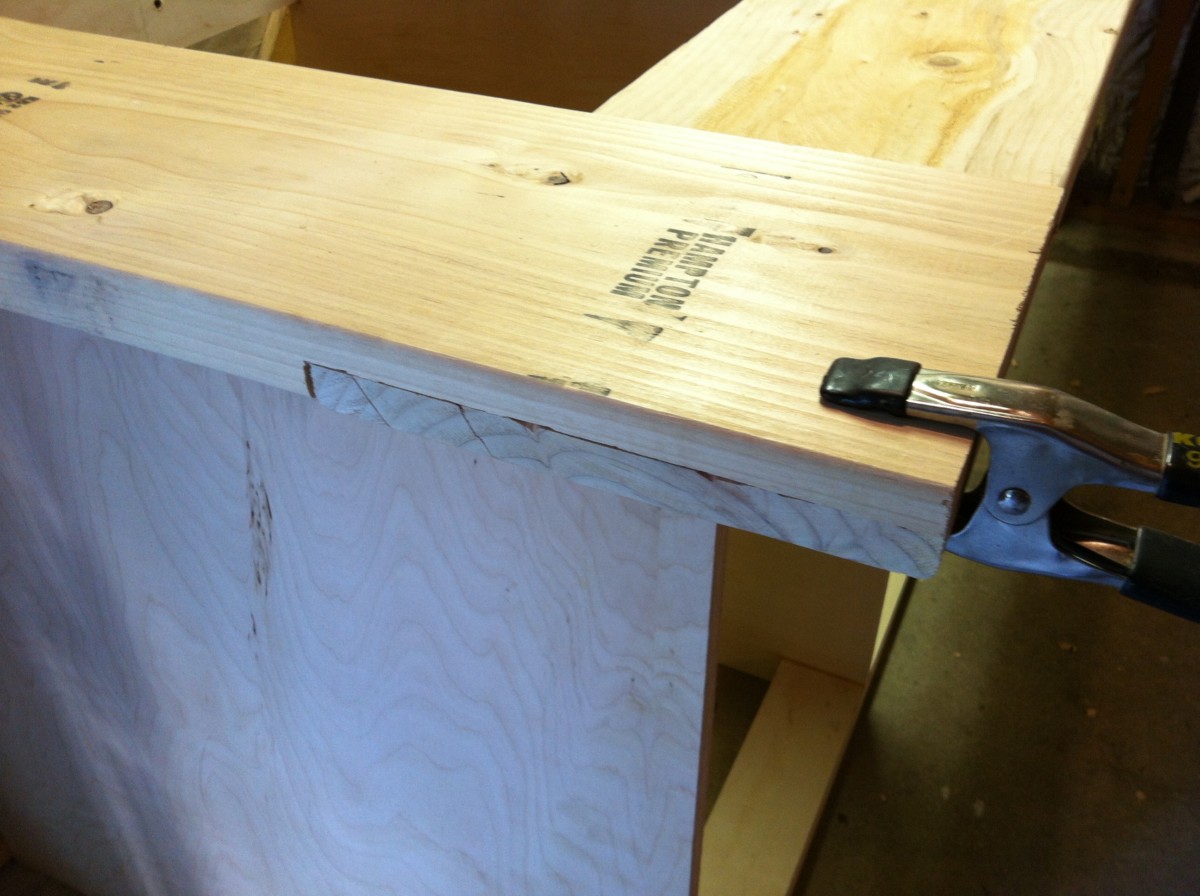
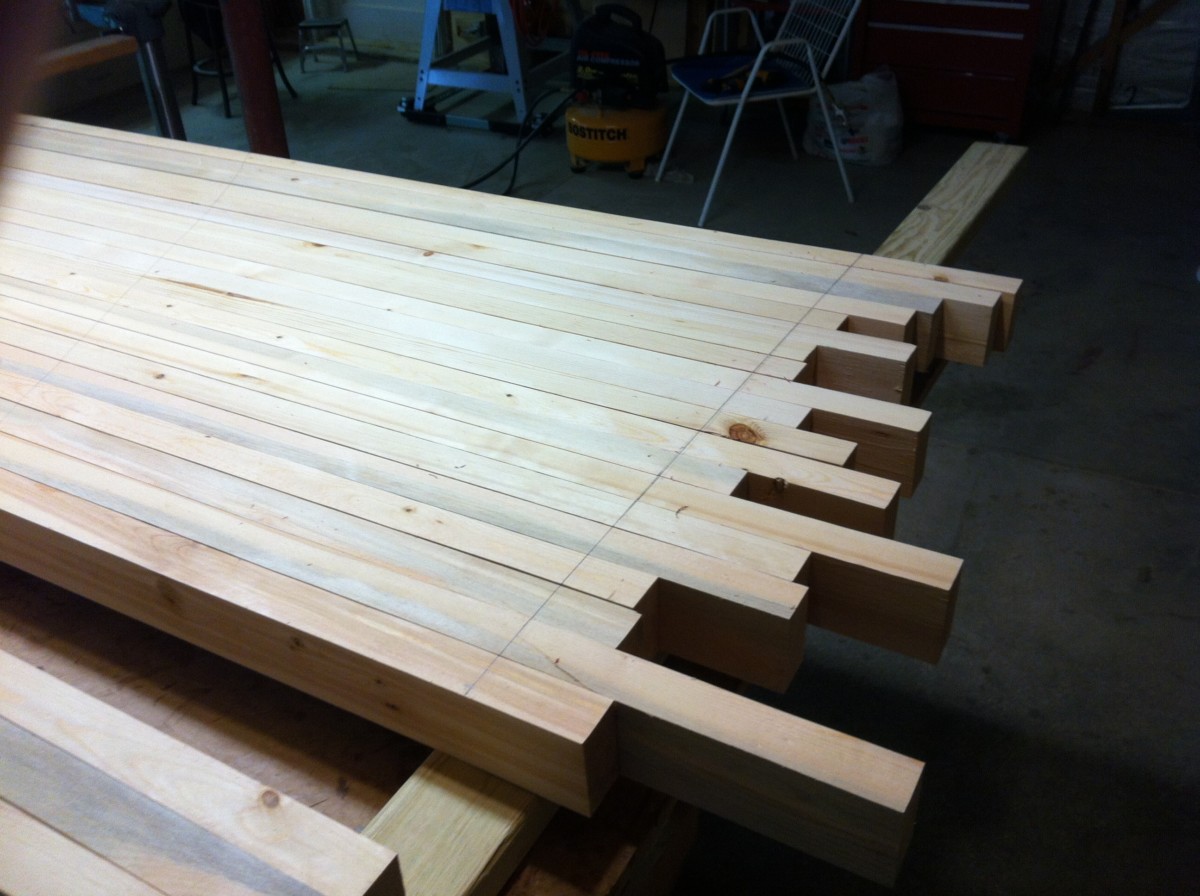
Half-lap joint. I was going to reuse the boards from the old bench but they were too beat up.
It rained all day so we finished doing the half-laps for the 2x top support. That produced a lot of sawdust.

Finally the creeping phlox appears to be doing well.
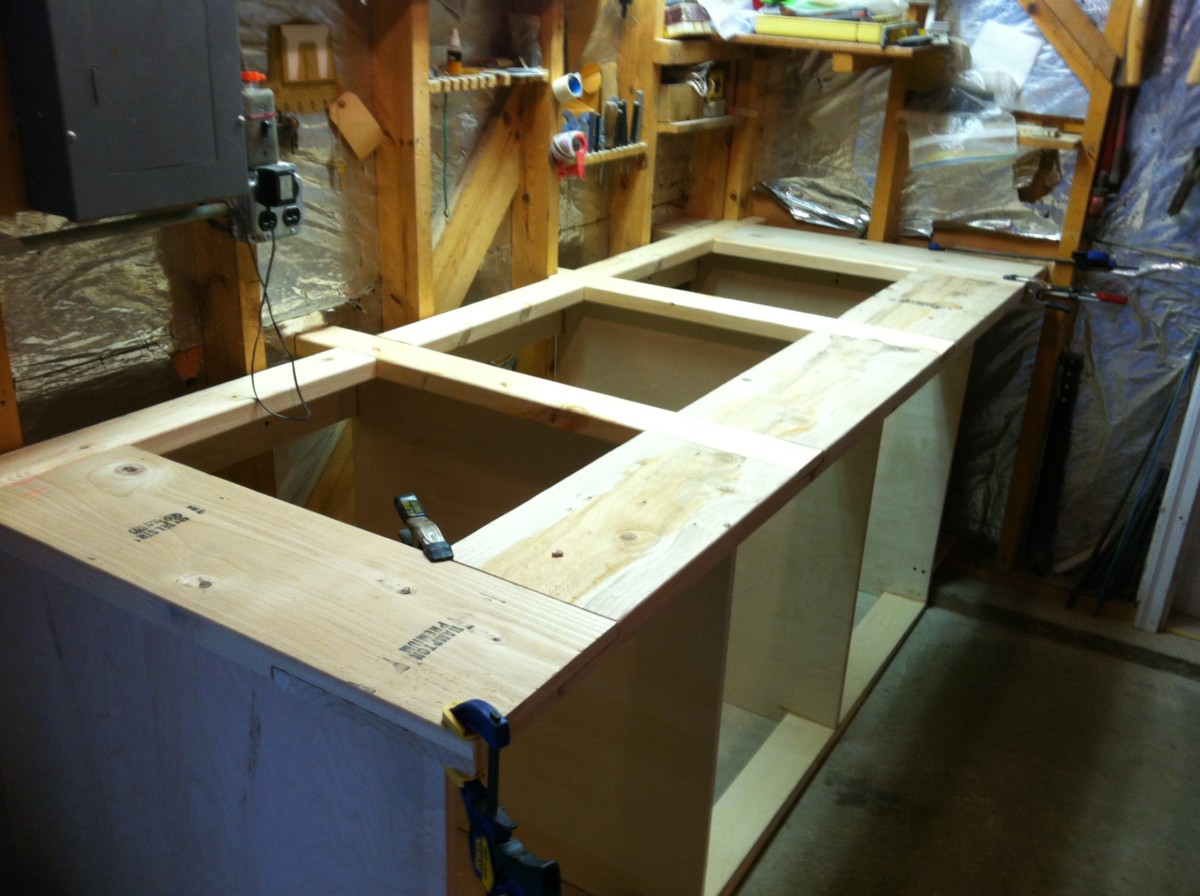
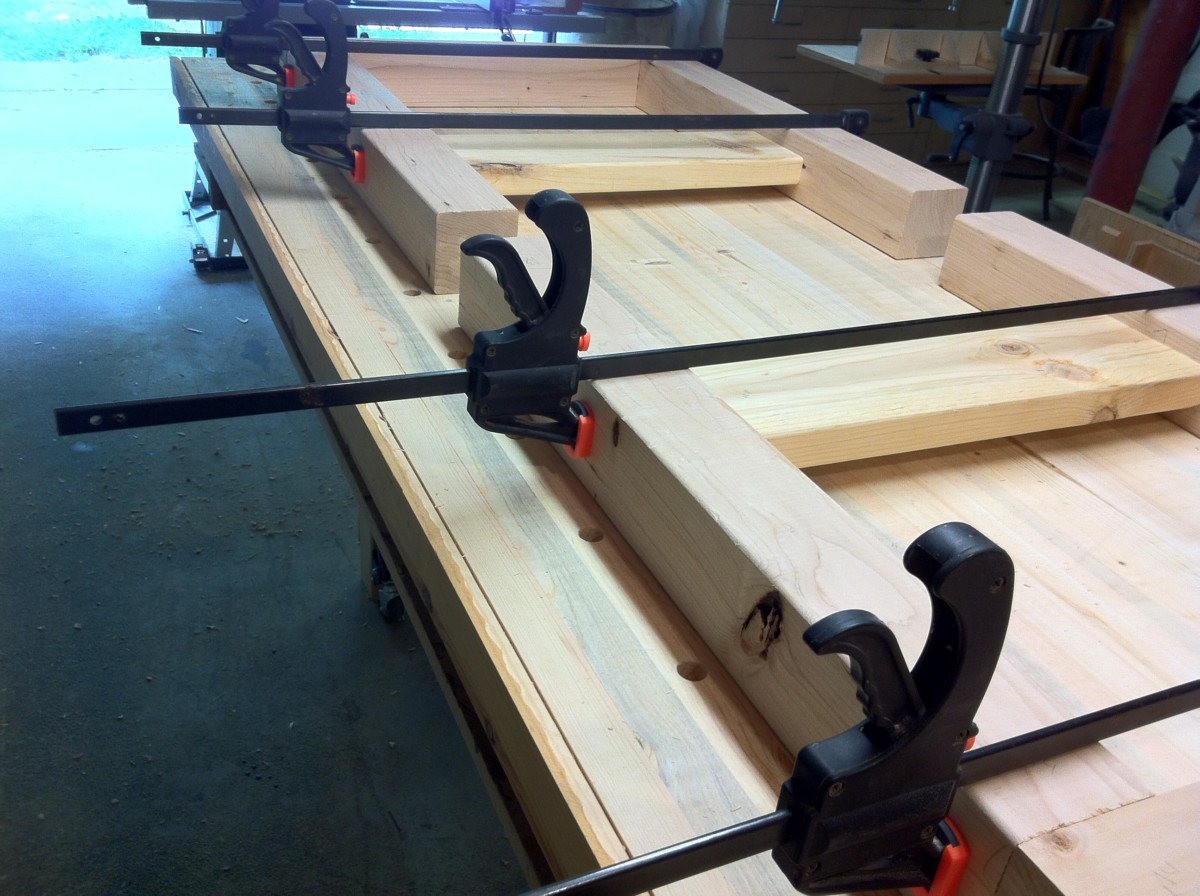
Today's workbench task was to glue and screw together the 2x top support and cut up a 4x8 sheet of 1/2" Baltic birch plywood into 4" strips.
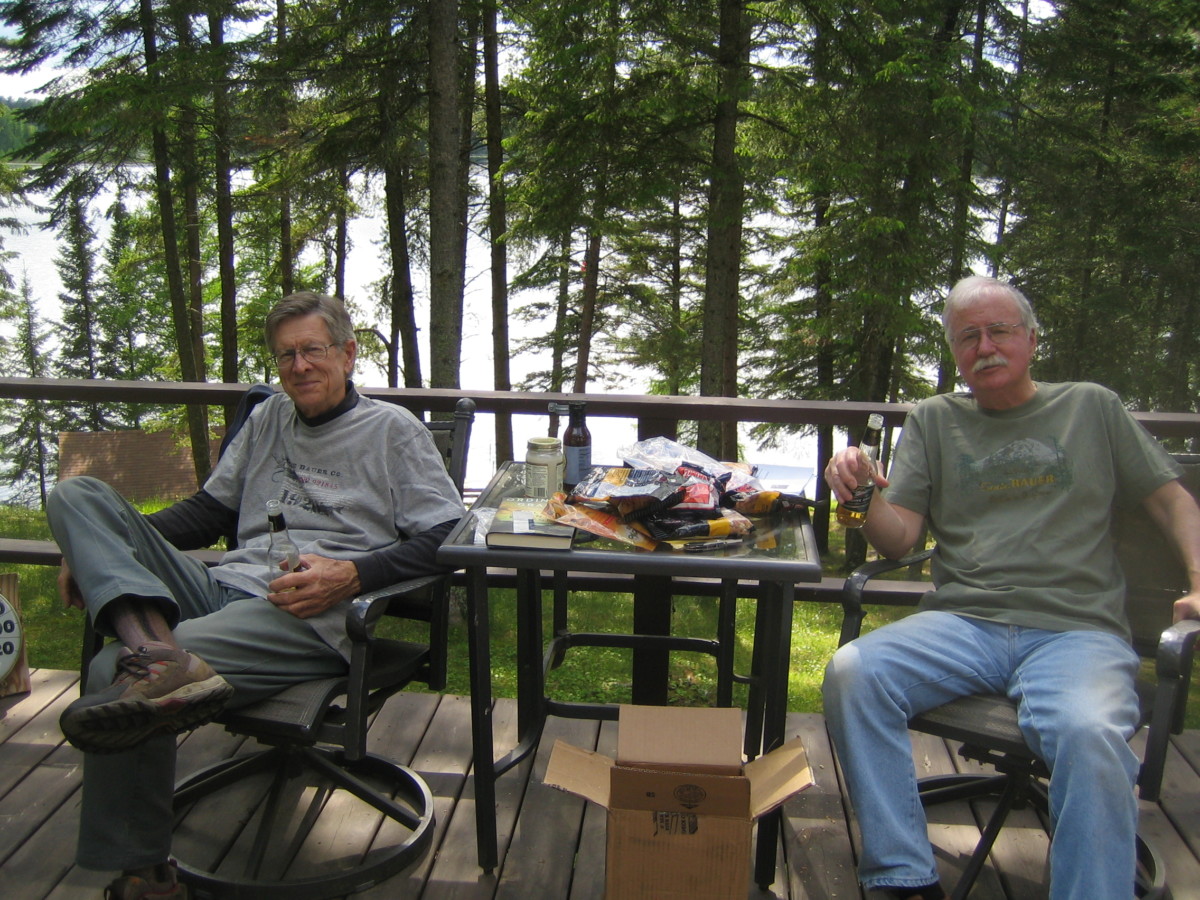
We got a present today from Dorothy: new lucky fishing t-shirts and lots of tasty goodies. Thank you.
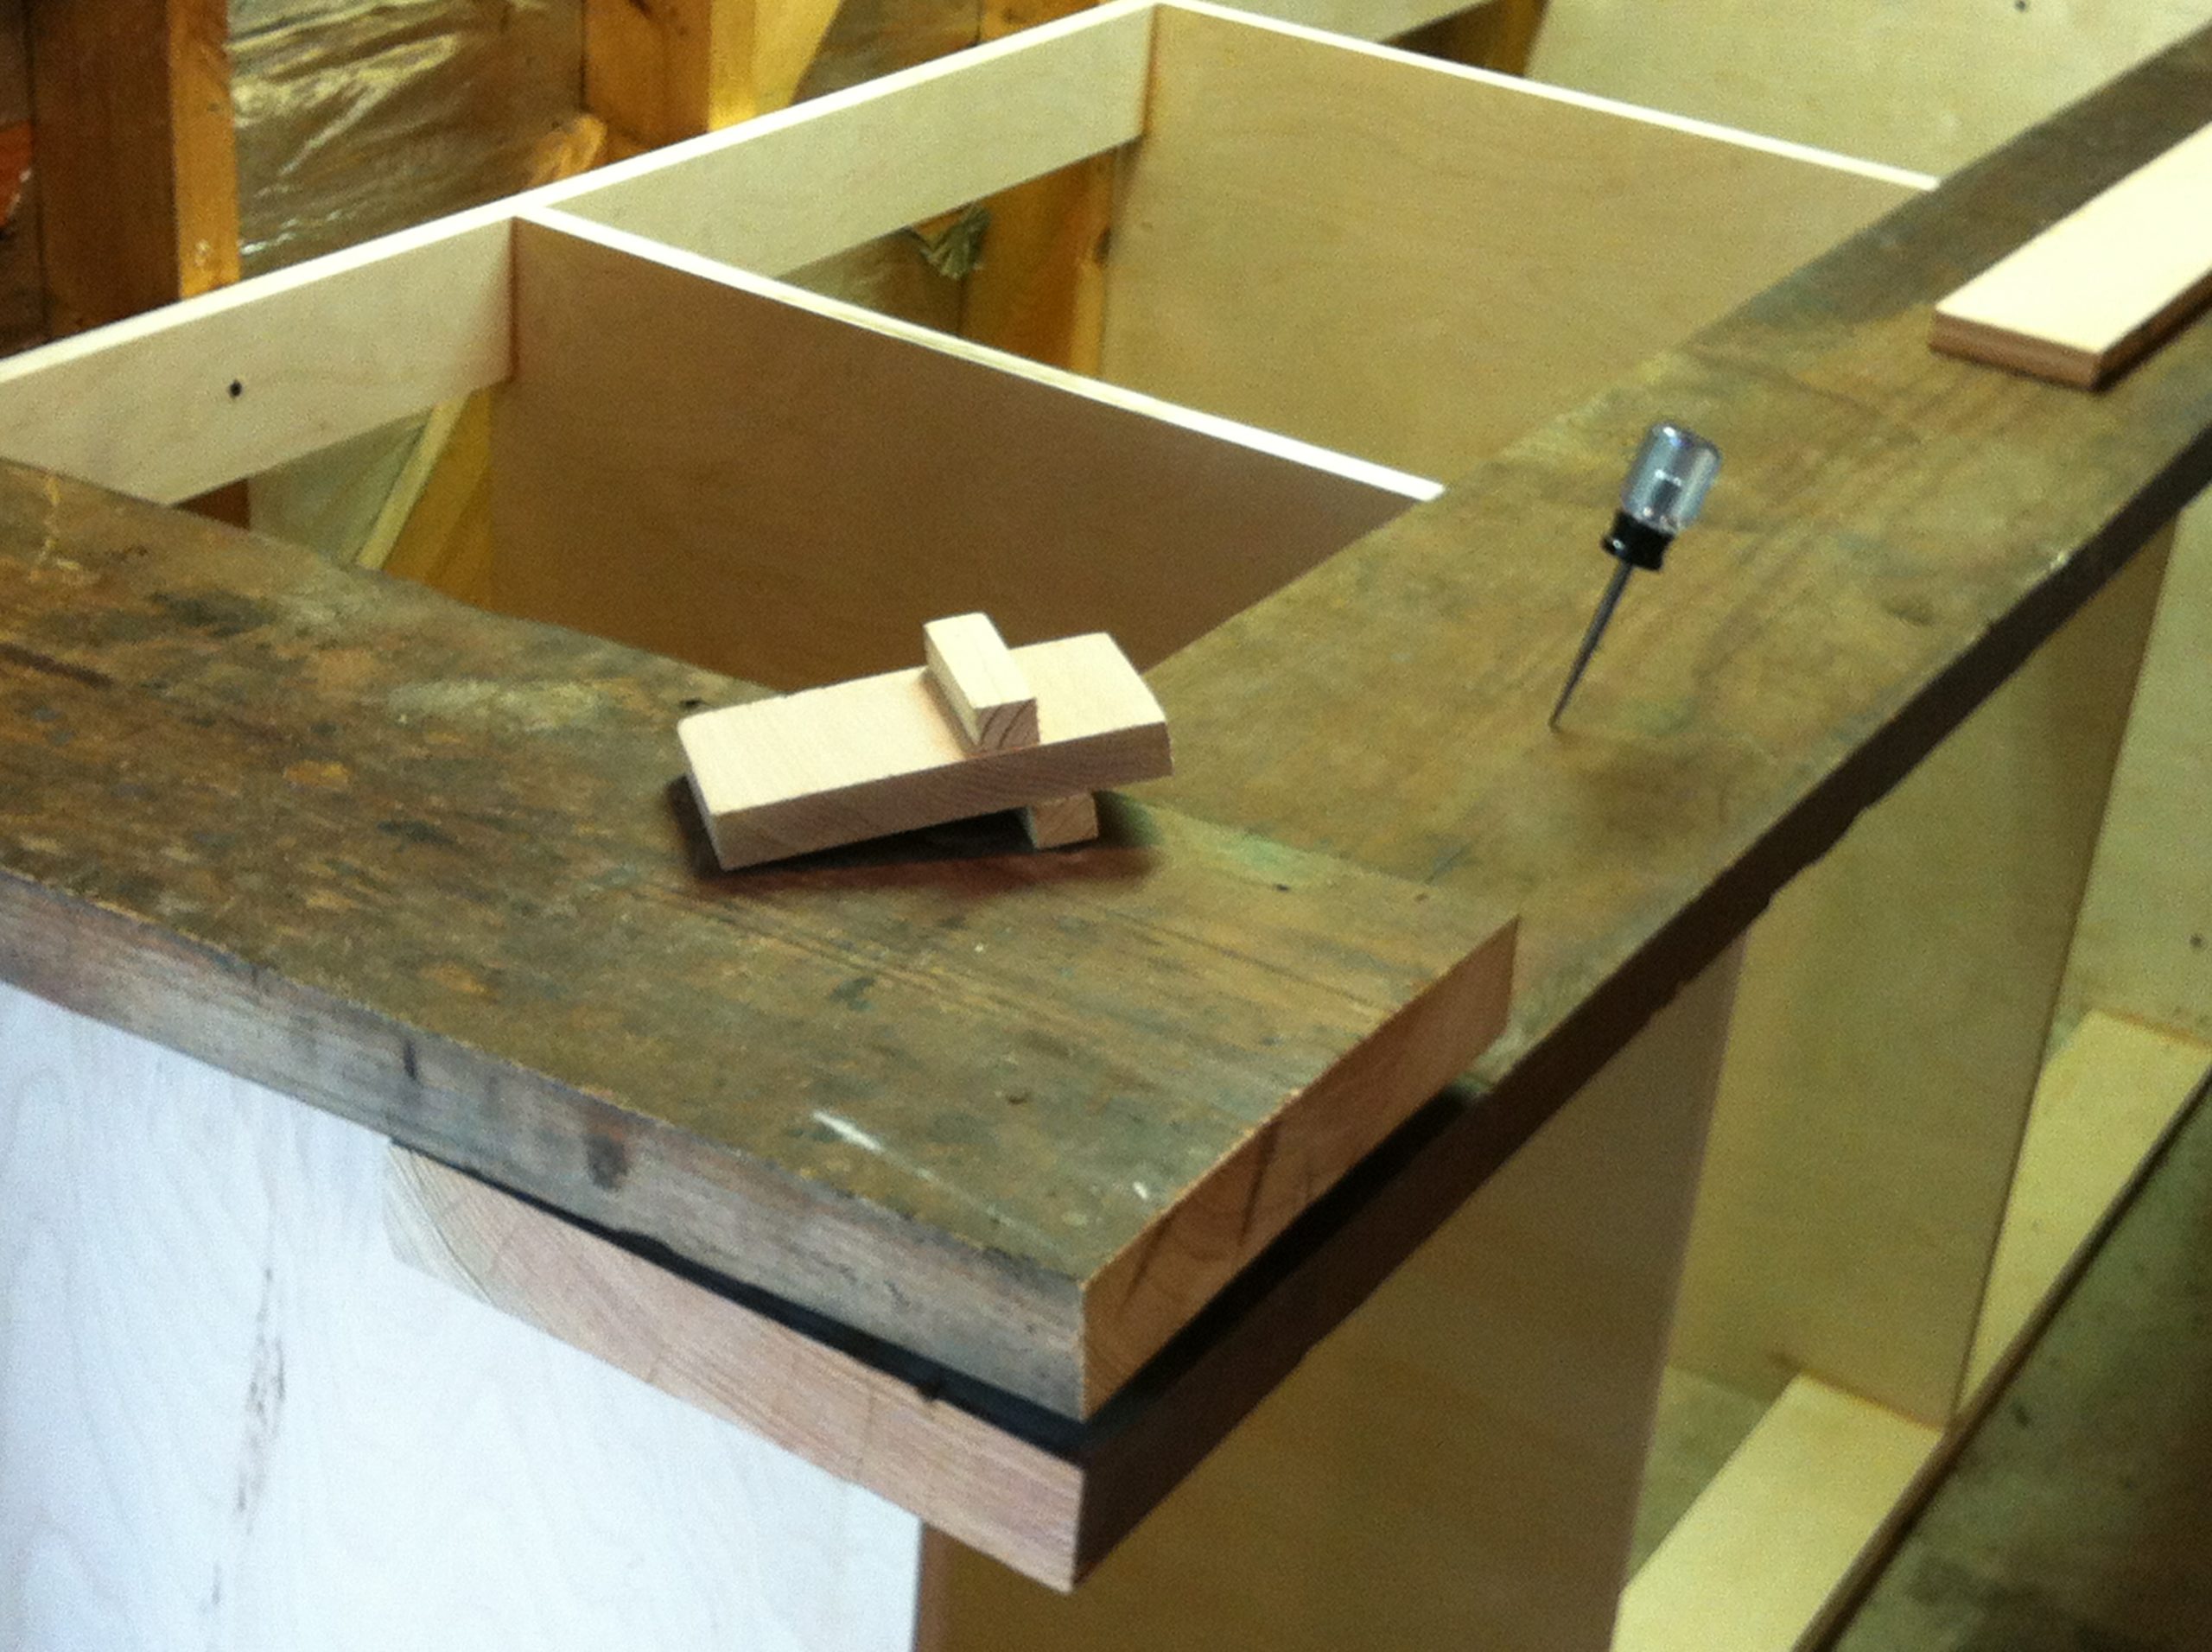
A simple story stick to mark the locations of the studs.

After a little fiddling with the jigsaw the top actually fit.
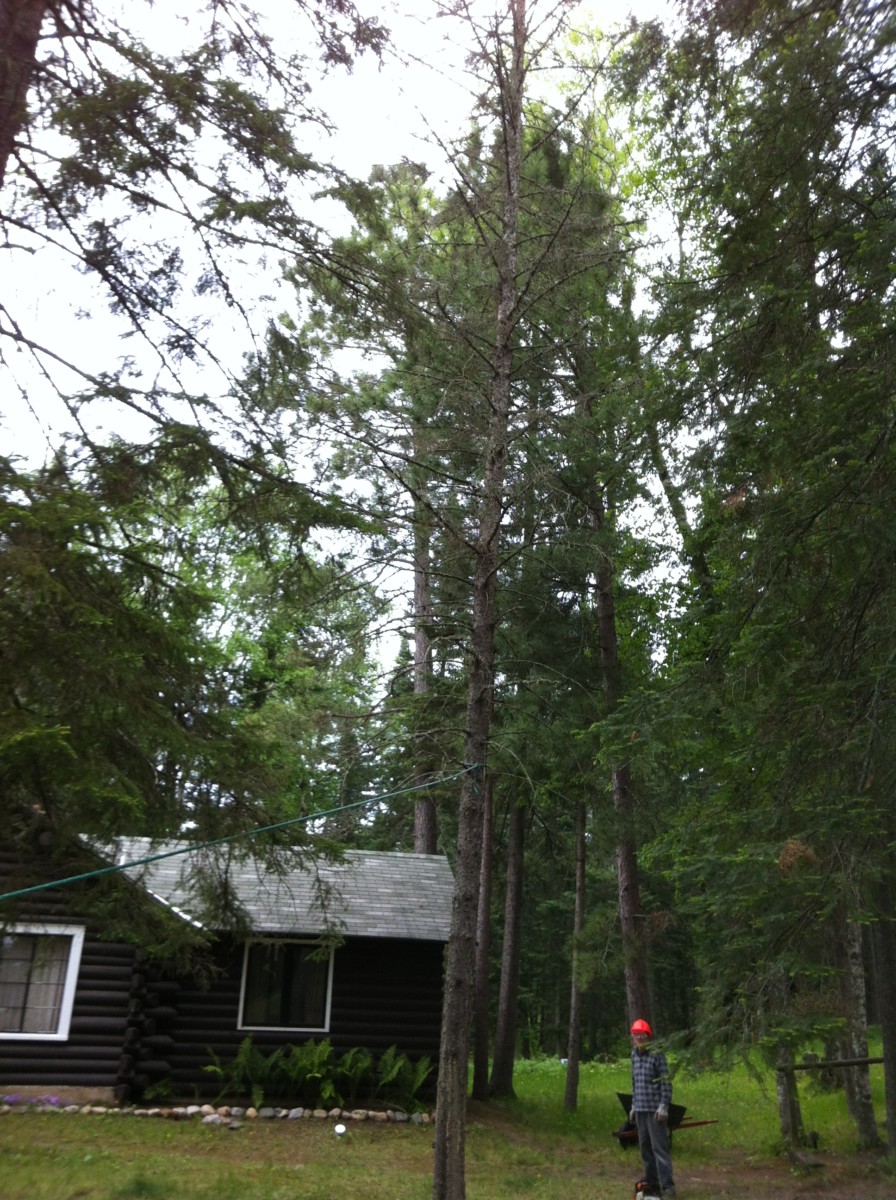
Another big dead tree to take down.
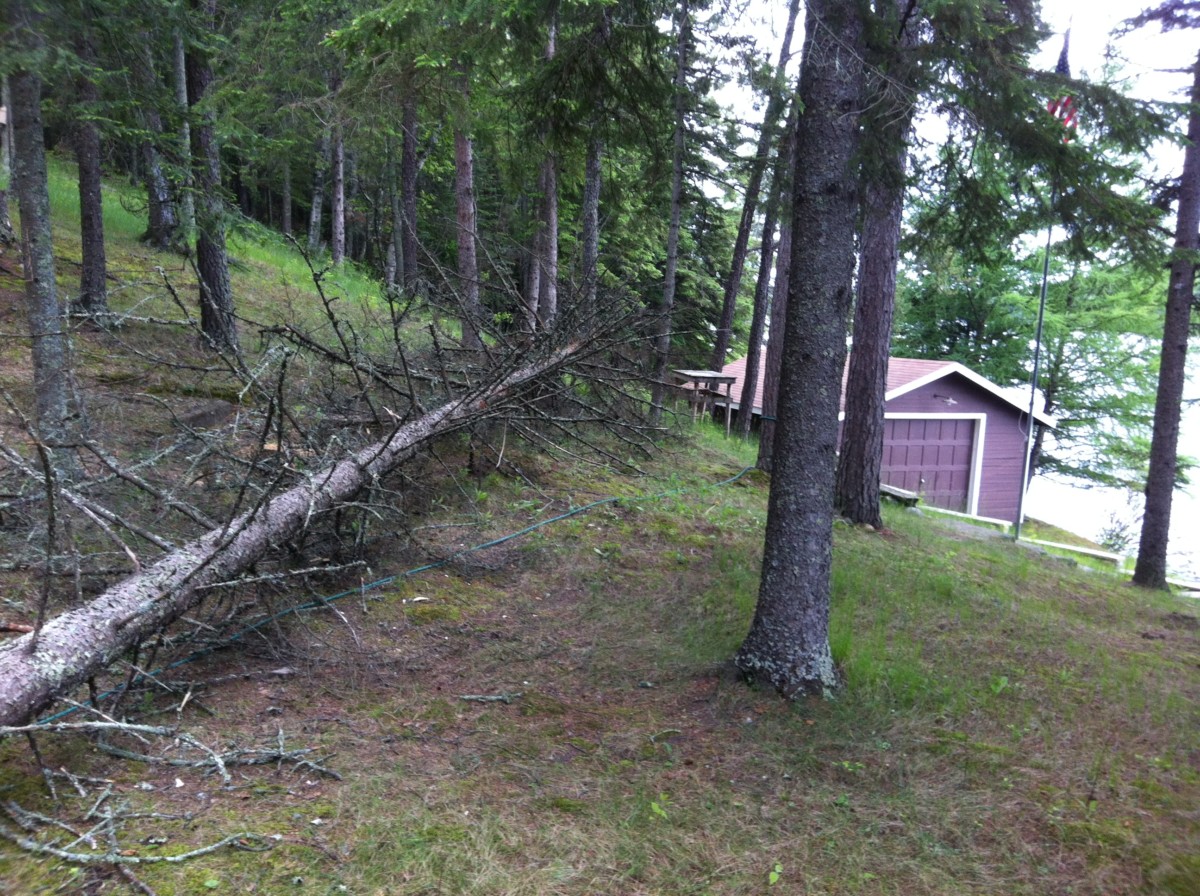
This may take a while to clean up.

This is a new toy called a Puller Bear which pulls out saplings by the roots.
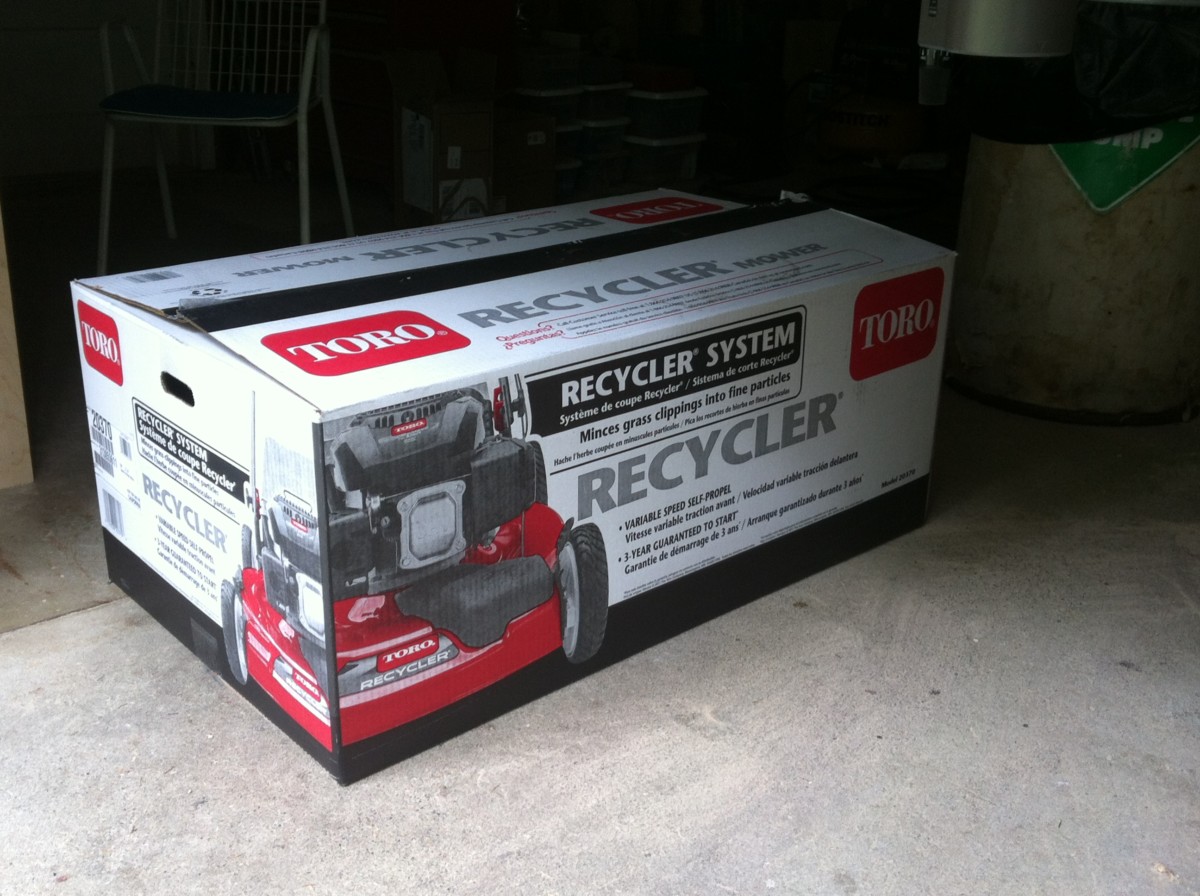
A new lawn mower. I did exhaustive (and exhausting) research and finally flipped a coin - Toro 20370. Some assembly required.
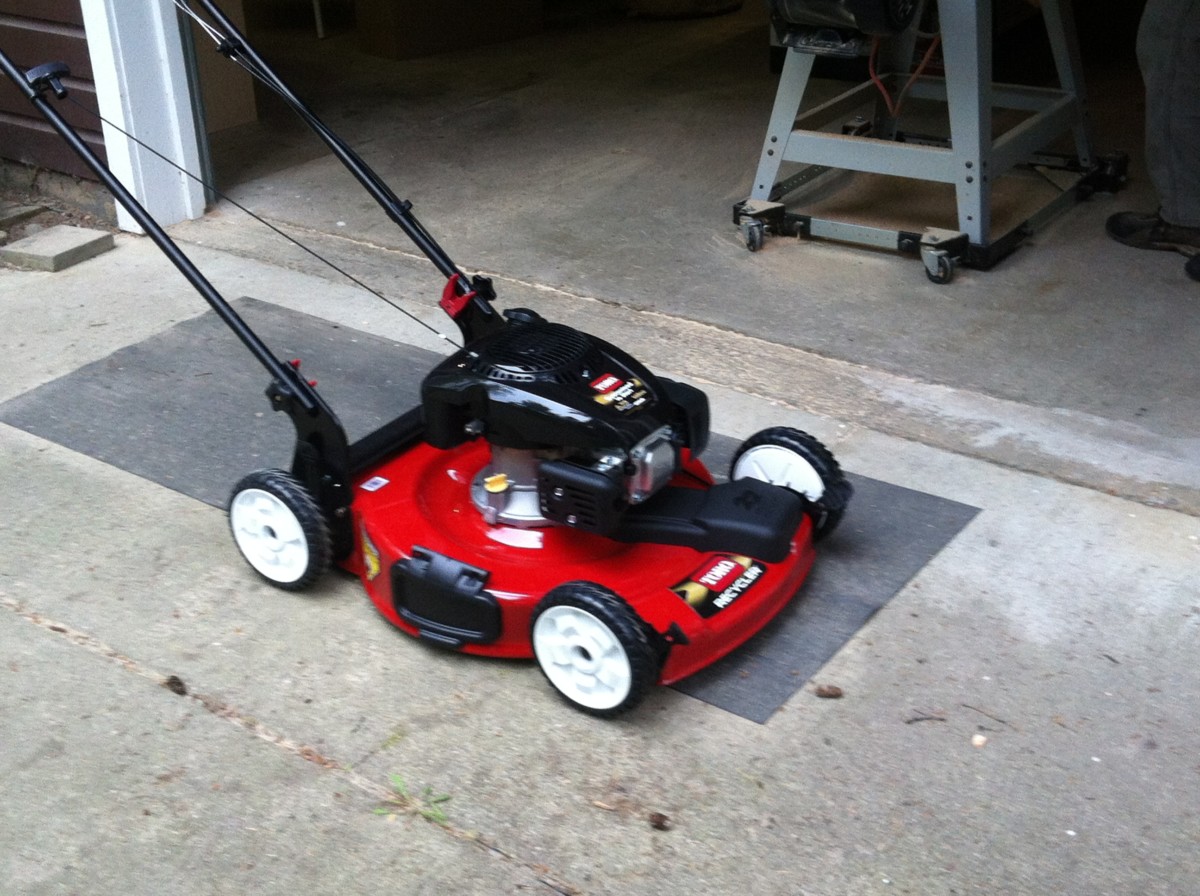
Now I have no excuse. Amazing: it started on the first pull.

Since the phlox by the cabin is doing so well now I think I'll try some in front of the boat house in the "triangle of death".
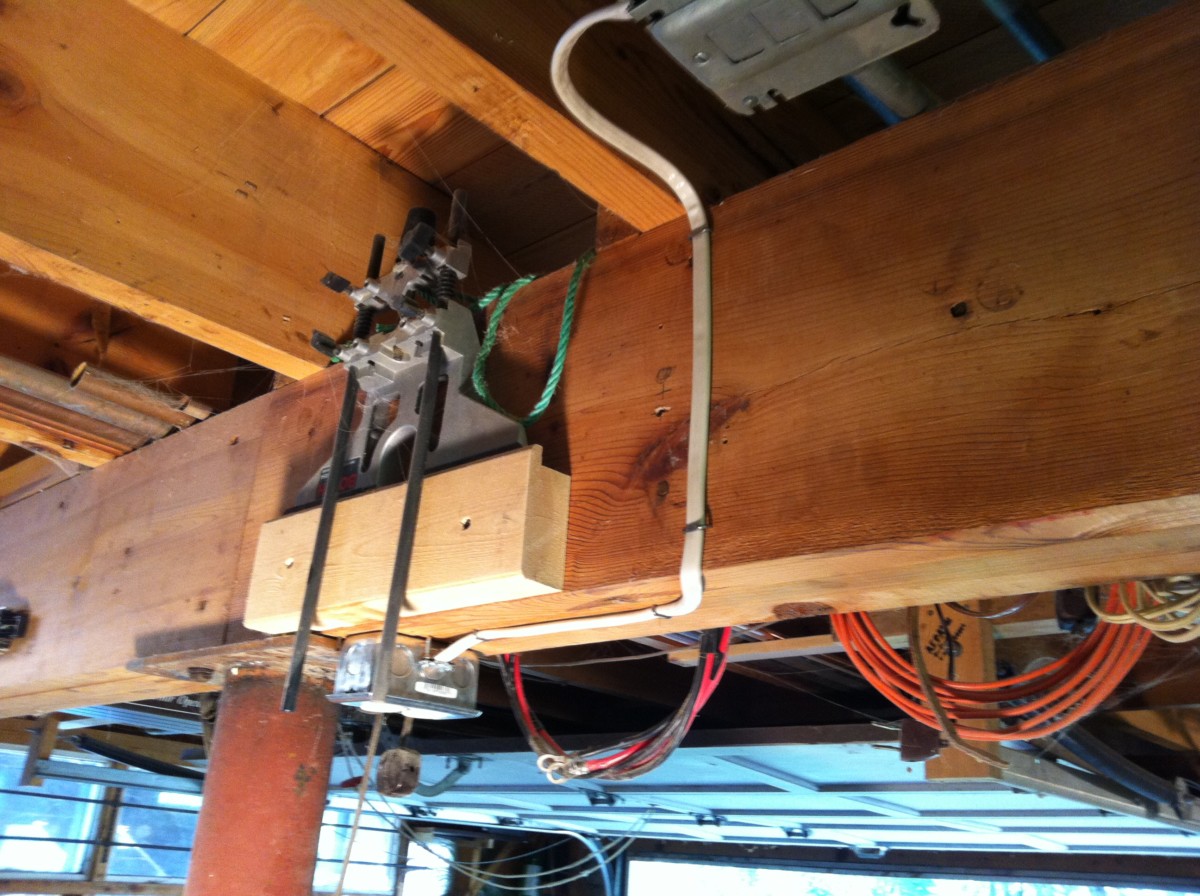
Here is a new electrical outlet convenient to the miter saw and drill press.
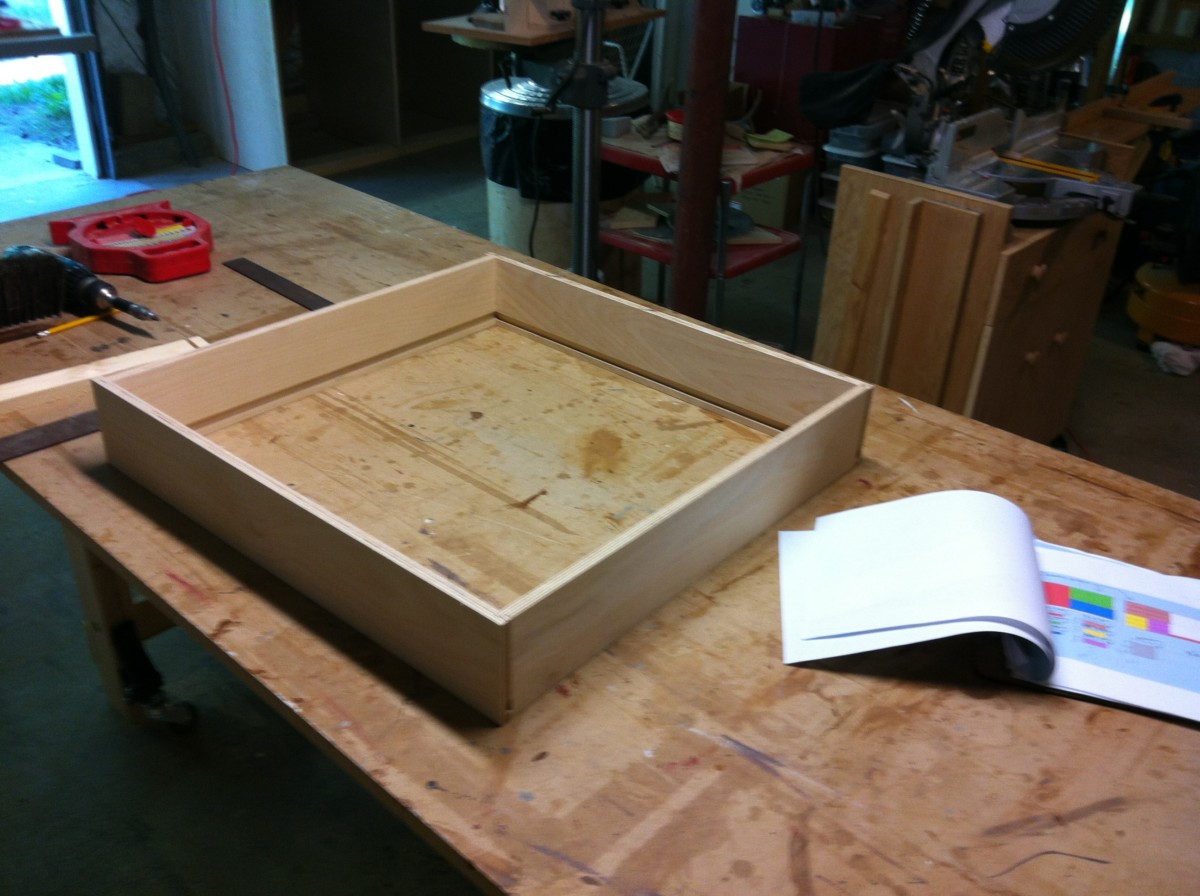
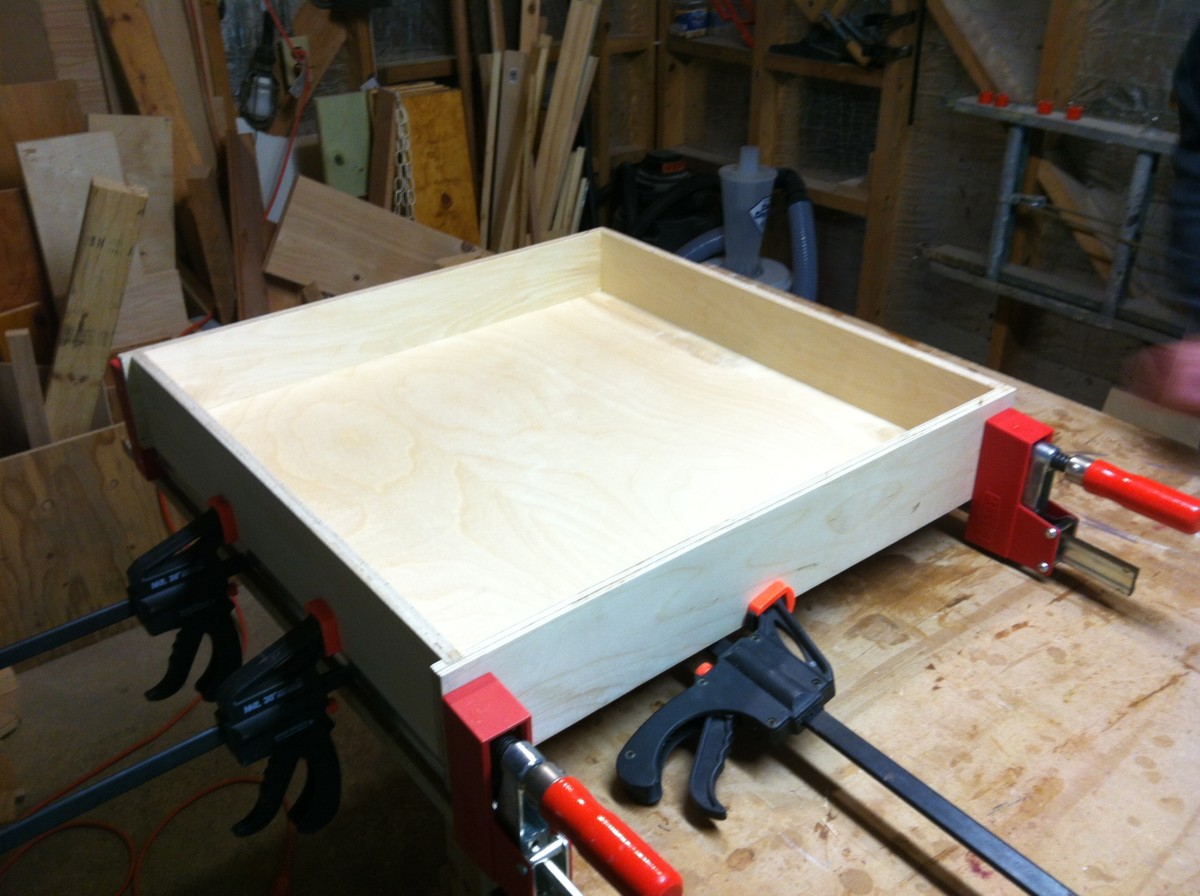
I've finally built a drawer. 4" high and roughly 24"x24".
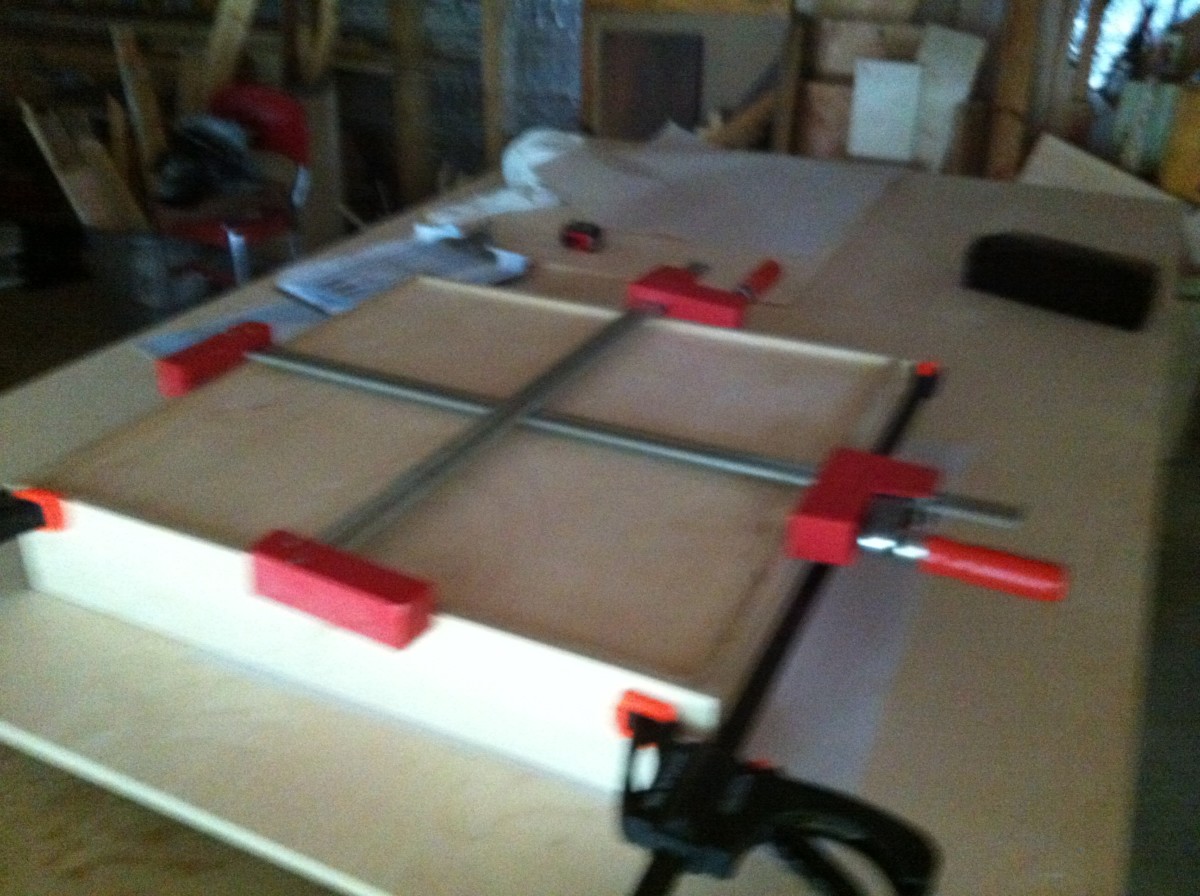
Glued and clamped. If this drawer works I'll build 11 more just like it.
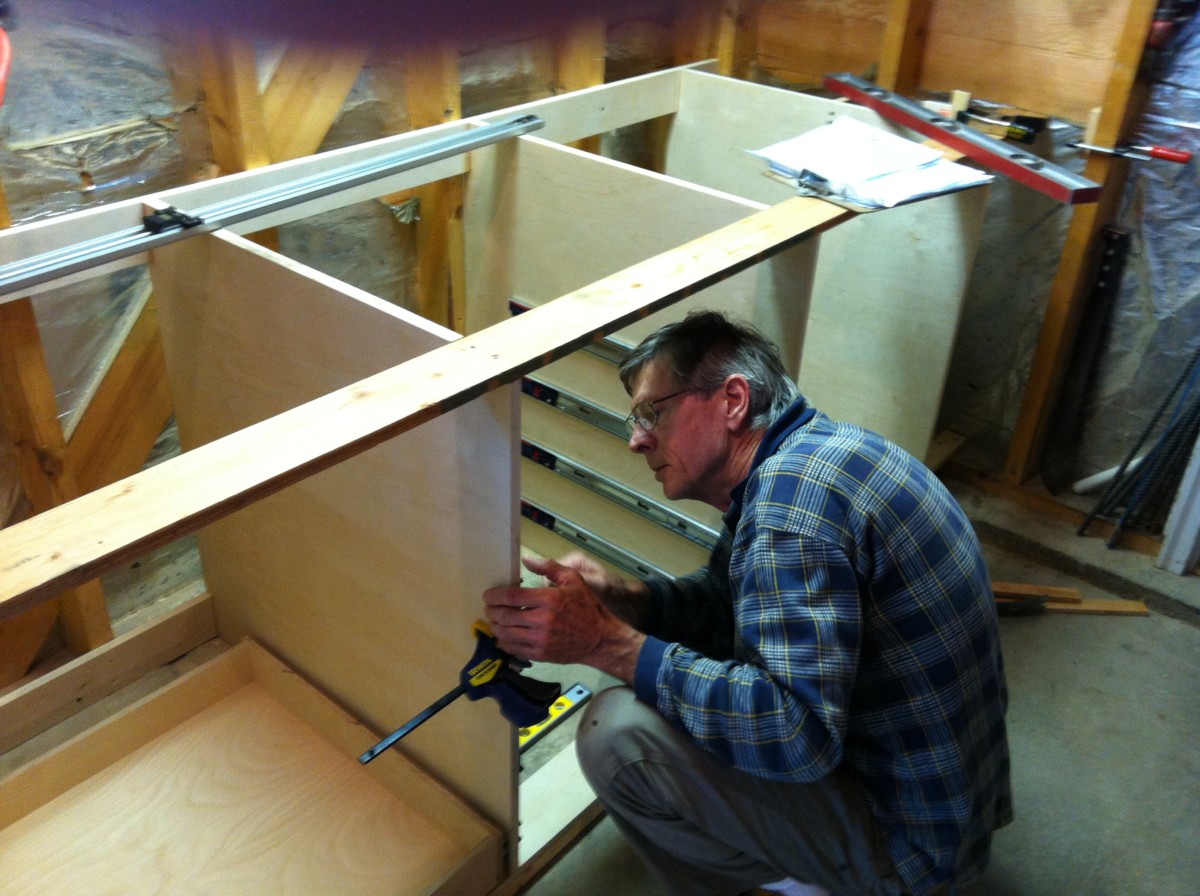
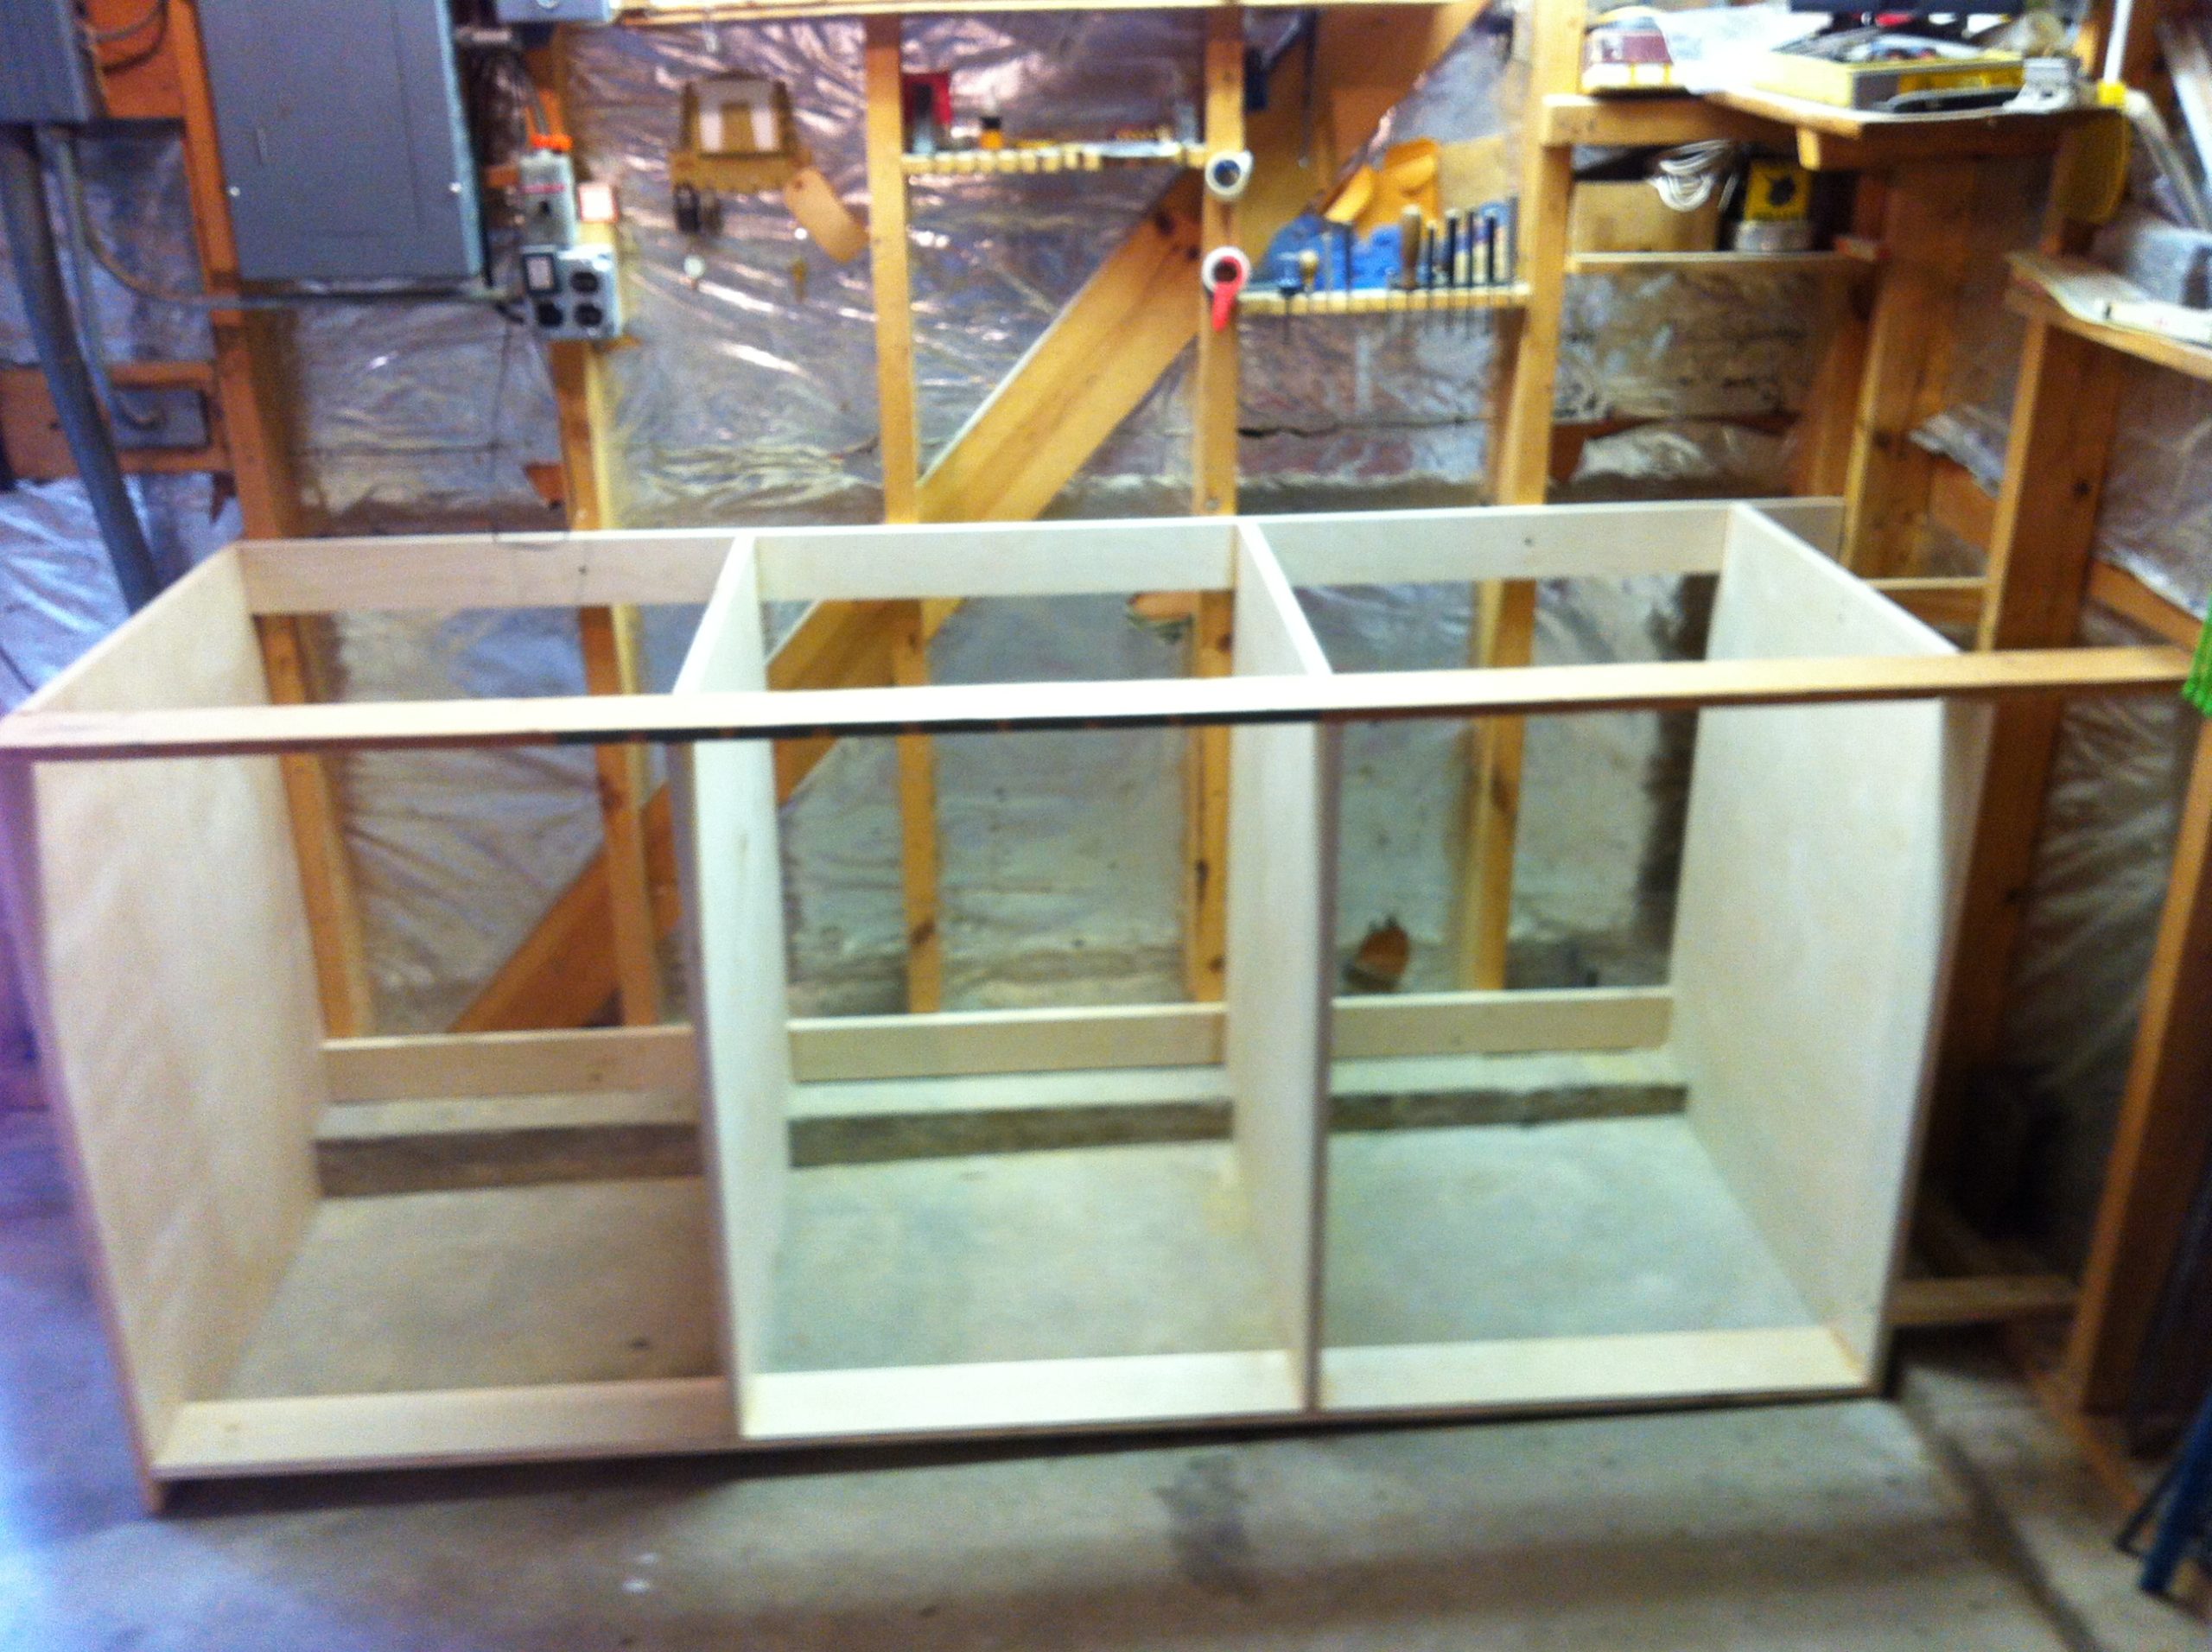
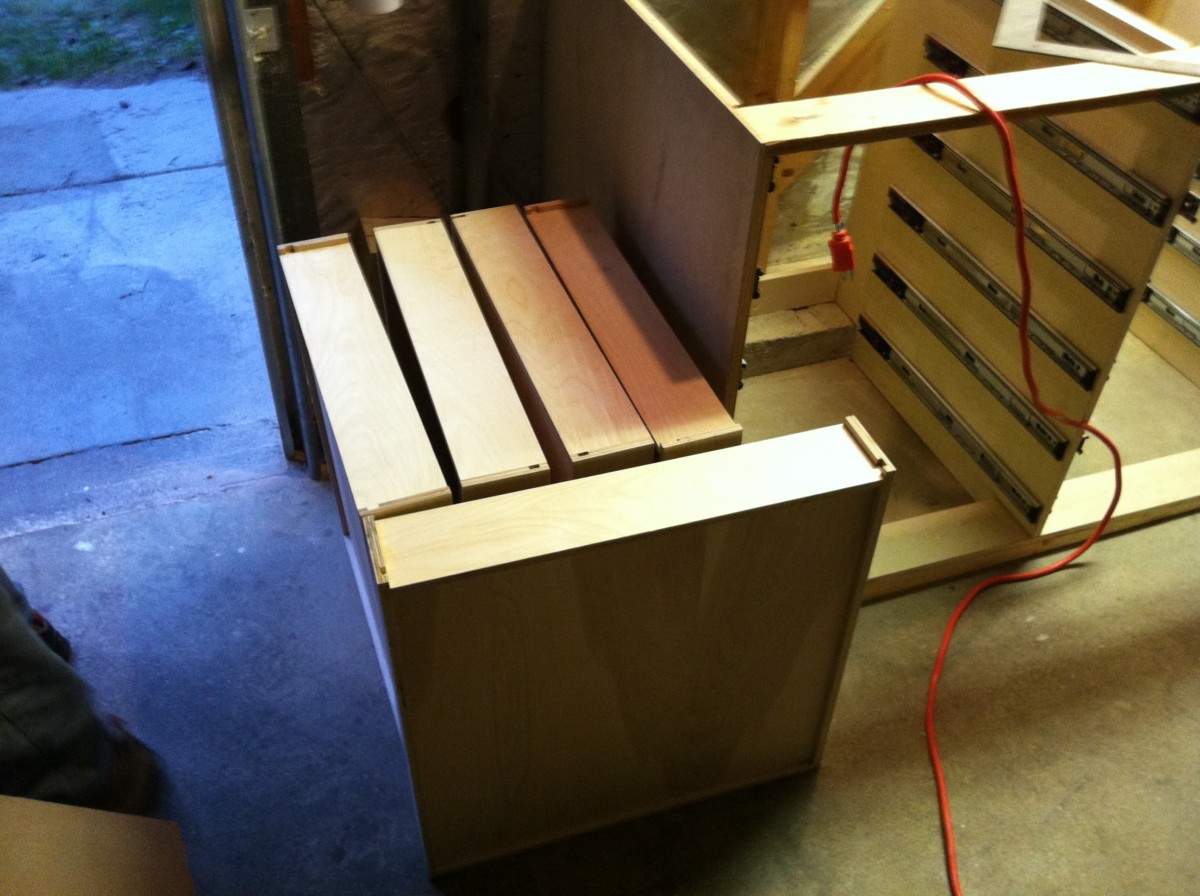
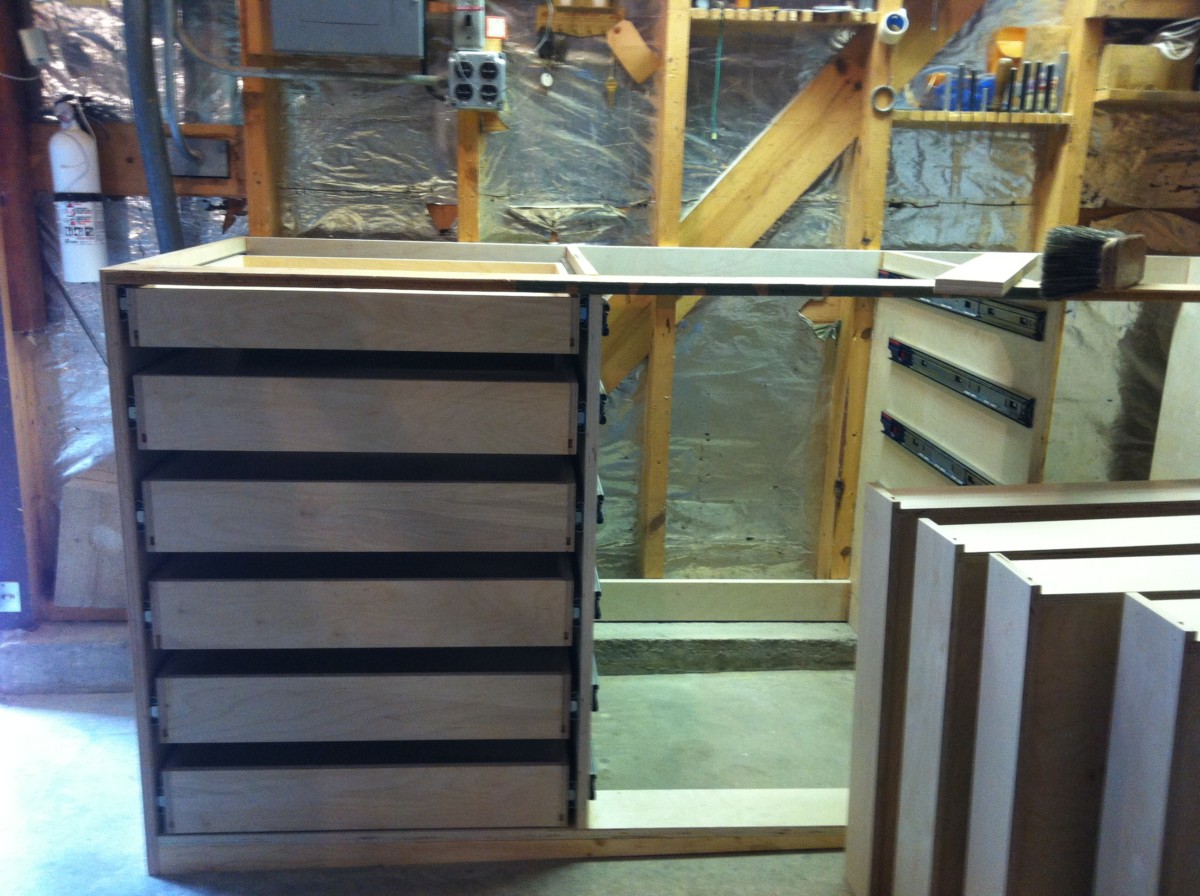
Here's Chris installing slides in the cabinet to be tested with the prototype drawer.

The drawer works with all of the slides in the left two bays. The right bay will be slightly different.

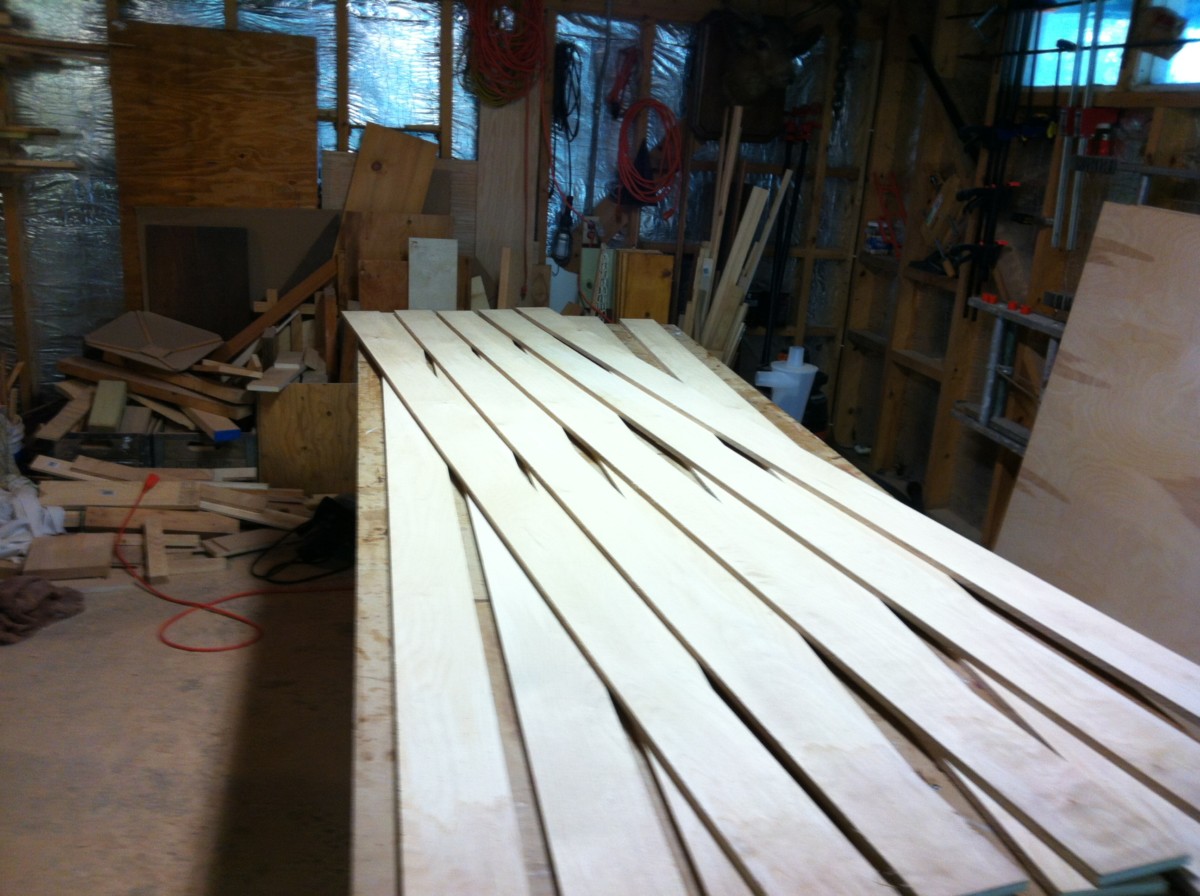
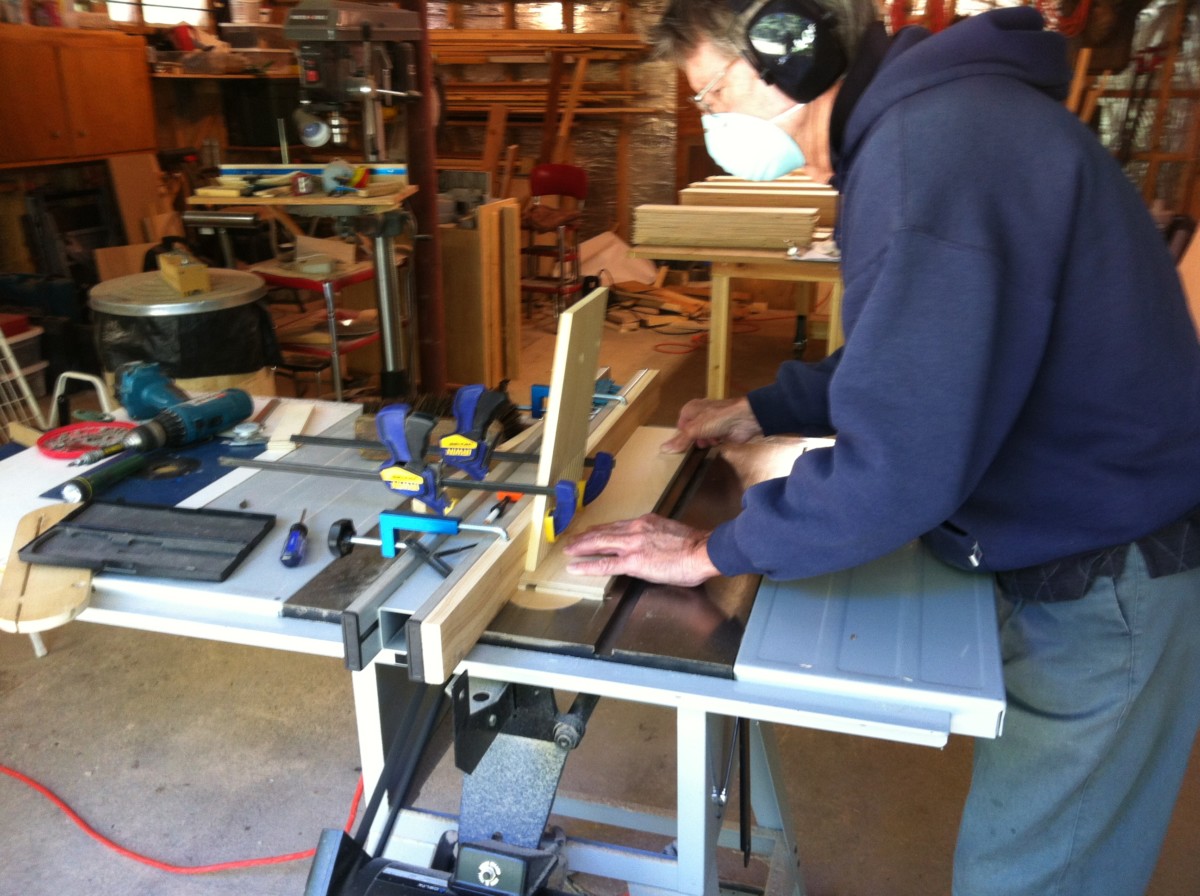
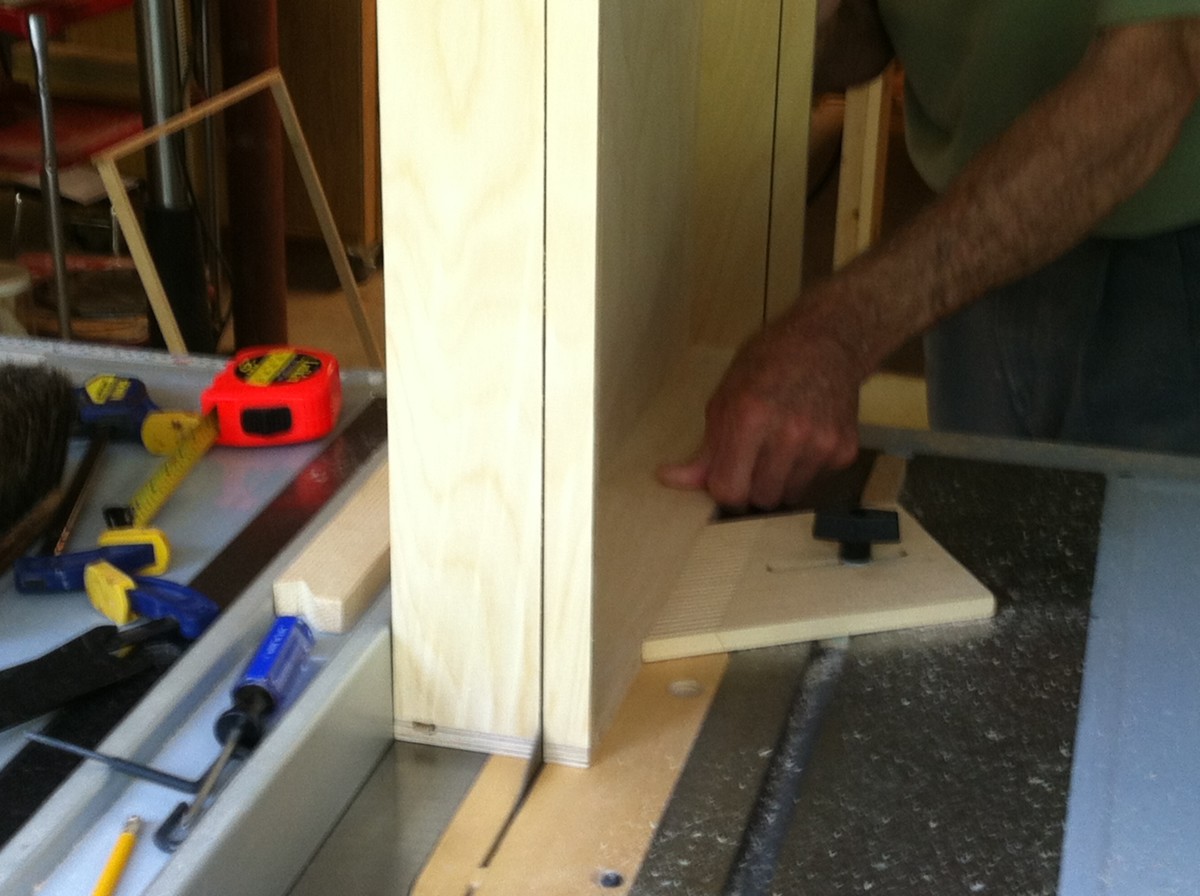
Cutting up some more 1/2' Baltic birch plywood for more of the drawer components.

Assembly line cutting of the fronts (15), backs (15) and sides (30).
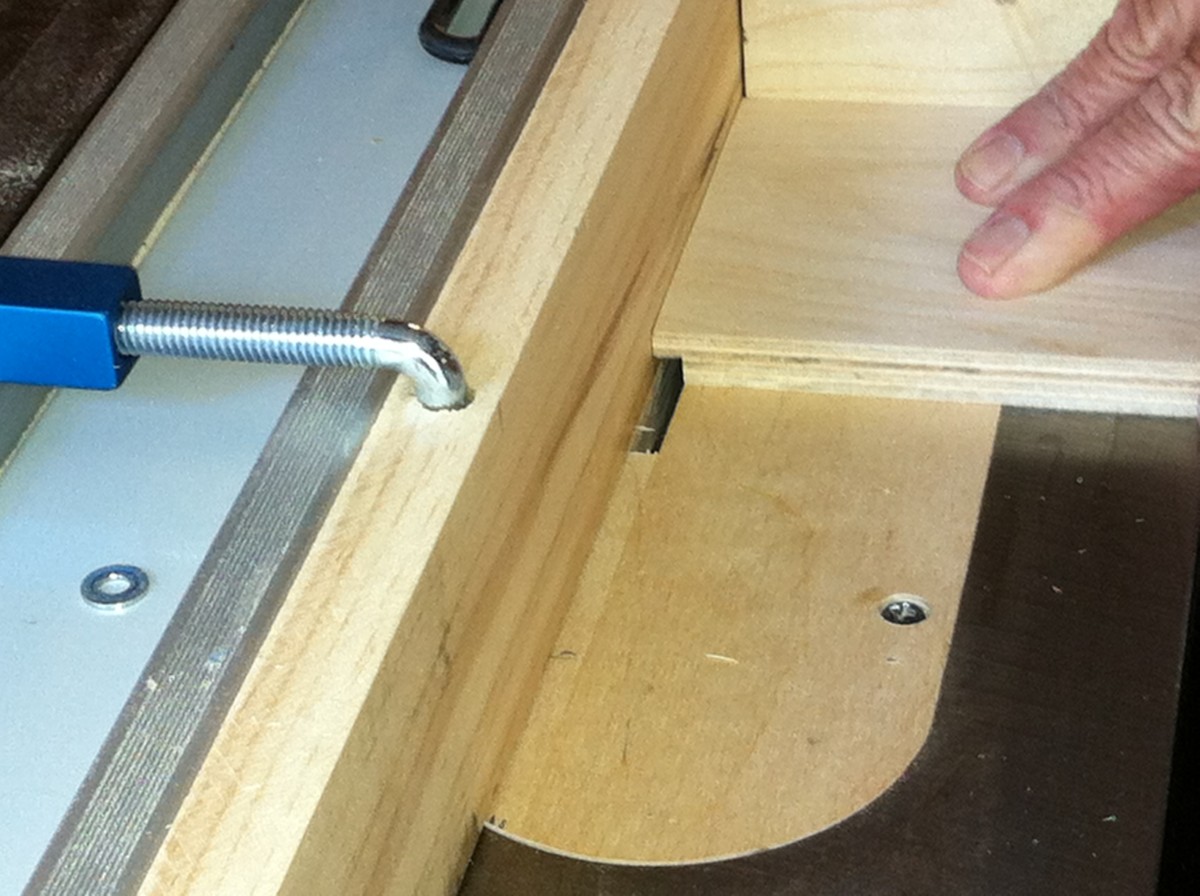
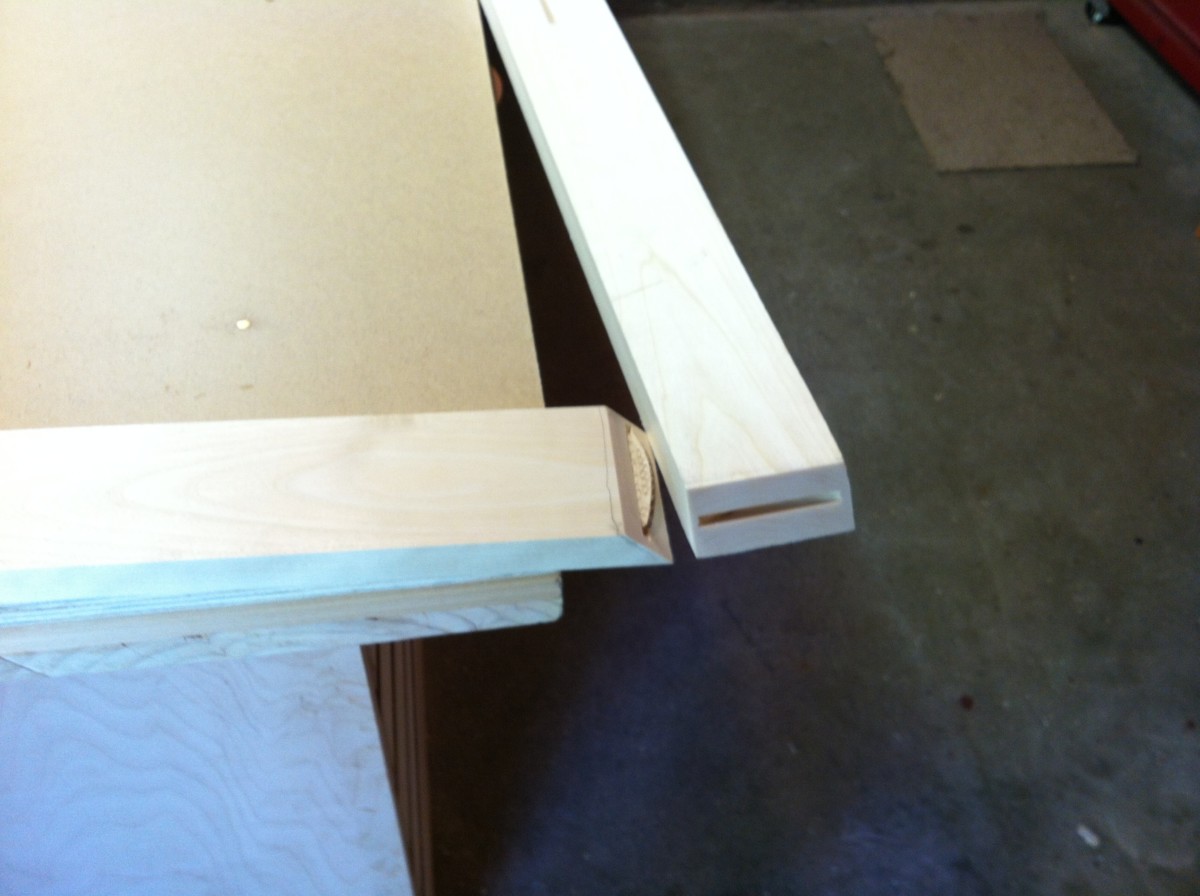
The fronts get a 1/4" x 1/4" rabbit cut on both ends.

The sides get a 1/4" x 1/4" dado cut in one end.
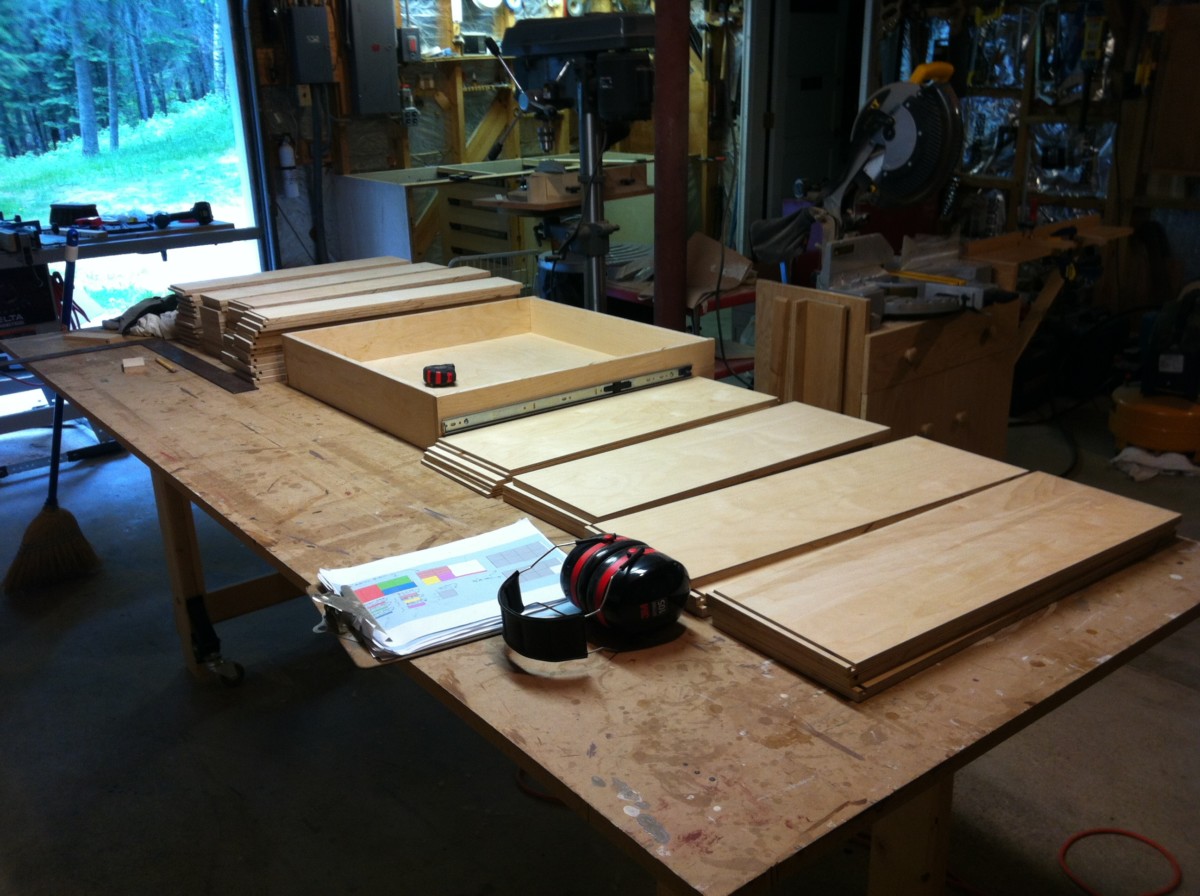
These are the drawer components (no bottoms yet). I still need to do 1/2" dado cuts for the back and bottom.
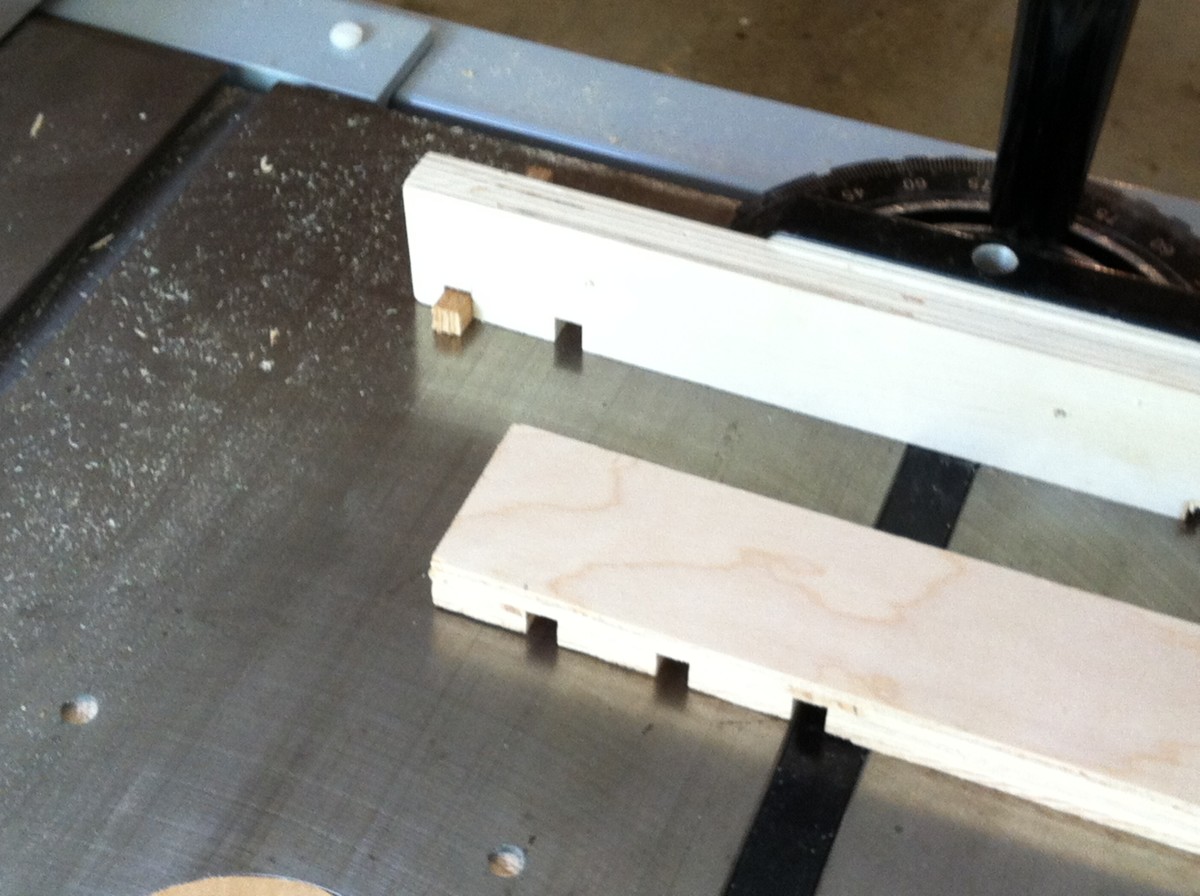
1/2" dadoes for the drawer backs and bottoms. That's a lot dadoes.
All the drawer components should be ready now. Here is drawer #2. 13 more to go.
Boring, boring, boring. Making drawers.

This is why this plot in front of the boat house is the triangle of death. Somebody digs up the plants at night.
The top drawers in bay 1 and 2 need to be an inch shorter.
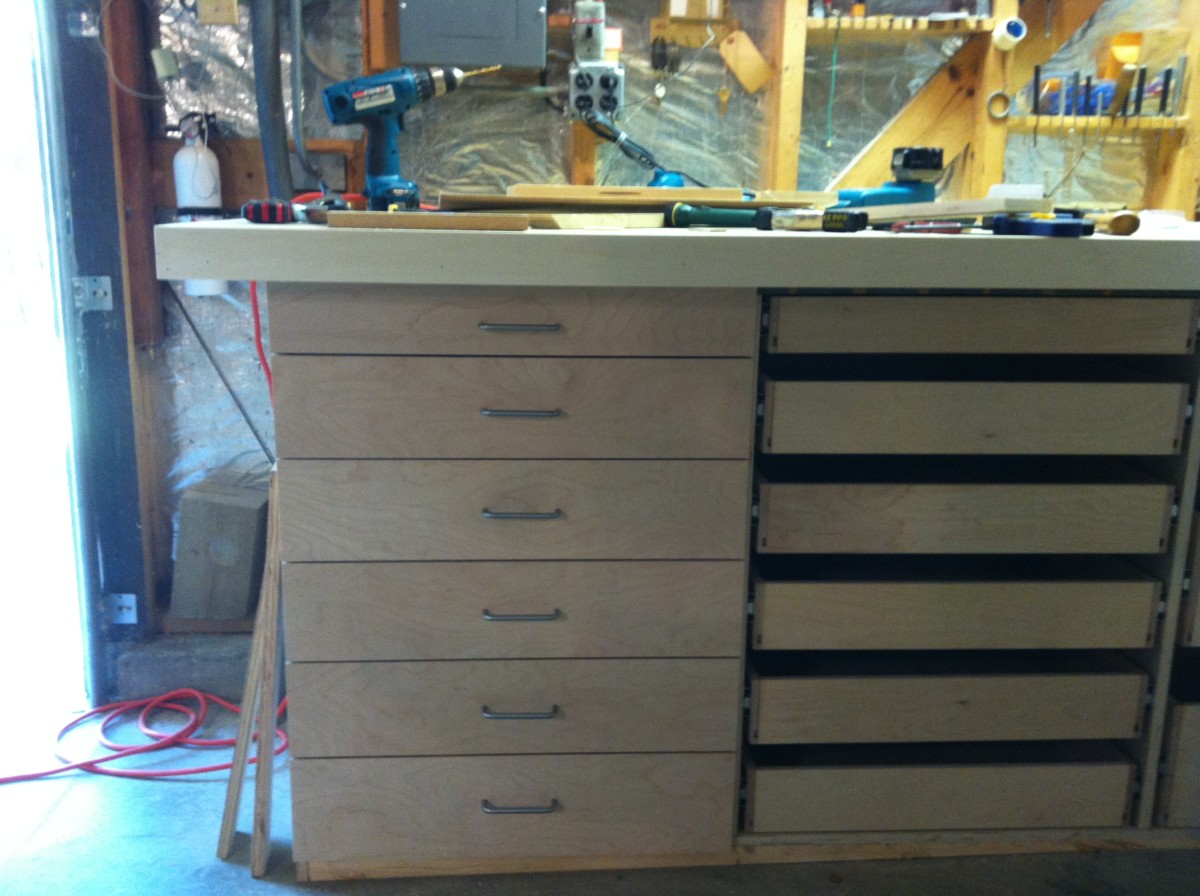
All of the drawers are made and bay 1 has it's slides installed. It took just a little bit of futzing to get them to slide smoothly.
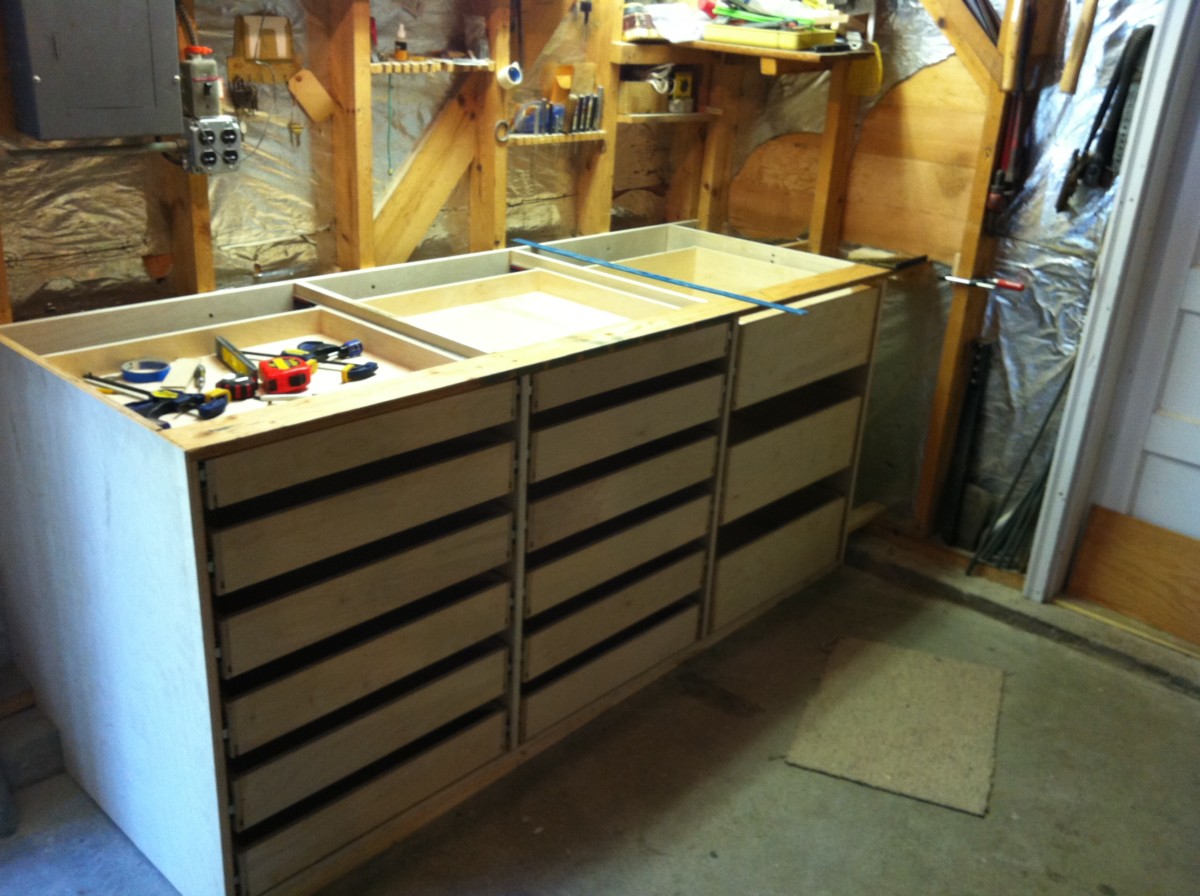
It seems like we've been working on drawers FOREVER. At last, they are all installed and operating smoothly.
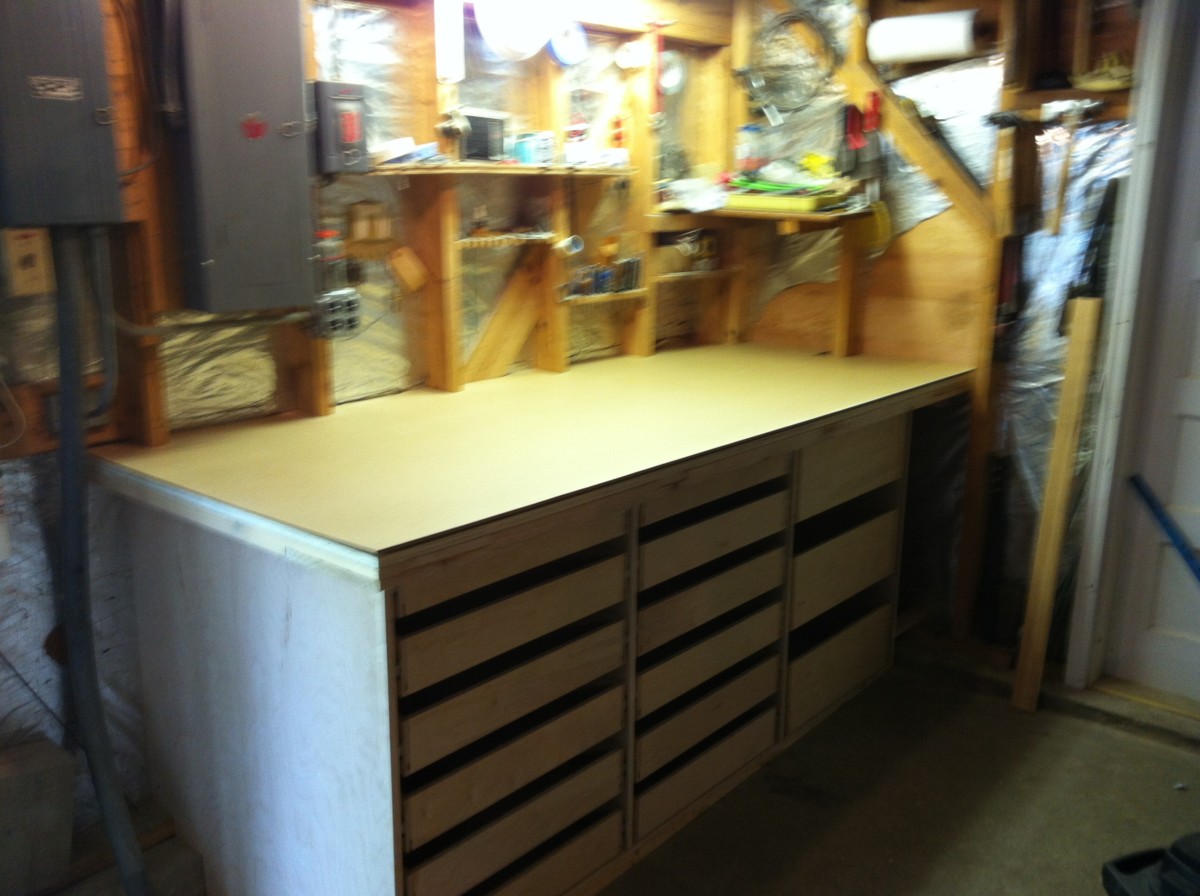
The 2x top supports and the plywood top is screwed in place and the hardboard top is cut but not fastened down yet. Drawer fronts next.

This is why the plants in front of the boat house get dug up every other night - checking for turtle eggs.
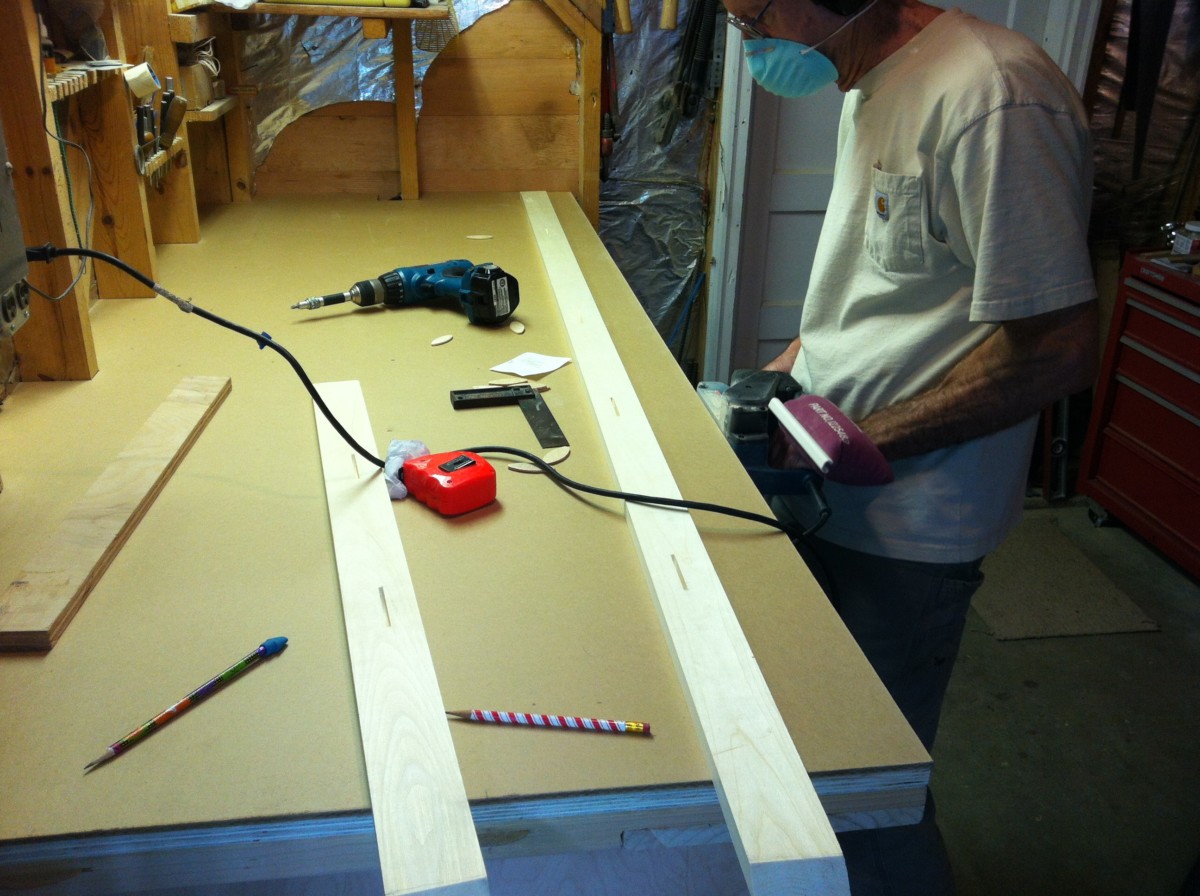
The hardboard top is nailed down and here is the trim almost ready to install, just a little last minute sanding.
I used biscuits in the sides and on the mitered corner.

The top is done.

This is the template I'm using to position the drawer pulls.
Here we have the left bank of drawers with their face plates and drawer pulls attached.
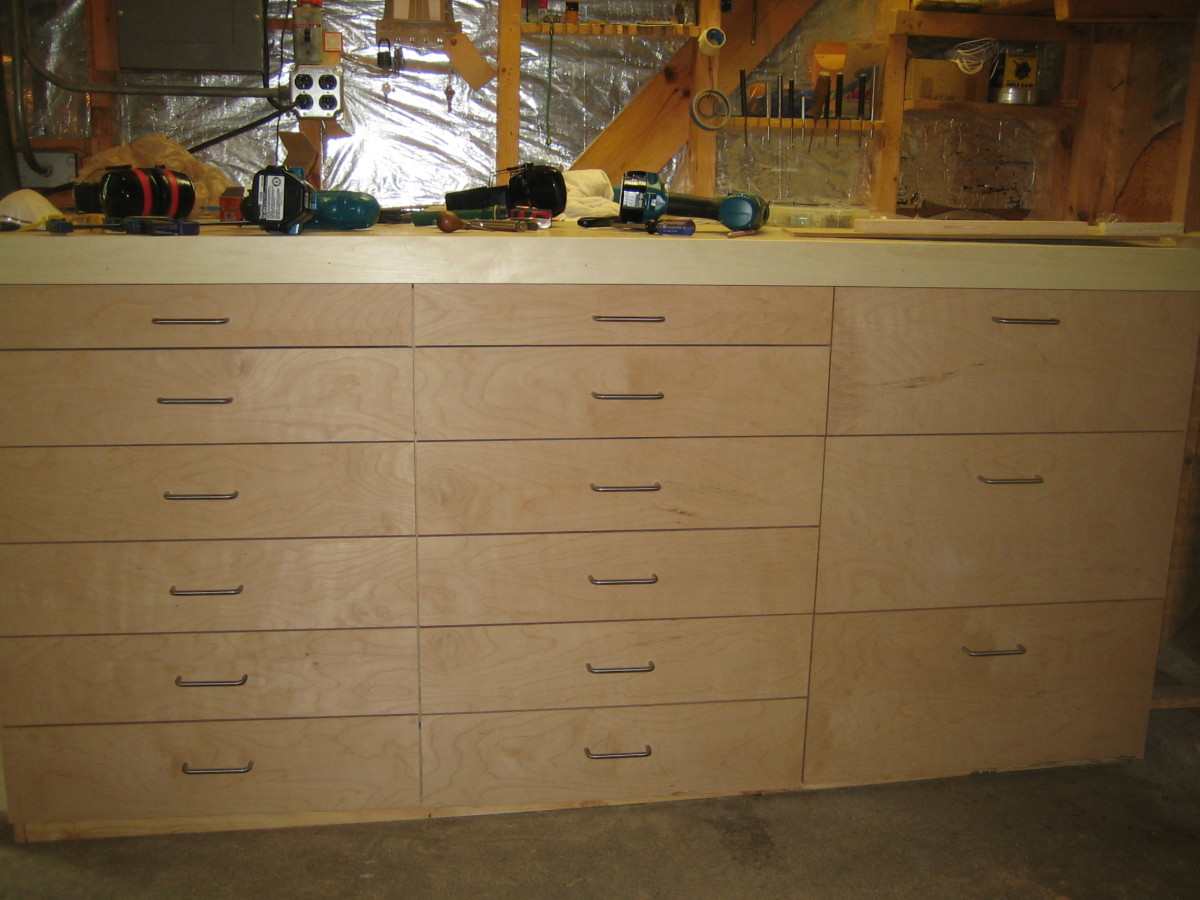
That's pretty much the end of basic construction. I'll post some more detail shots after I make some headway on drawer dividers and stuff like that.
Here's a little jig for making repetitive, evenly spaced dadoes (dental molding).
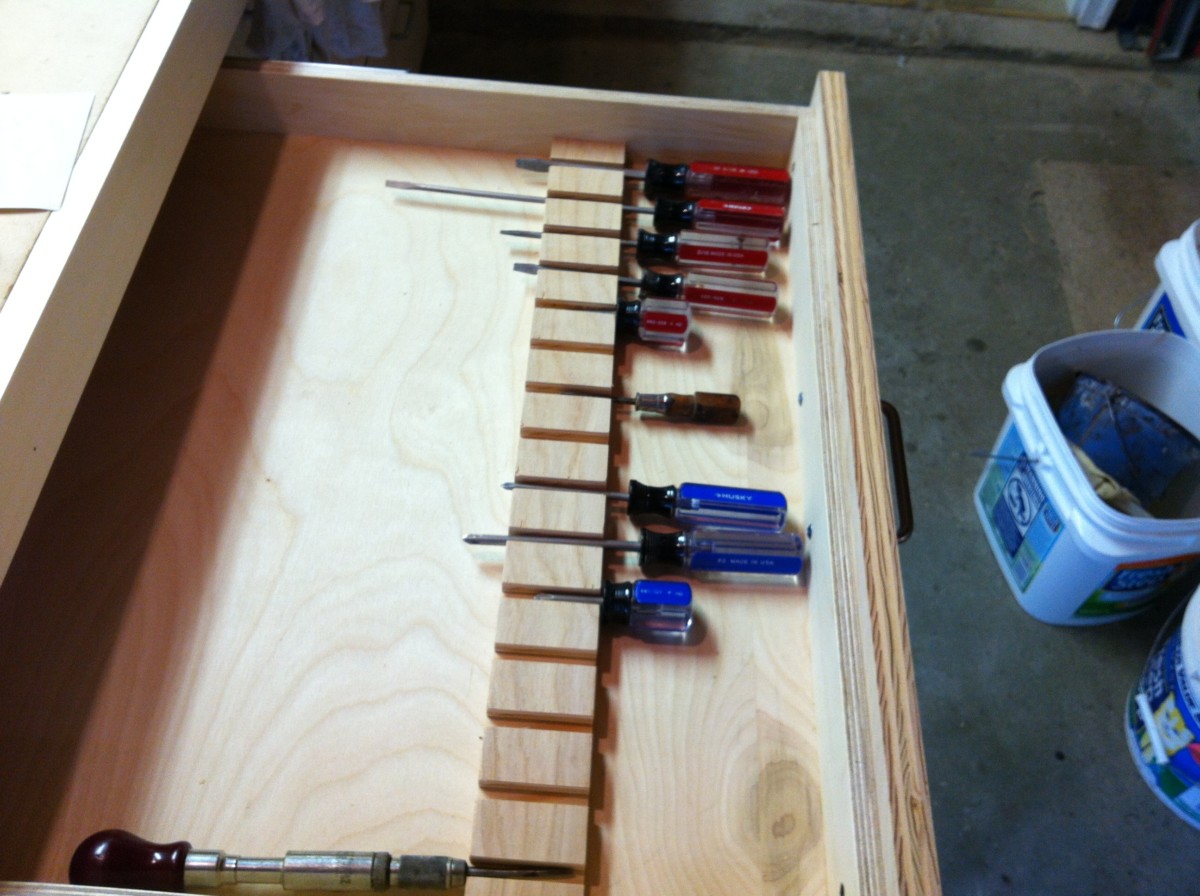
While this looks cool for holding screw drivers, they move around too much when I close and open the drawer. I'll try something with magnets.

The big drawers will have dividers for the big tools.
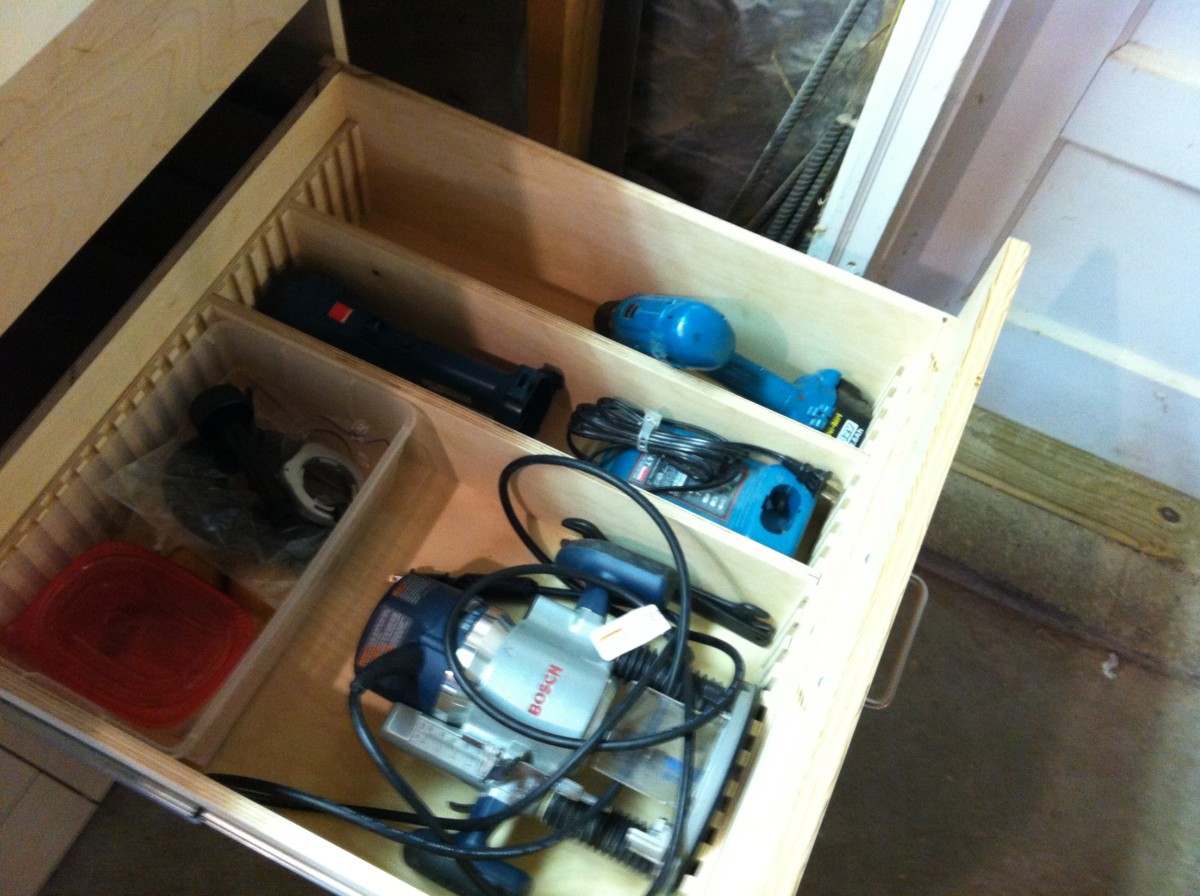
Continuing to fill the drawers with stuff.

I mounted the huge 50# vise. I'll need to get new bolts for it.
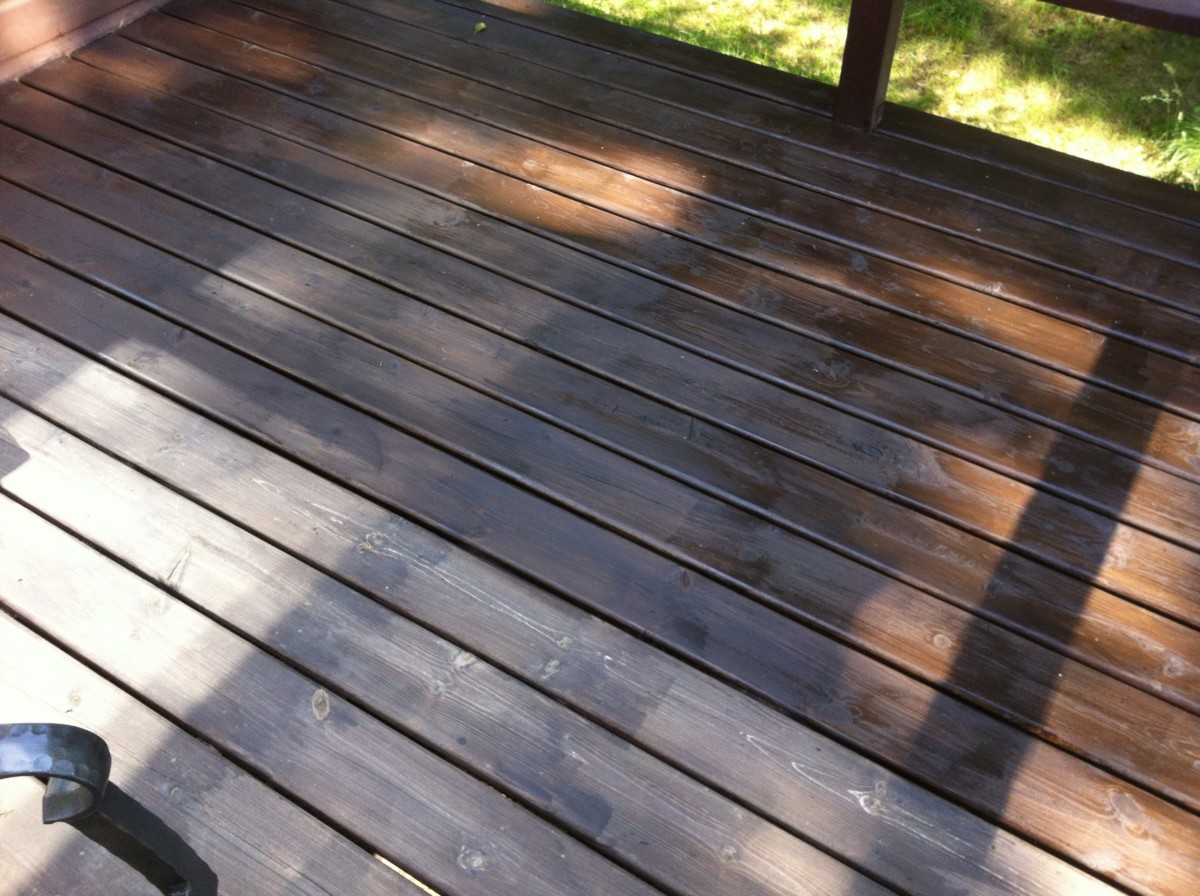
I'm staining the deck today.

We installed a filler piece on the end of the work bench.
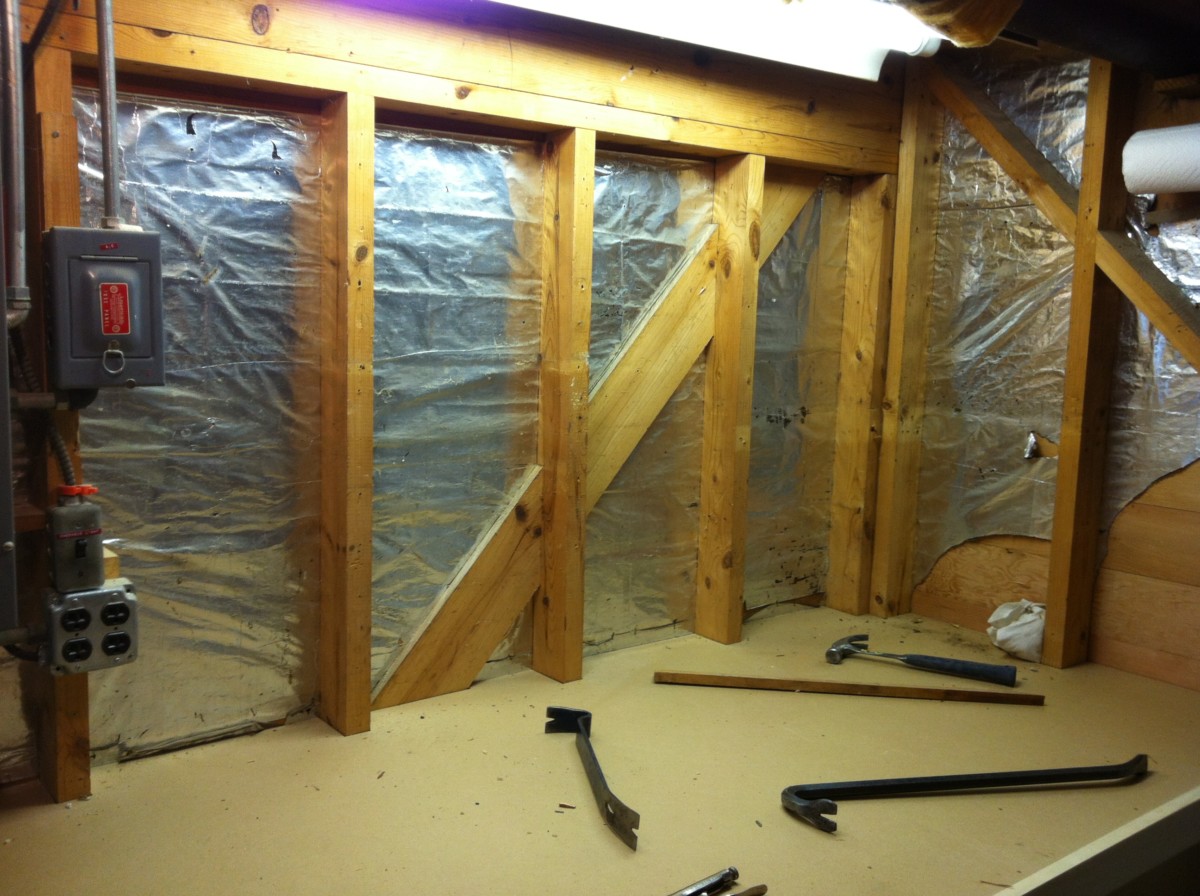
I removed all the old shelves and nails from the wall above the work bench.
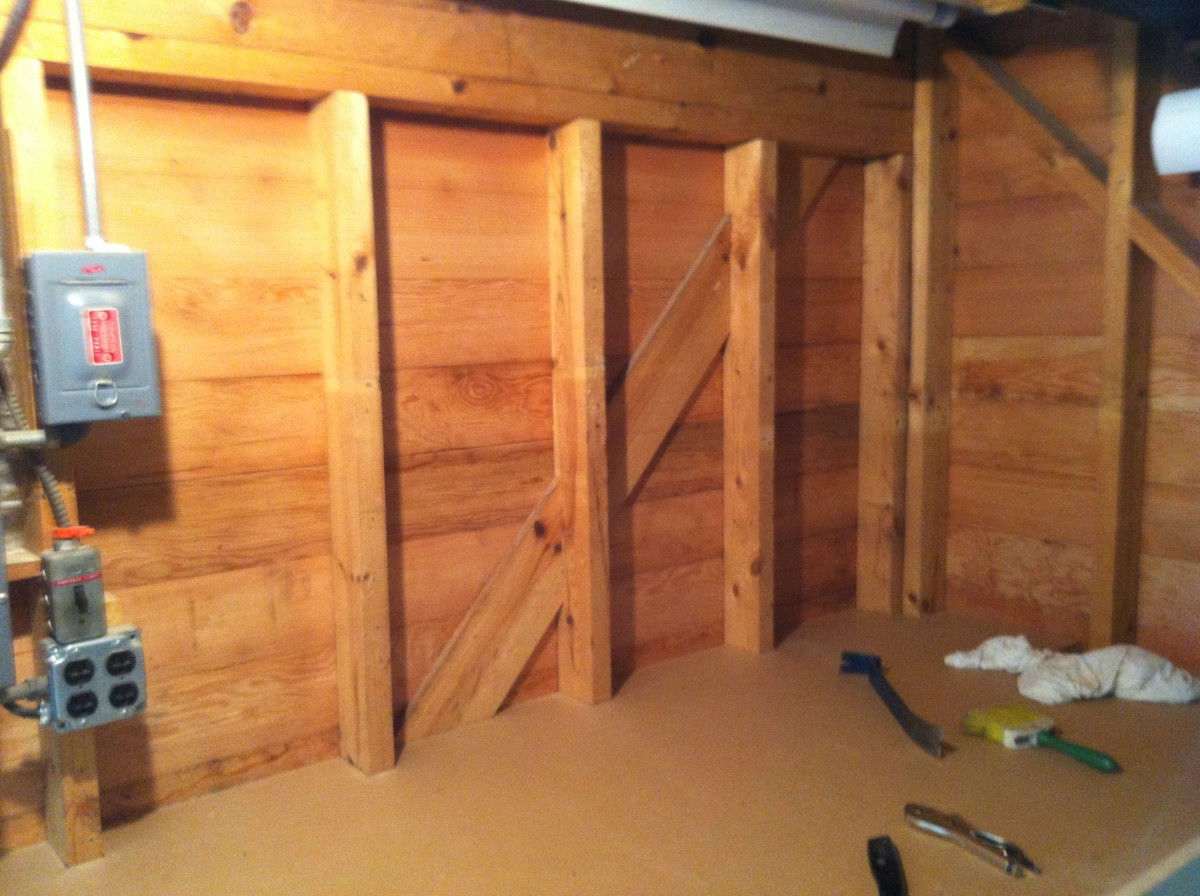
I also removed the silver vapor barrier from the wall. This garage will probably never be heated again.
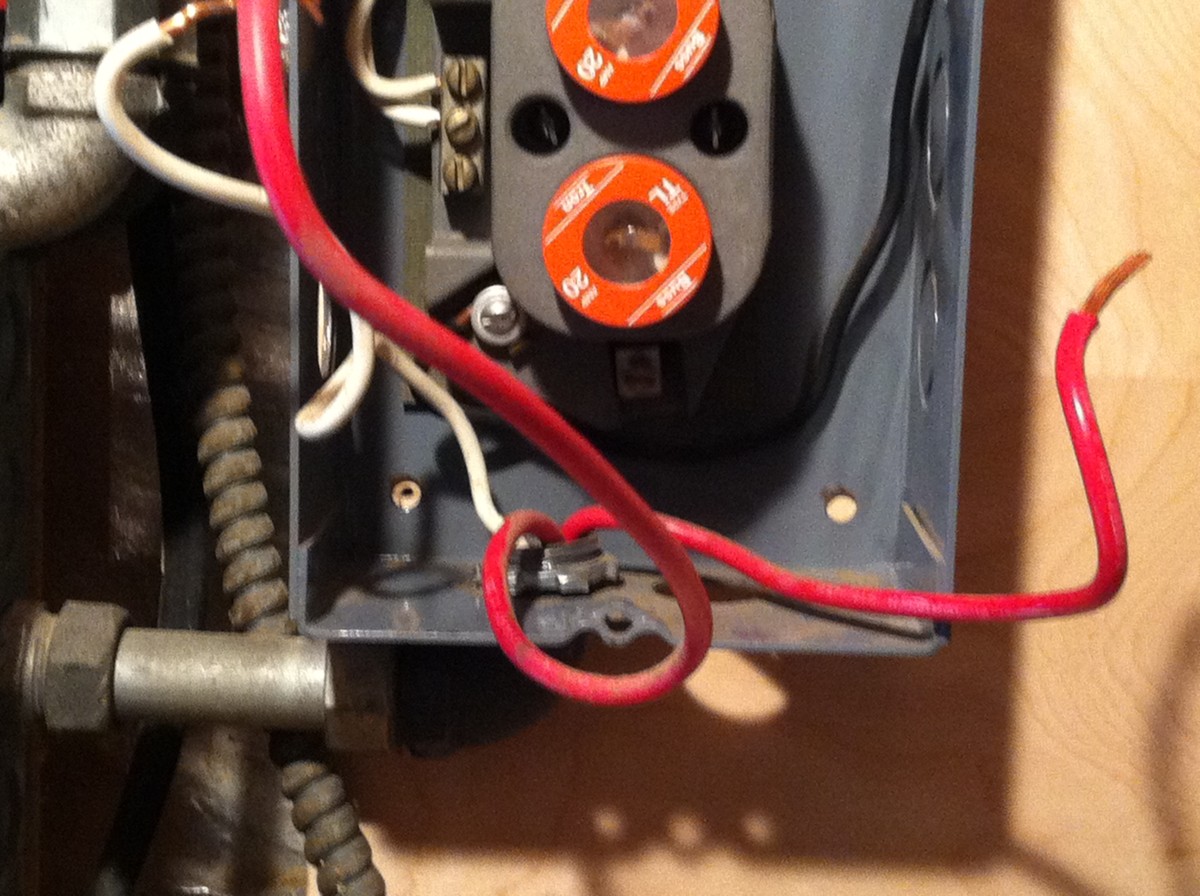
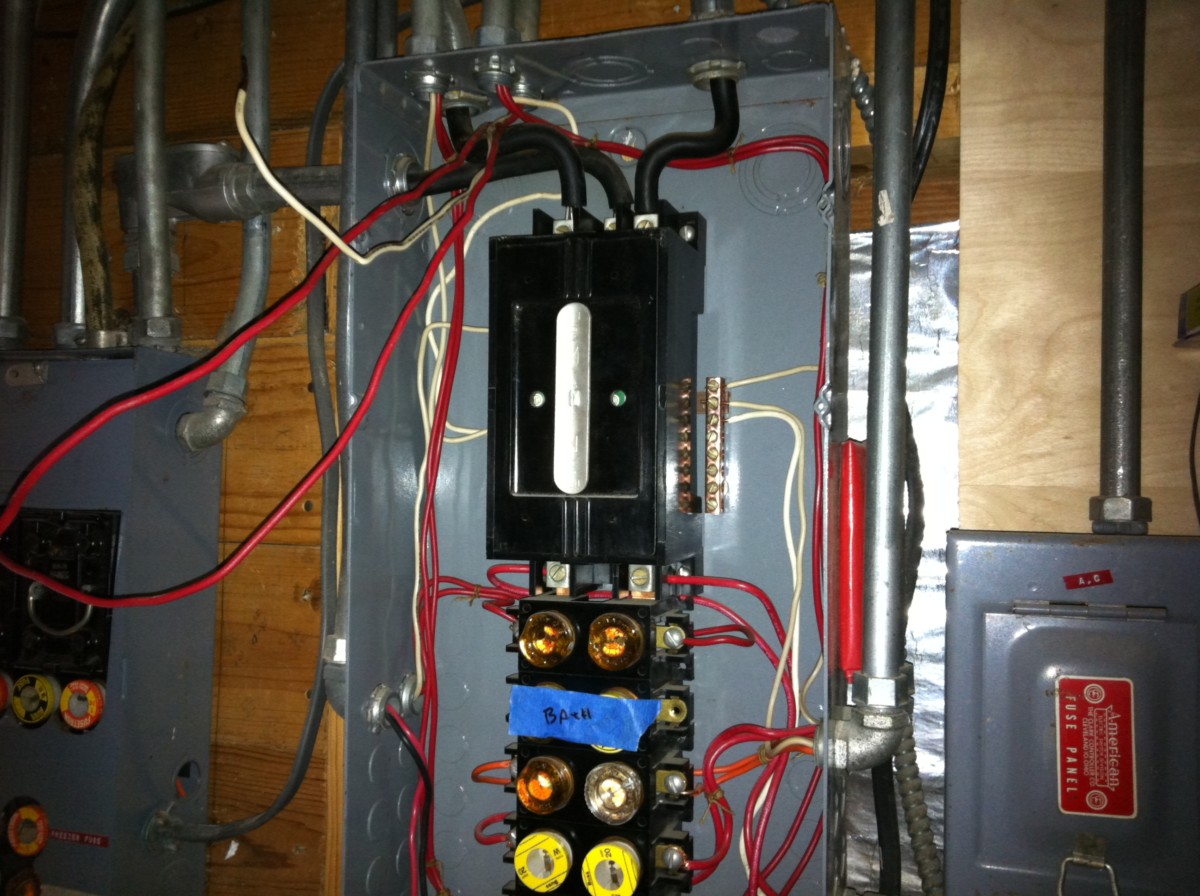
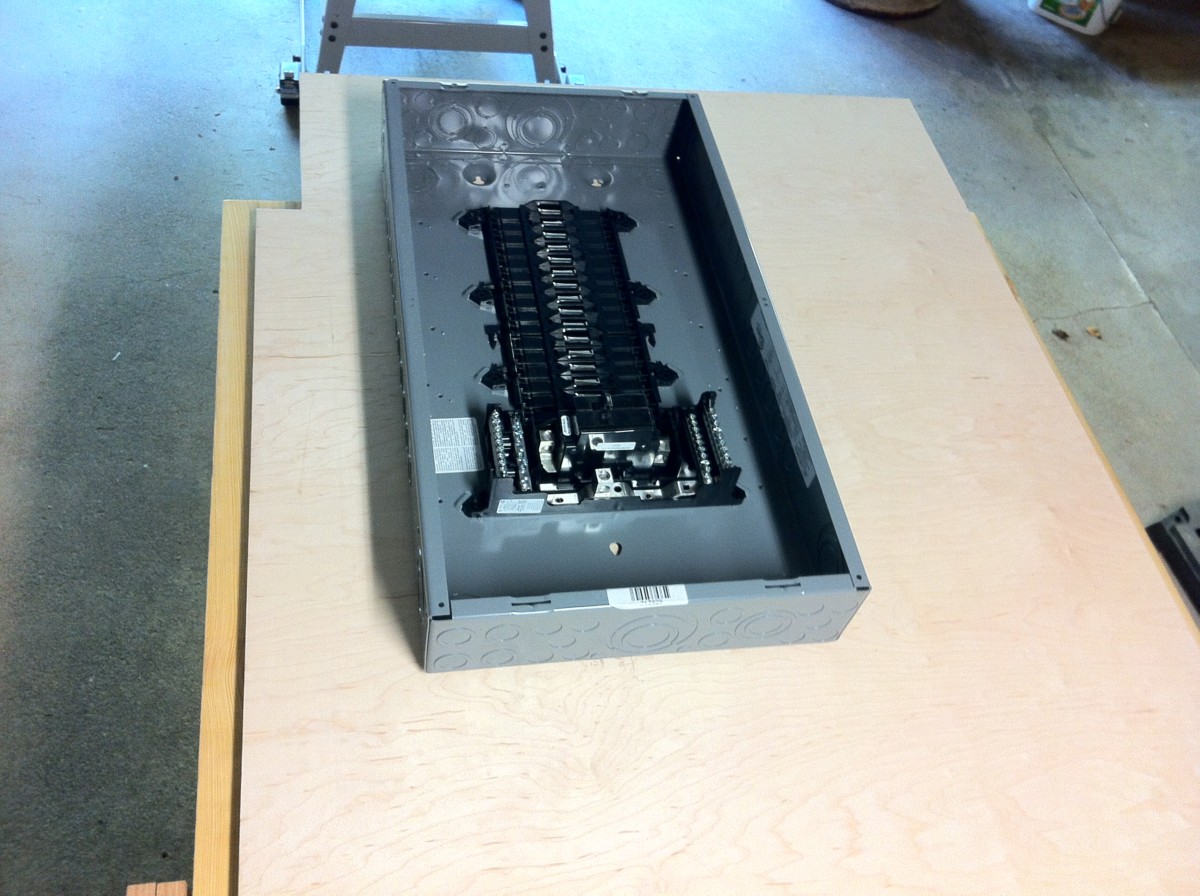
One things leads to another: the conduit elbow below this auxiliary fuse box was sheared off and needed to be replaced.
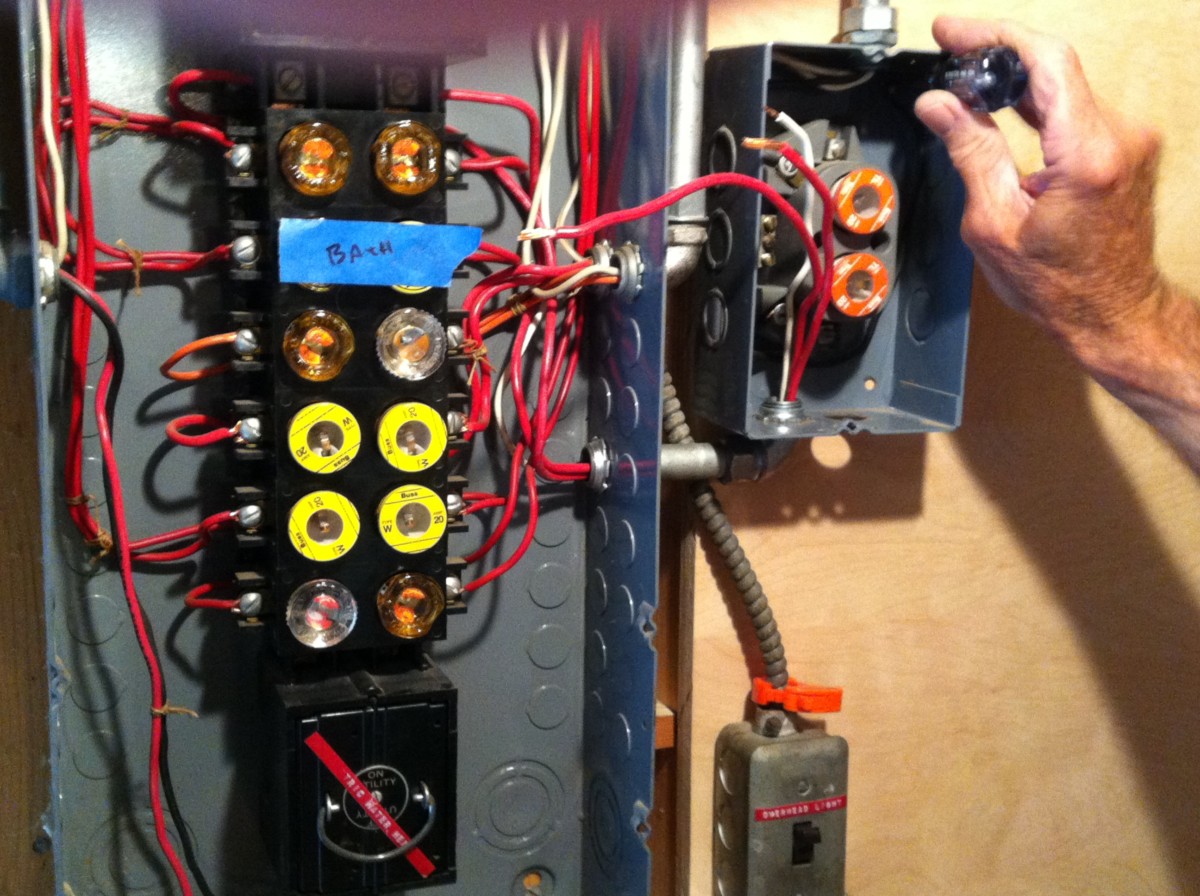
After a bit of finagling we got the wires out of the old elbow and into the new one.

All put back together, although in keeping with the 4th of July theme we did have one spectacular blown fuse.

Ordo ab chao.
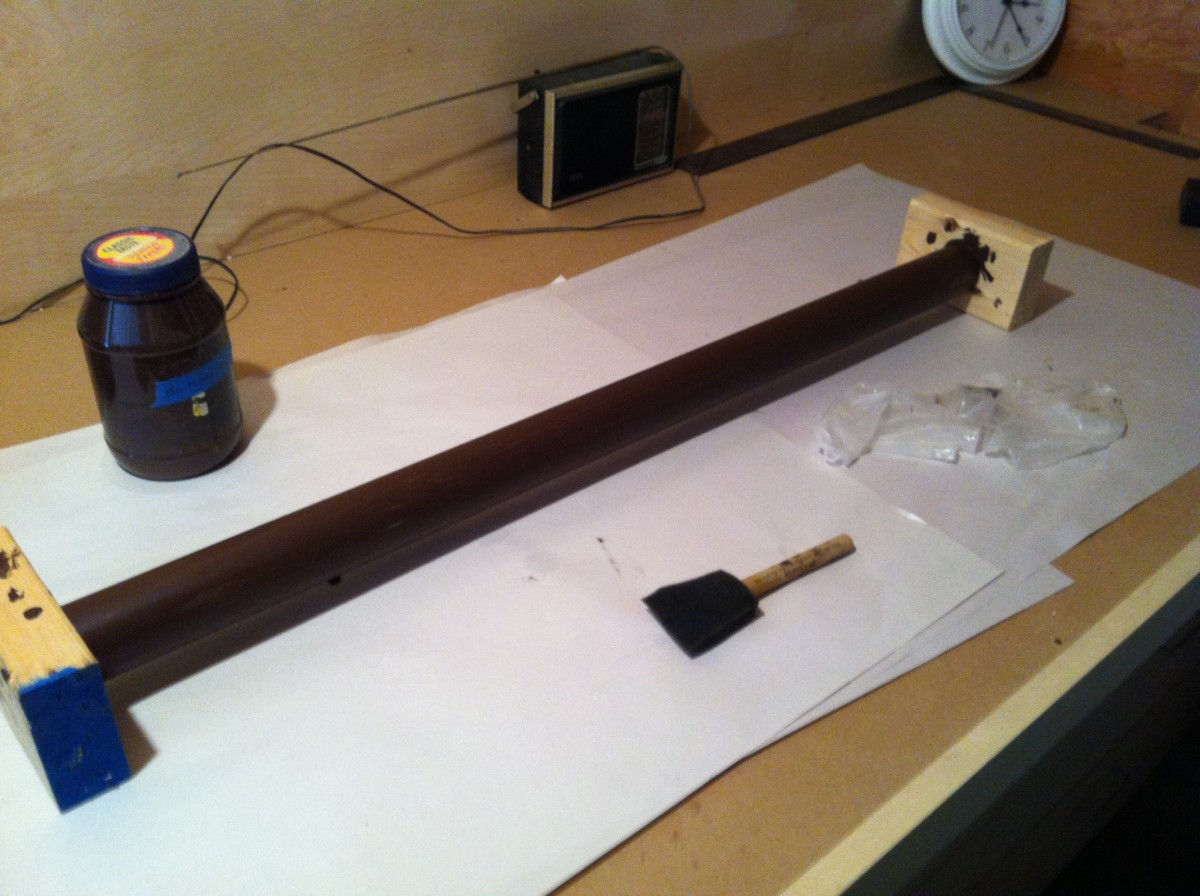
Painting a 33" x 1 1/2" PVC pipe brown. (You'll see.)

I don't know why this guy let me get this close to him, but thank you.
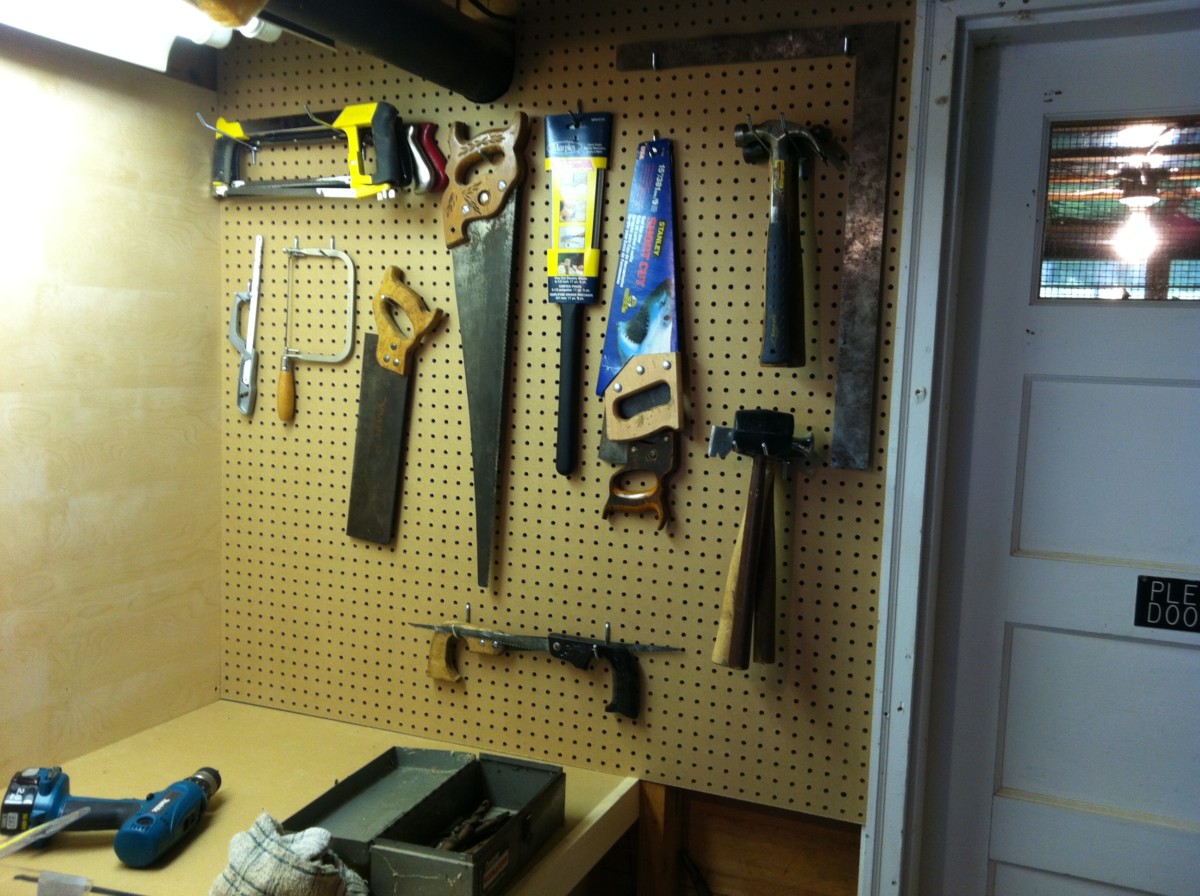
Pegboard next to the work bench on the left side of the door.

Also, pegboard on the right side of the door. It's starting to look a little OCD-like here.
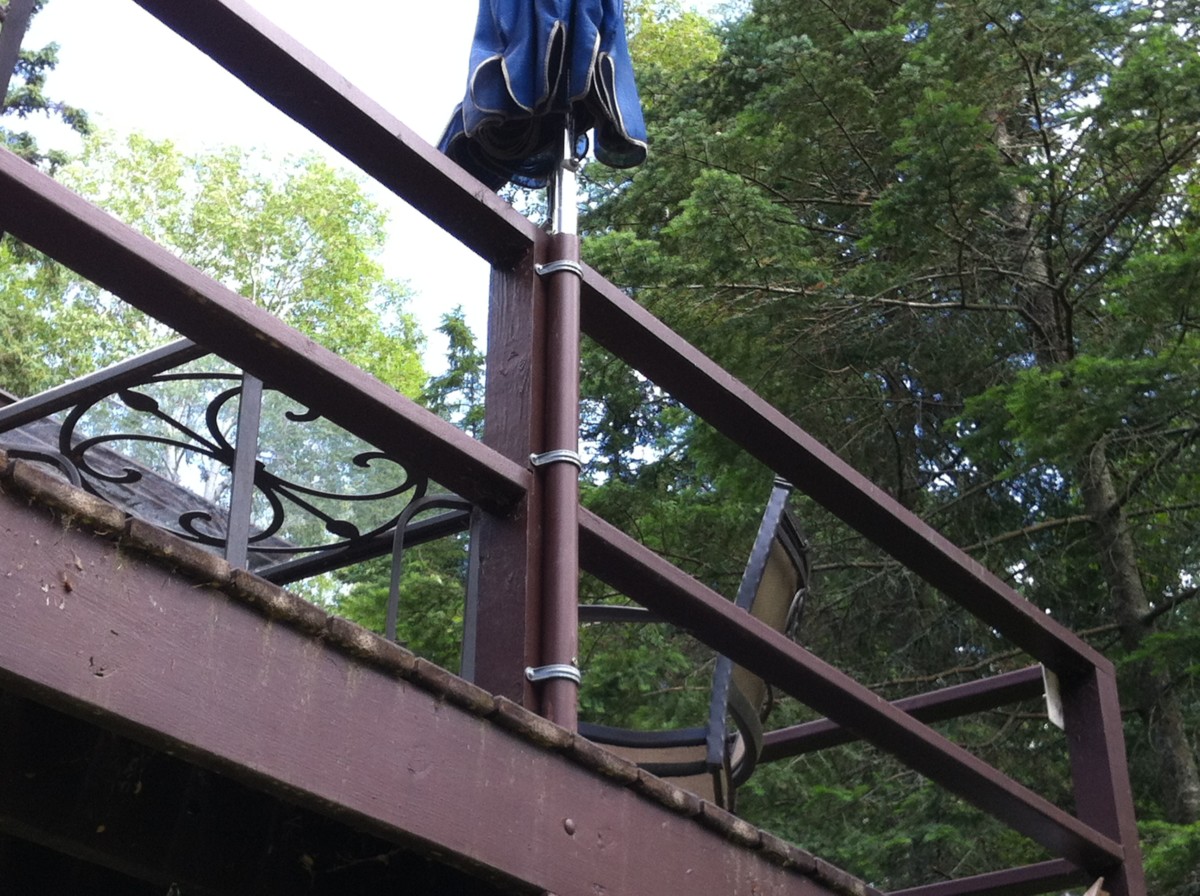
Here's that 1 1/2" PVC pipe I painted brown the other day, now it's an umbrella holder.
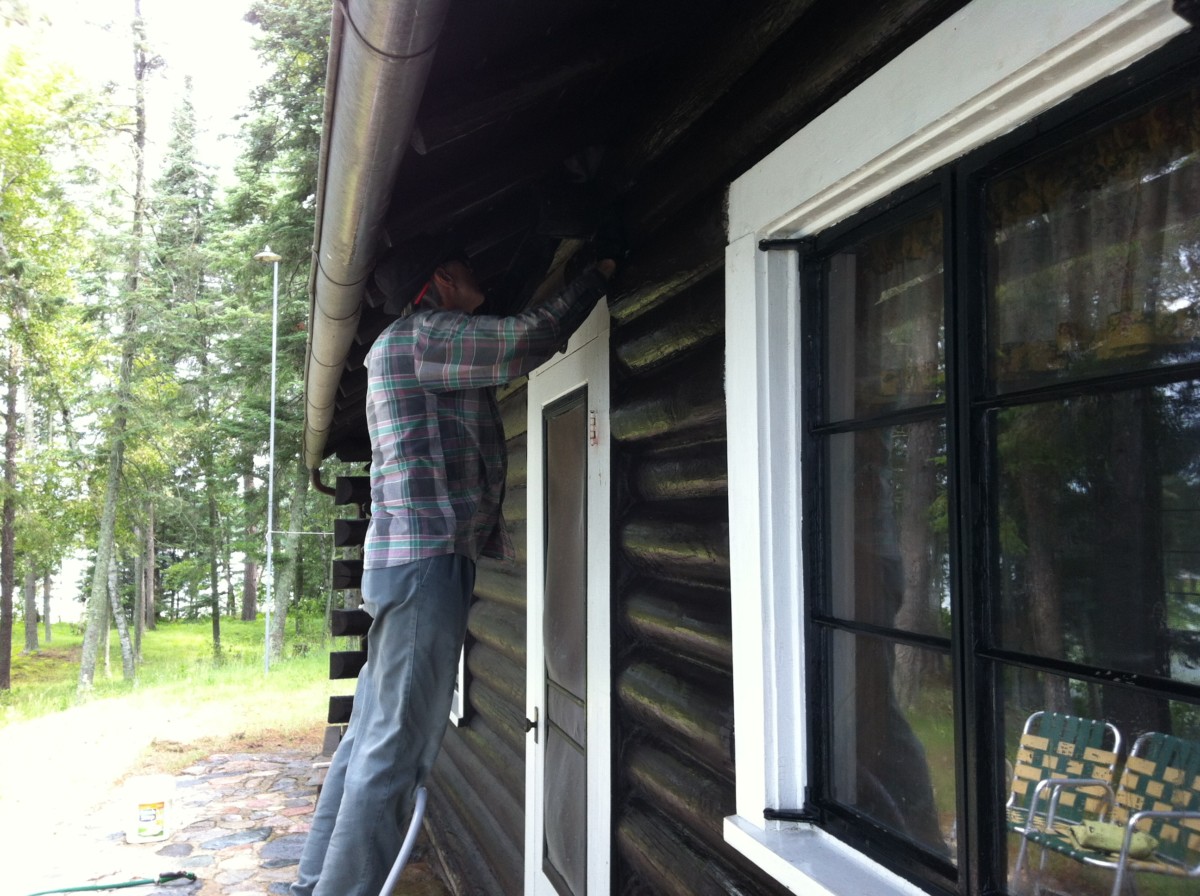
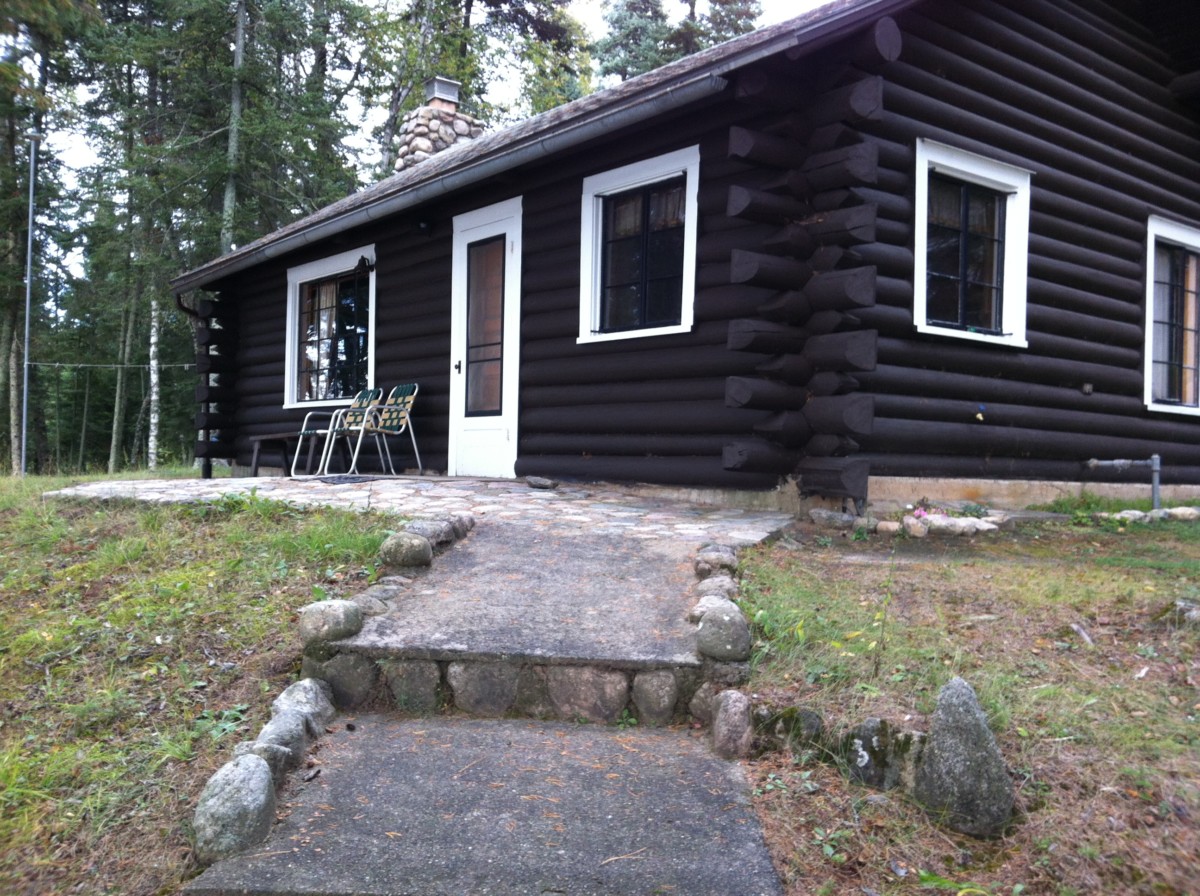
Washing the front of the log cabin in preparation for staining.
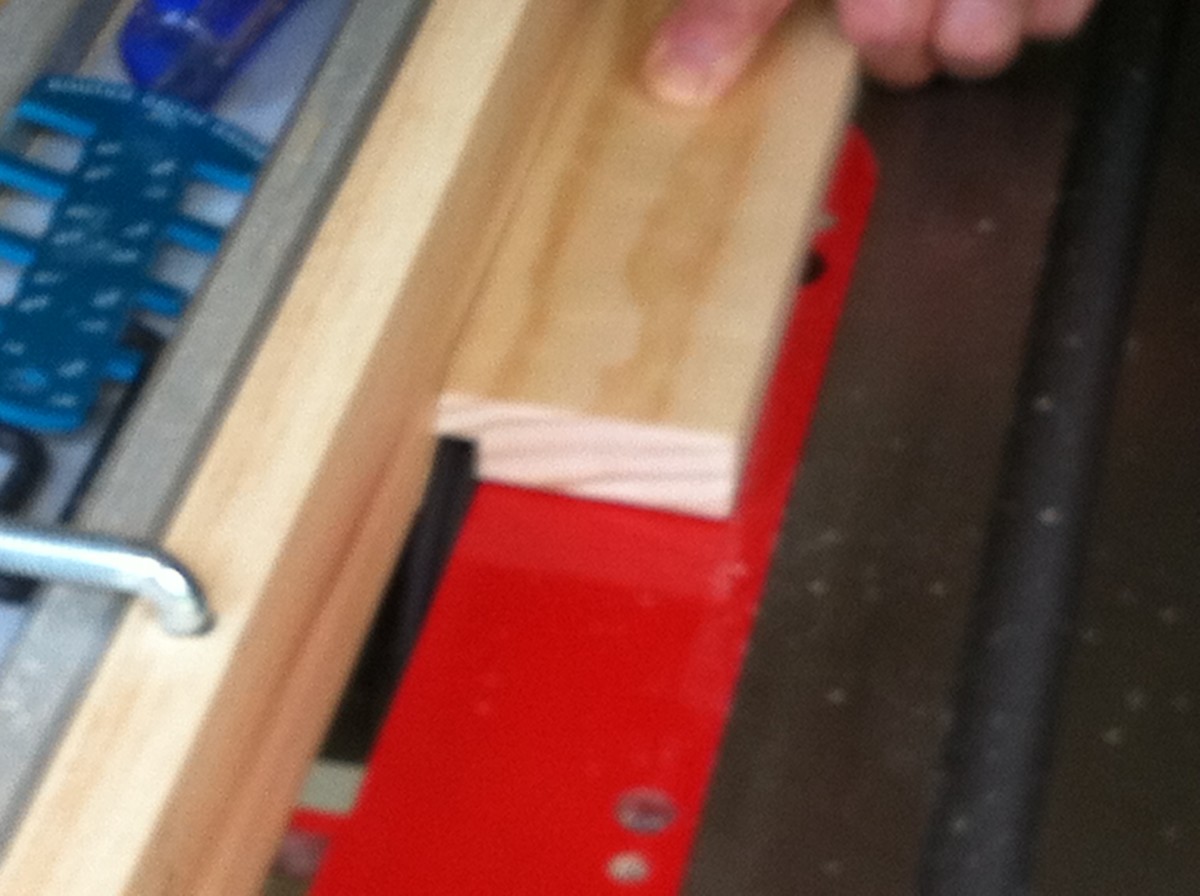
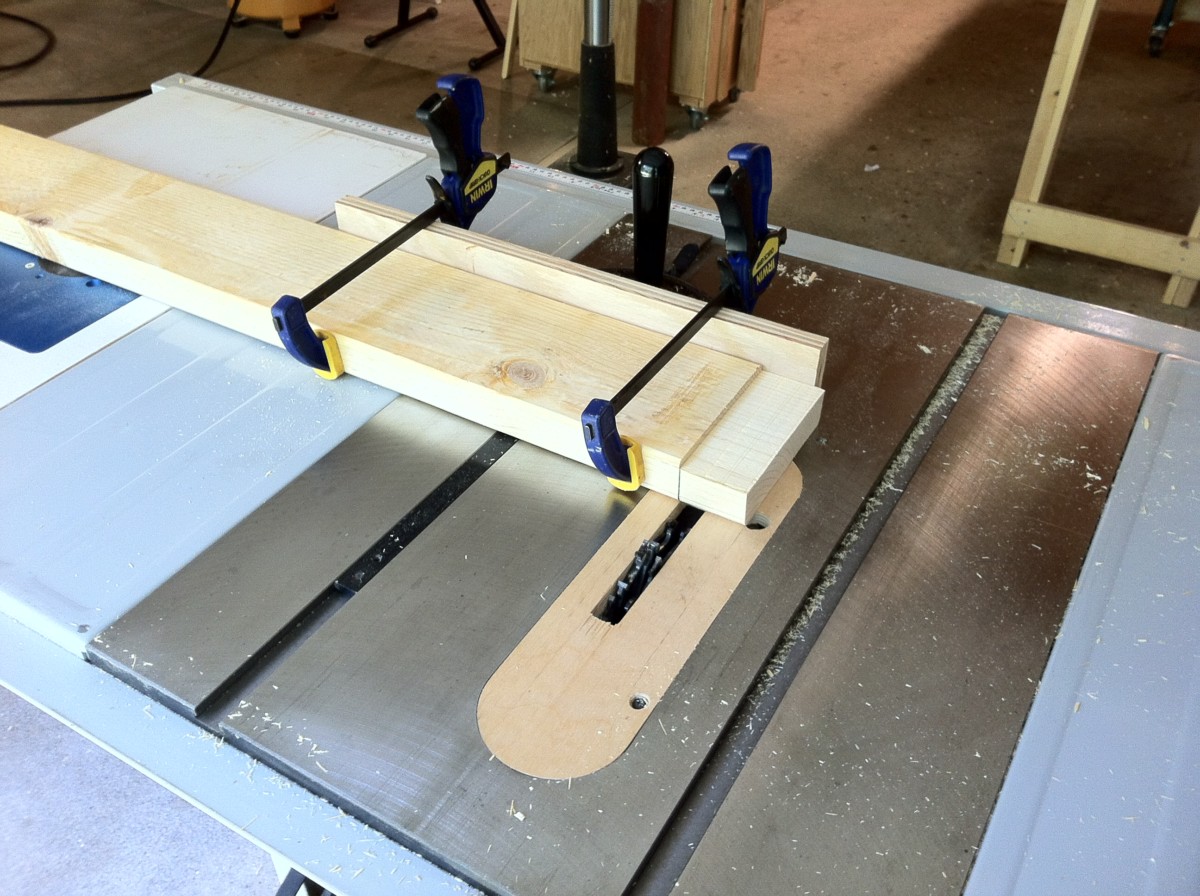
I finally get to use the sacrificial fence I made last year.

Here's an end view to show the joinery I'm using for the shelf that will go above the work bench.

Here we have two shelves mounted above the work bench. With all the stuff in drawers and hanging on the pegboard I don't know what to put on them.

Now that I have a well organized work area I need to built something.

I never pass up a chance to use the router. Here we are putting a radius on all the sharp edges.
Almost done.
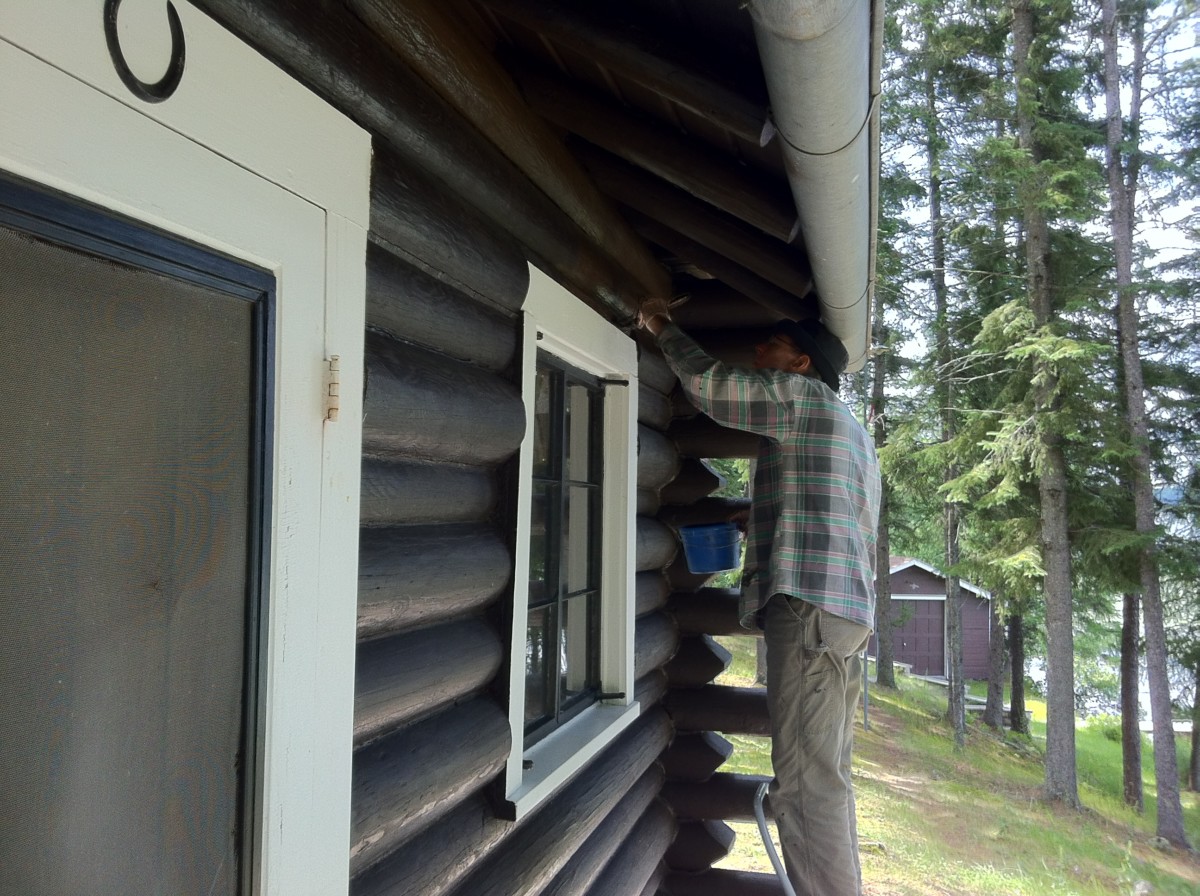
It cooled off today so we're staining the front of the log cabin. Under the overhang is the worst part.
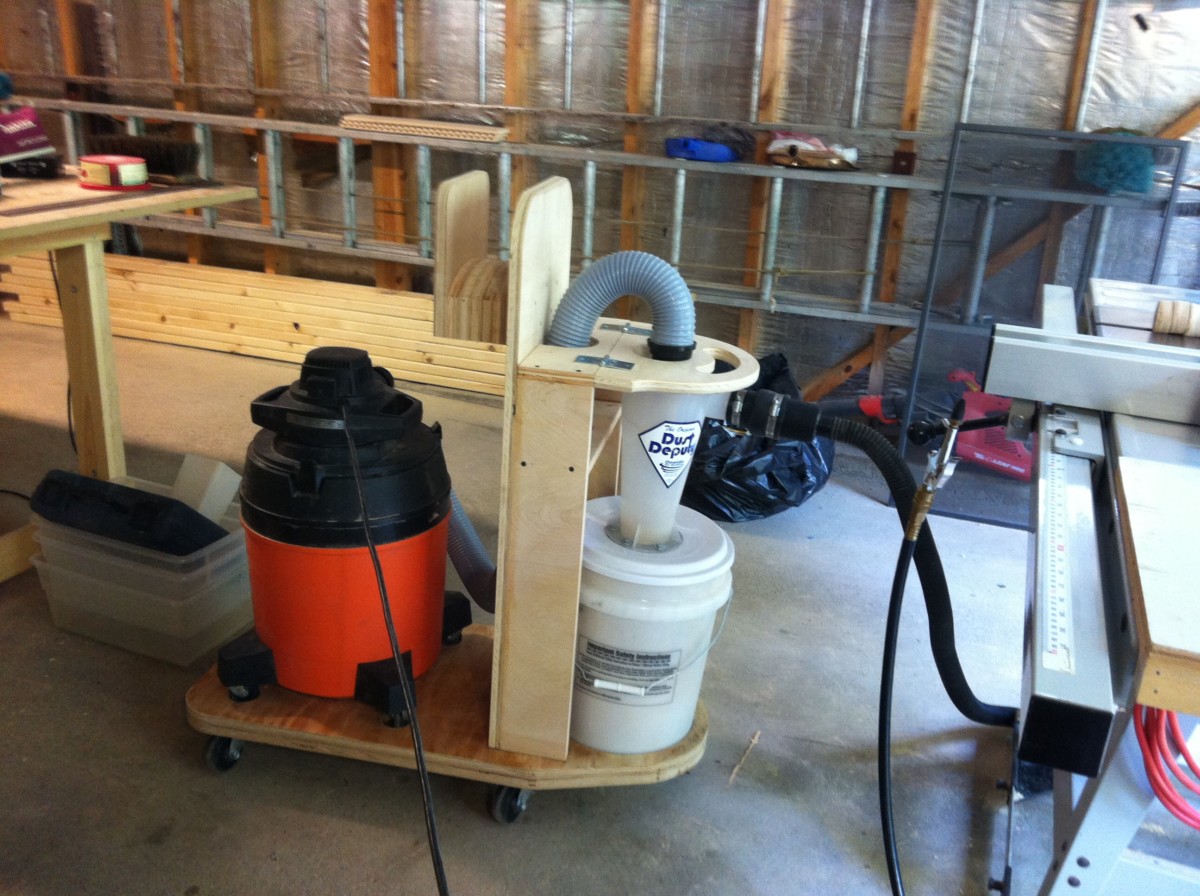
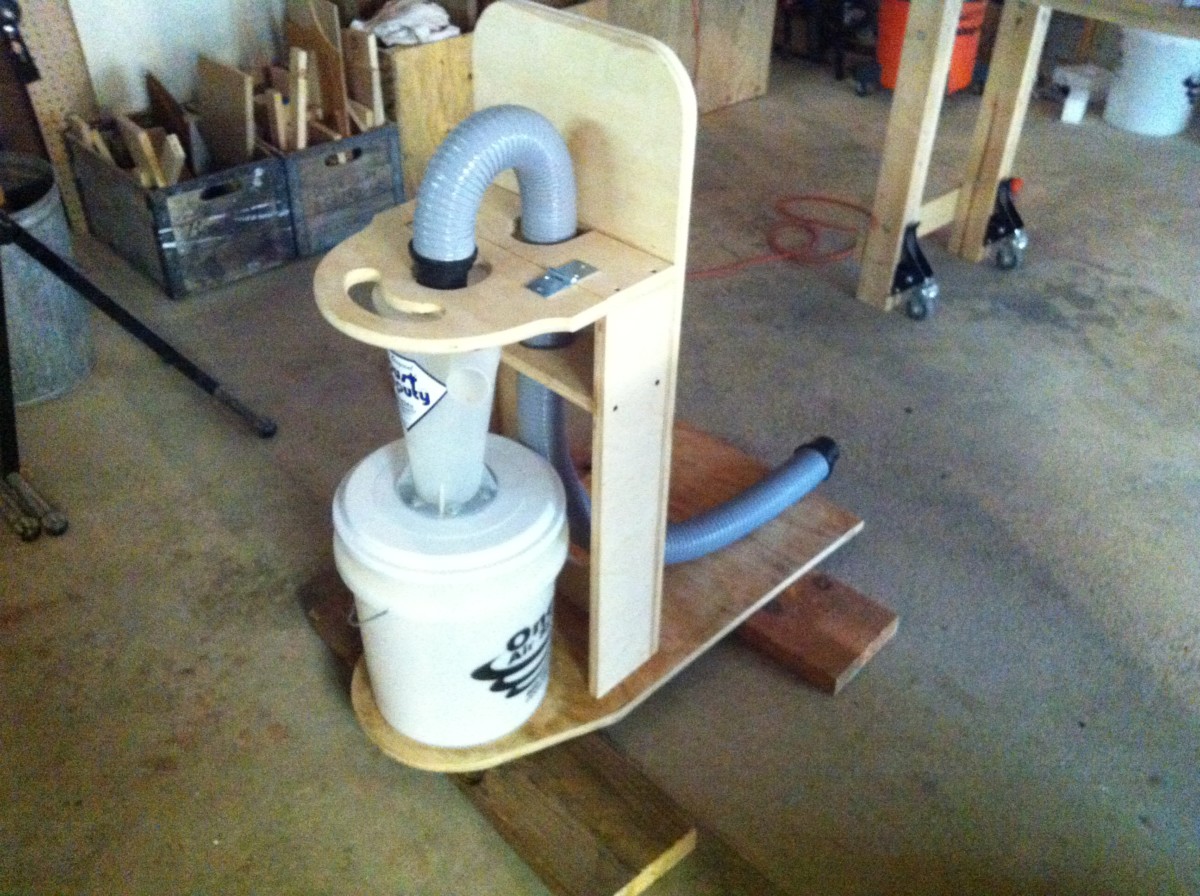
Finished. This cart holds the Shop Vac and the Dust Deputy®. Sawdust goes into the white bucket and the Shop Vac filter doesn't get clogged up.

I put up pegboard on the end of the paint locker to organize the paint brushes. Please, someone stop me.

Here we have a pile of 2x4s - 26 in all.
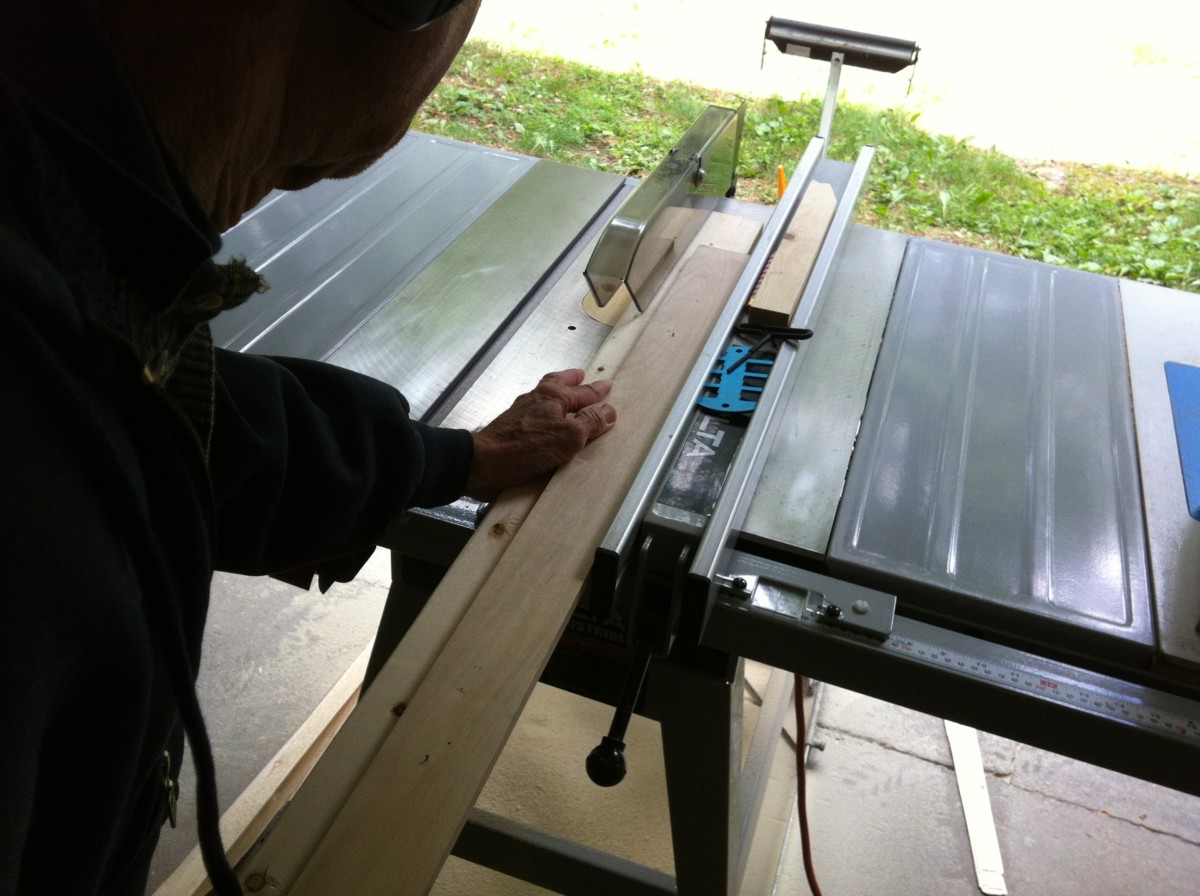
I'm removing the edge radius and putting a straight edge on one side of all the boards.
Since I don't have a jointer we're tacking a straight edge to the 2x4 to run against the saw fence.

Here we have 24 of the 2x4s, all with one clean edge, lined up. I'll only use 7' out of the 8' boards so I have some leeway to hide some of the knots.
I've adjusted the 2x4s as best as I can.

After cutting off all the boards on one end on the line I'm now cutting off the other end at exactly 7'.

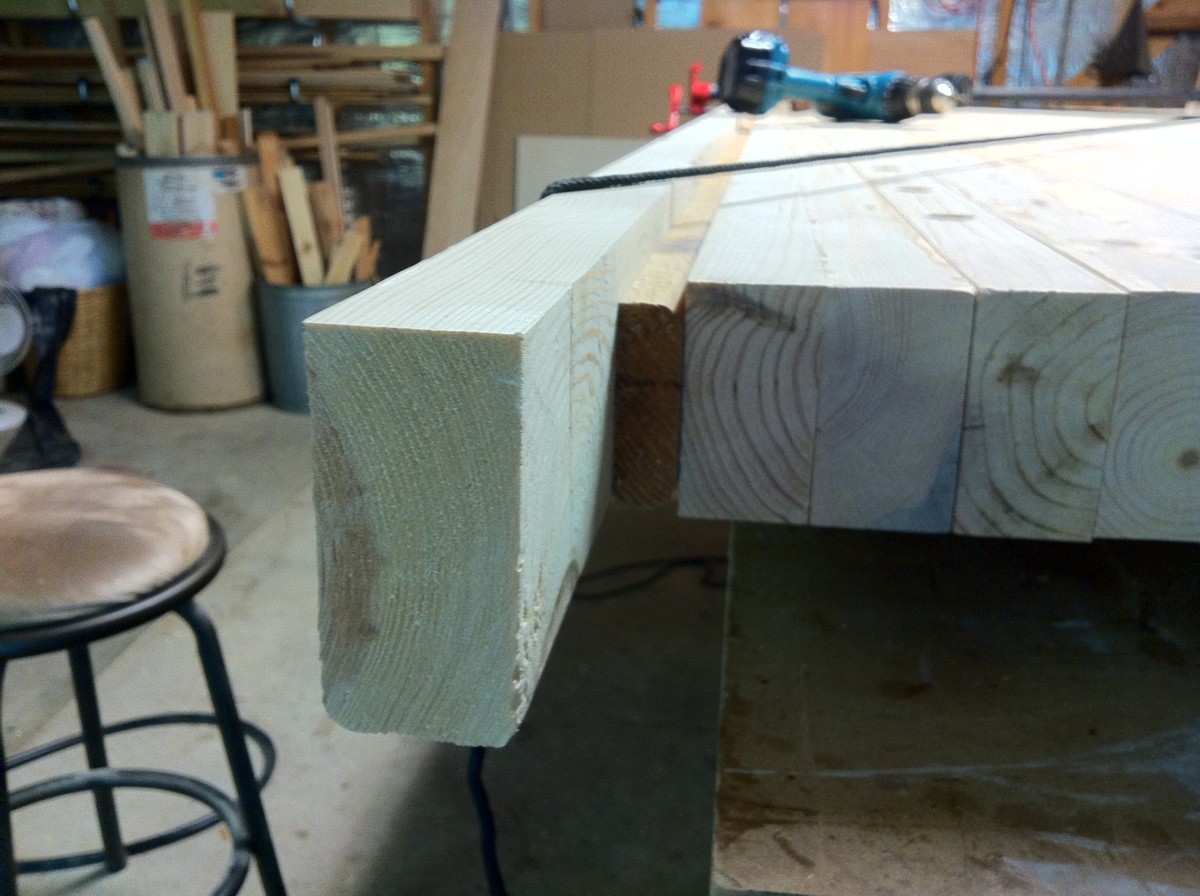
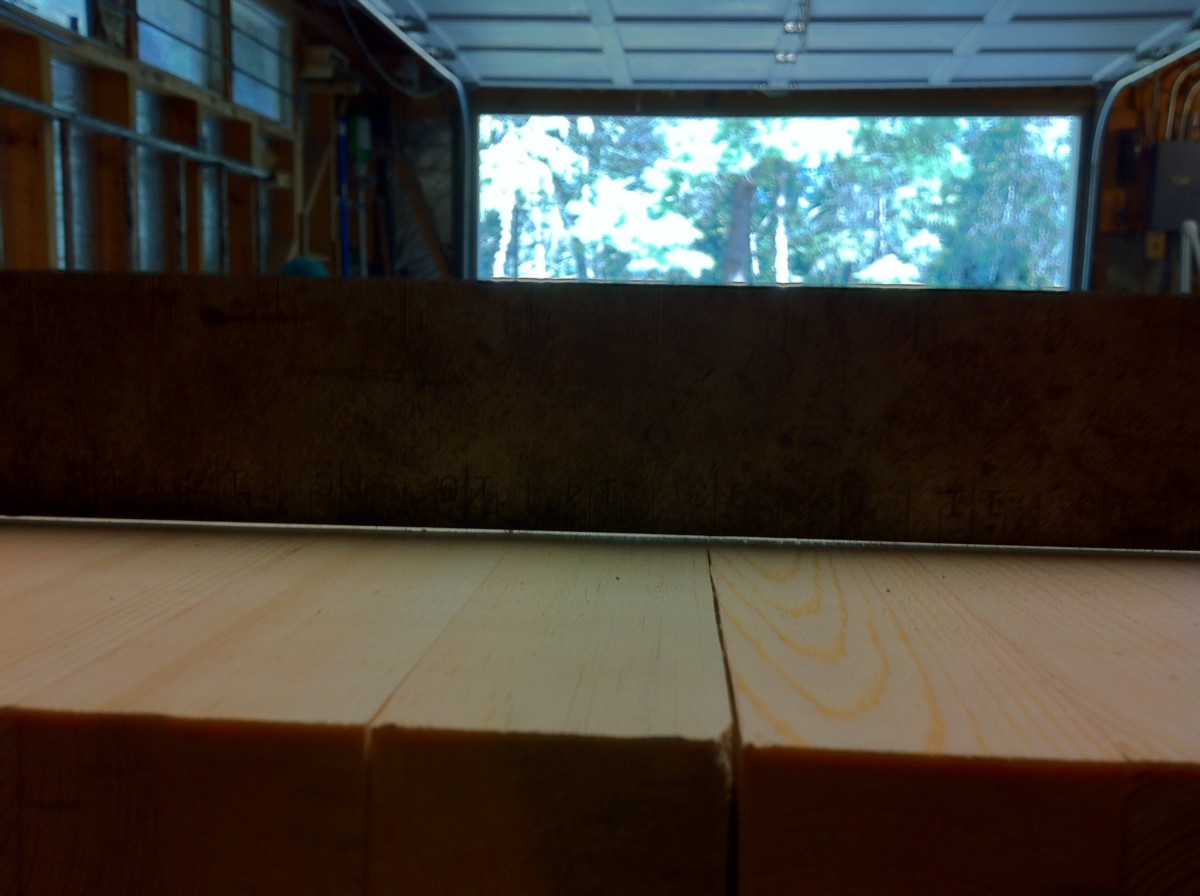
Now I have a big slap of wood 7' x 3' x 3 3/4".

This is a brush and the extension rods used to clear out a chimney. What could go wrong?
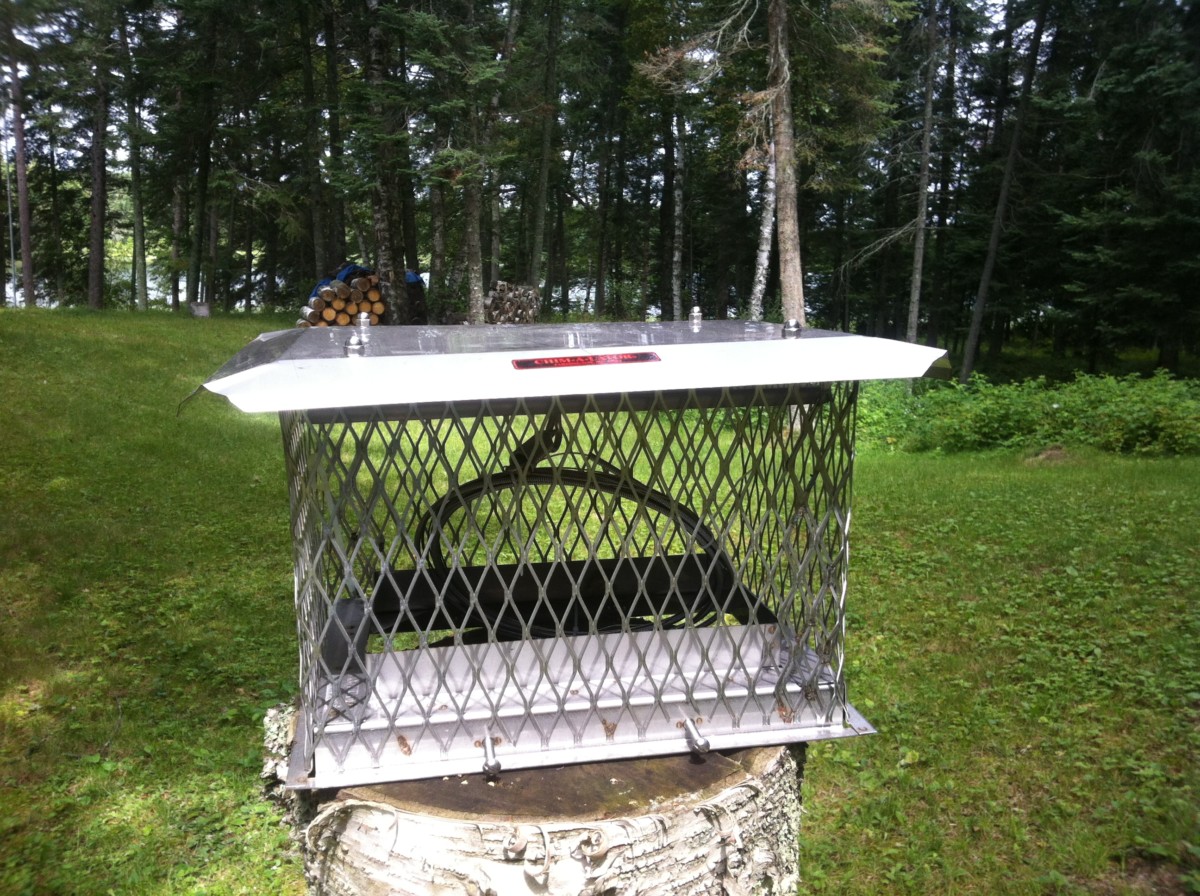
And this is a chim-a-lator. It's a spring loaded chimney damper. I'm putting it on the log cabin because the damper rusted out.
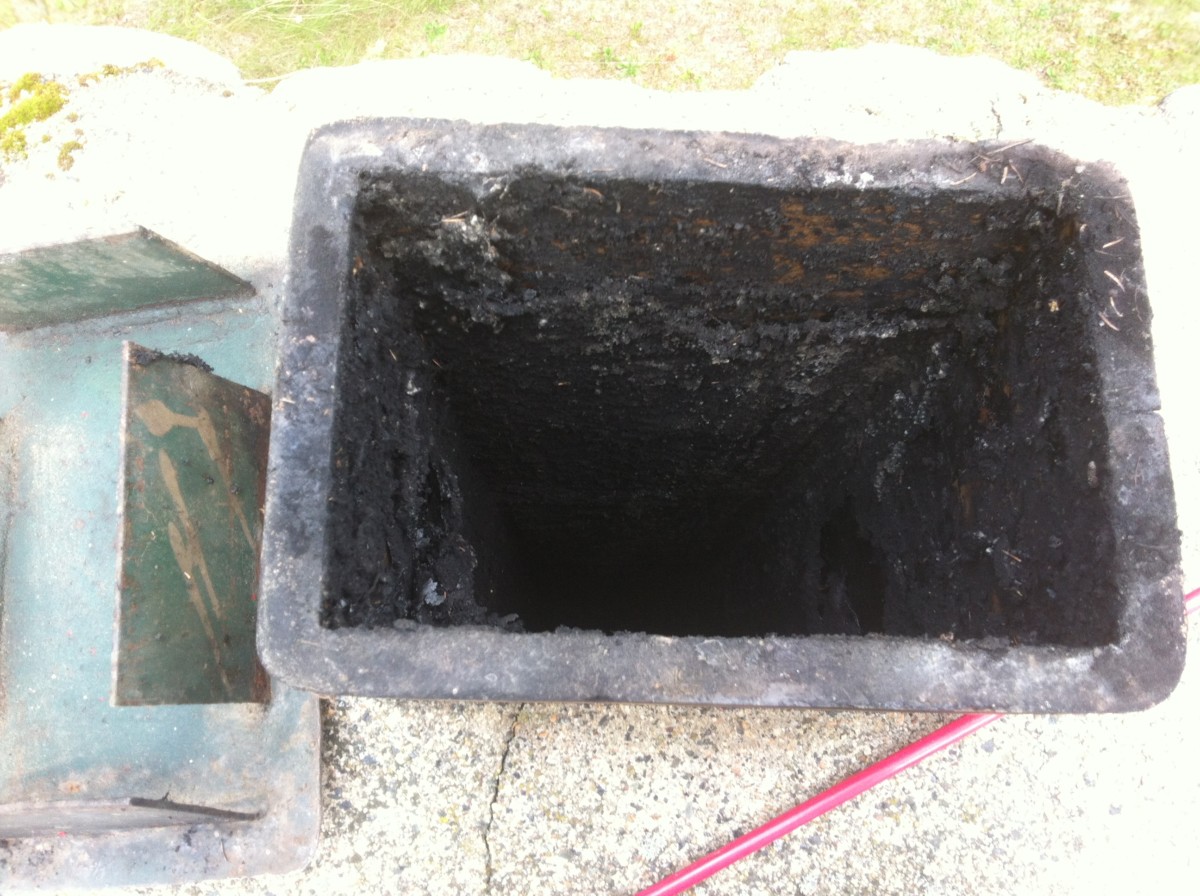
A peek at the chimney flue ...
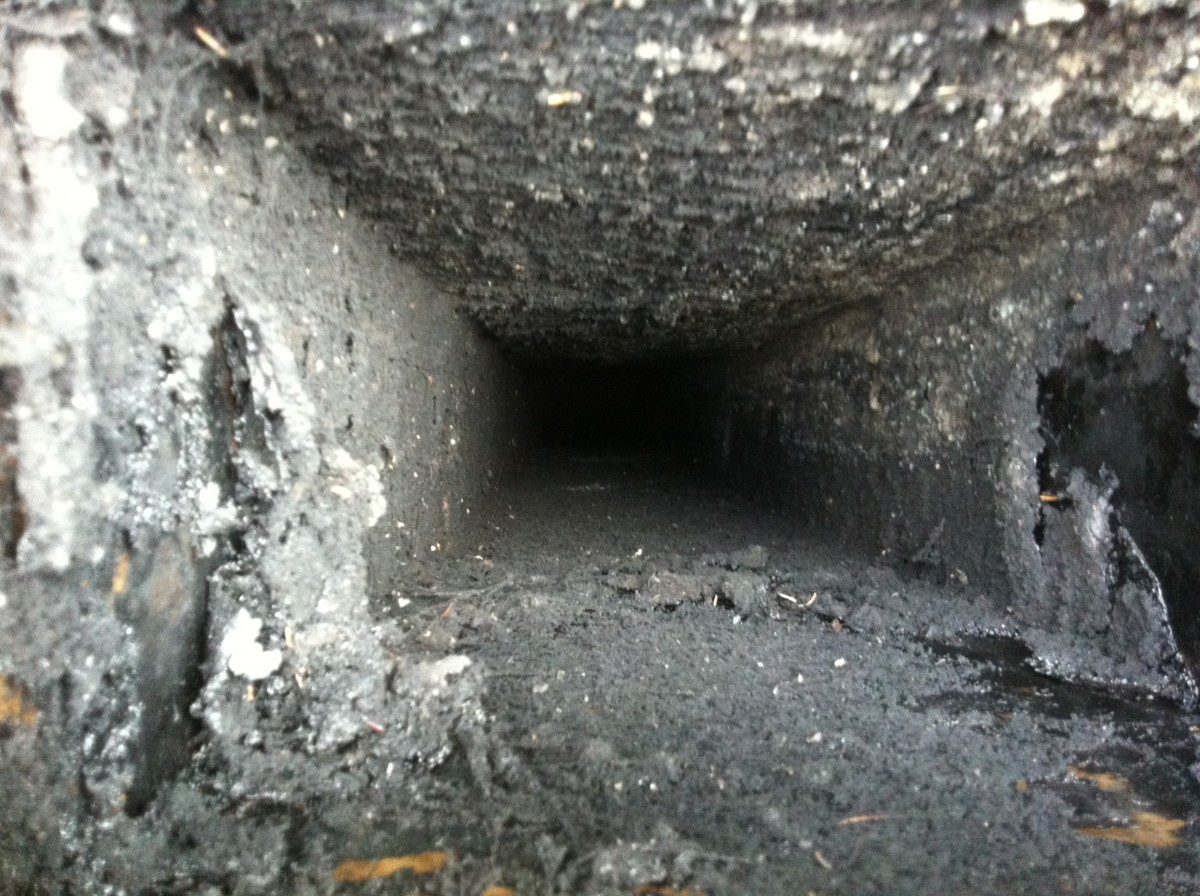
... and here's a closer look inside.
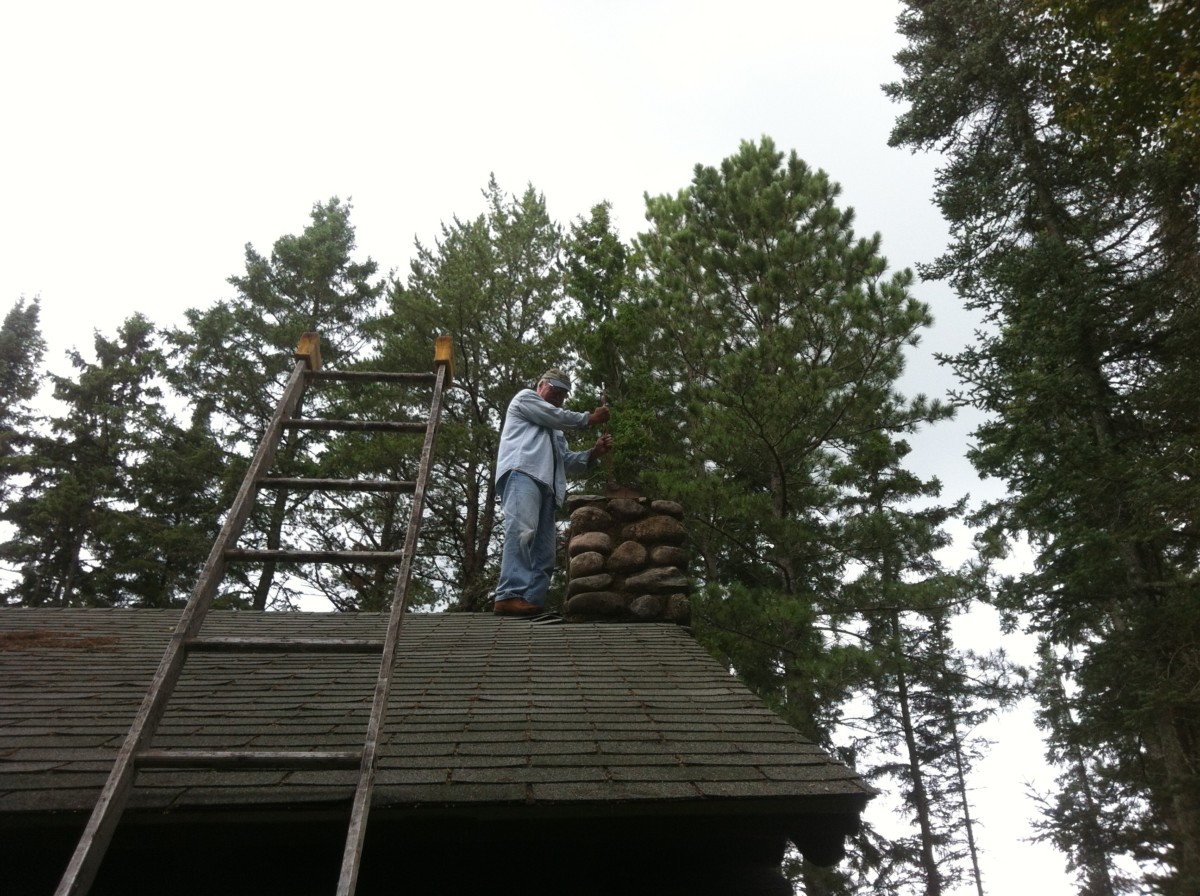
This is me ramming that brush up and down the chimney flue.

After clearing the chimney I installed the chim-a-lator. It's bolted to the top of the flue stack and a stainless steel cable runs down the flue.
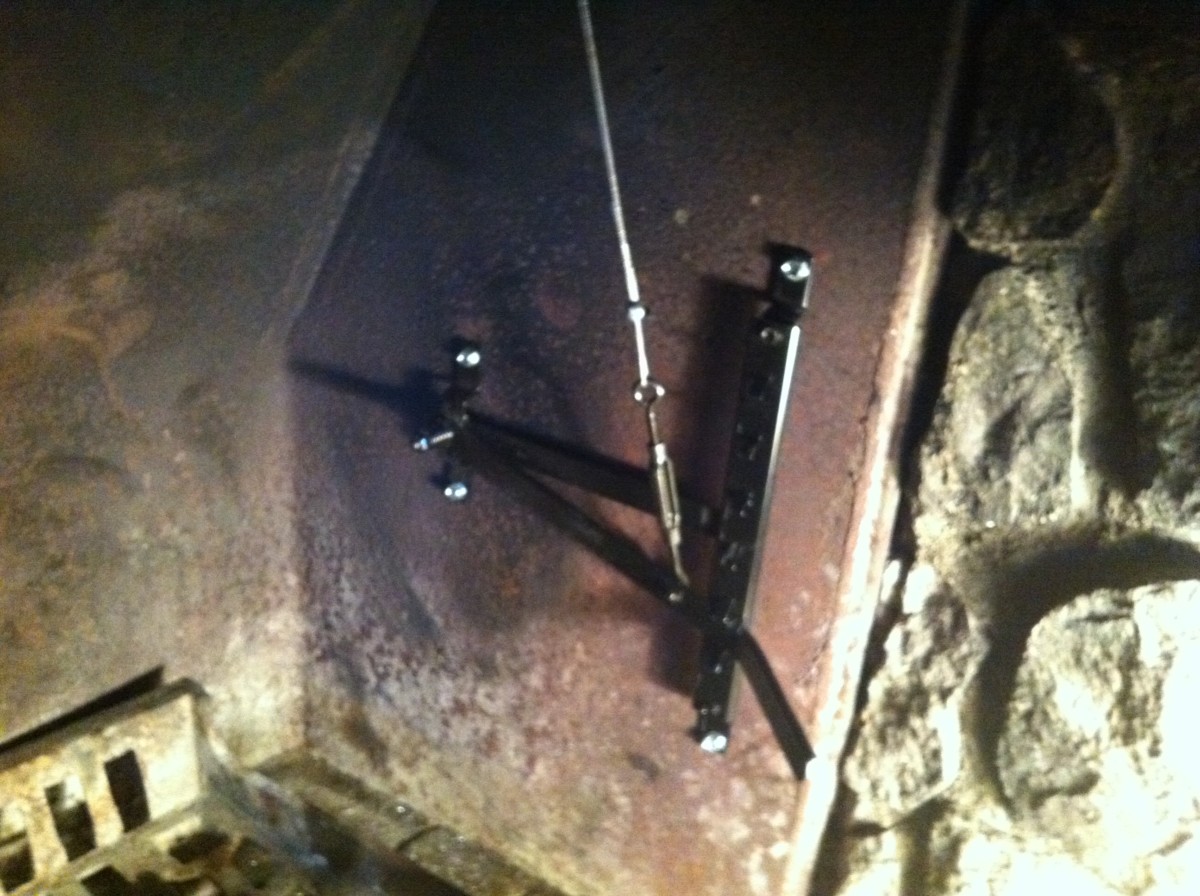
This is the lever inside the firebox which controls the spring loaded cover plate up top.

Starting the glue-up on the big slab of wood. I think I can manage 3 groups of 2 boards at a time.

When I have 12 pairs glued up I'll drill some holes and then glue the pairs together.

Here's one more dead tree to take down.

A nasty old Jack Pine. Now the hard part, hauling it away.
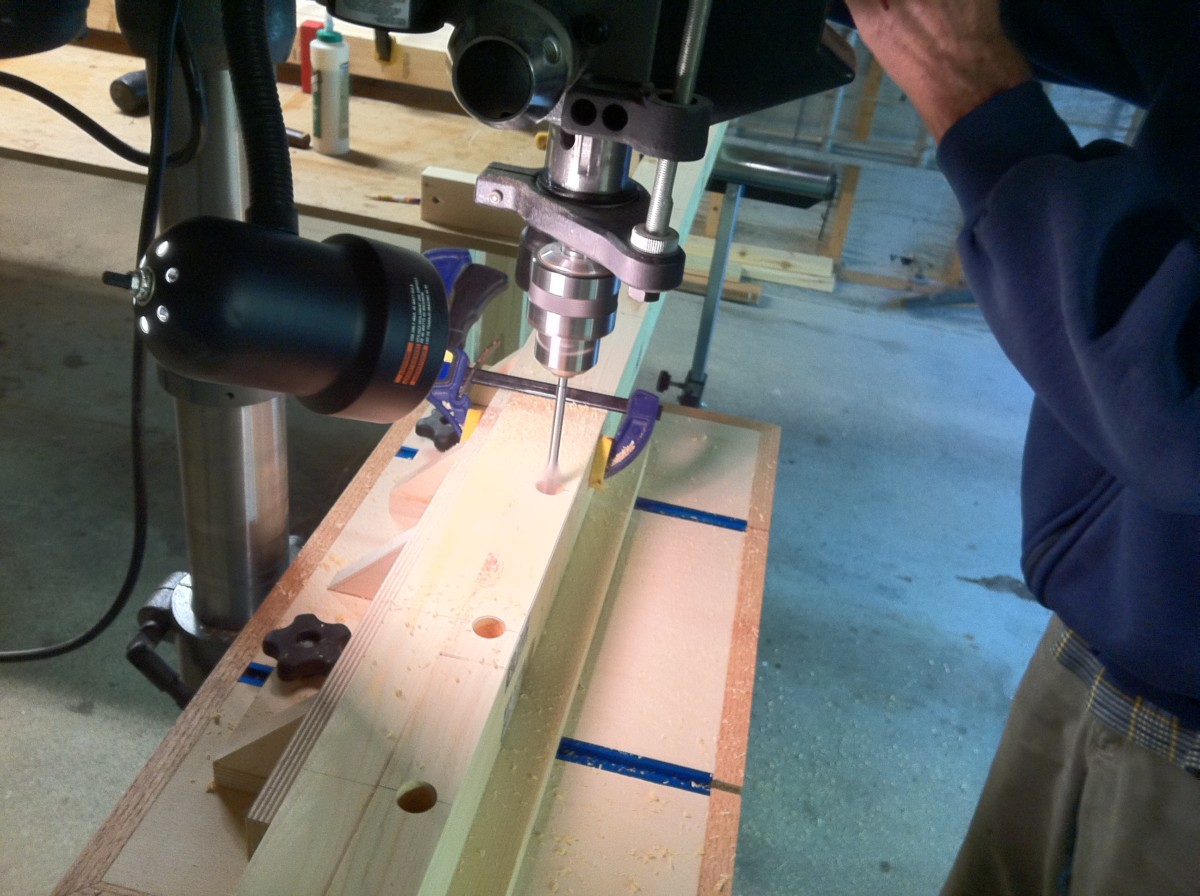
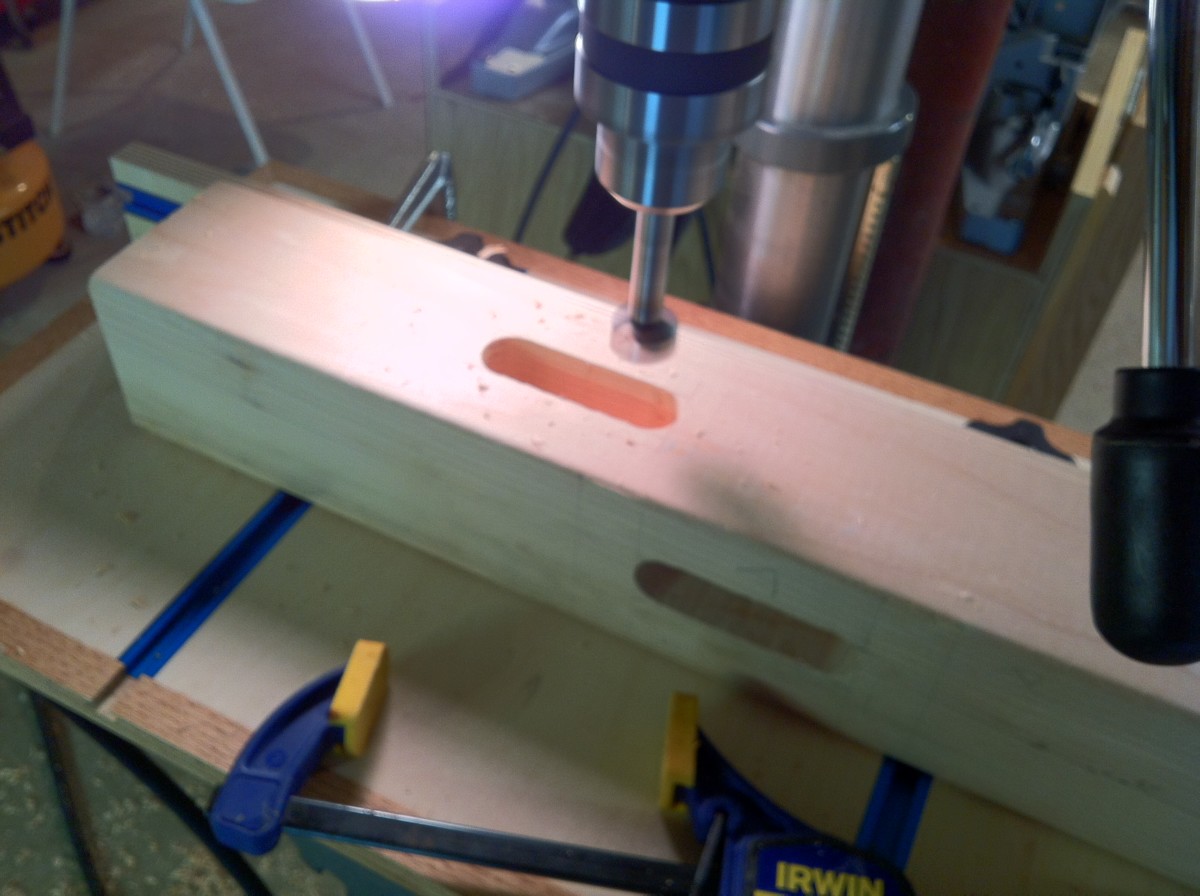
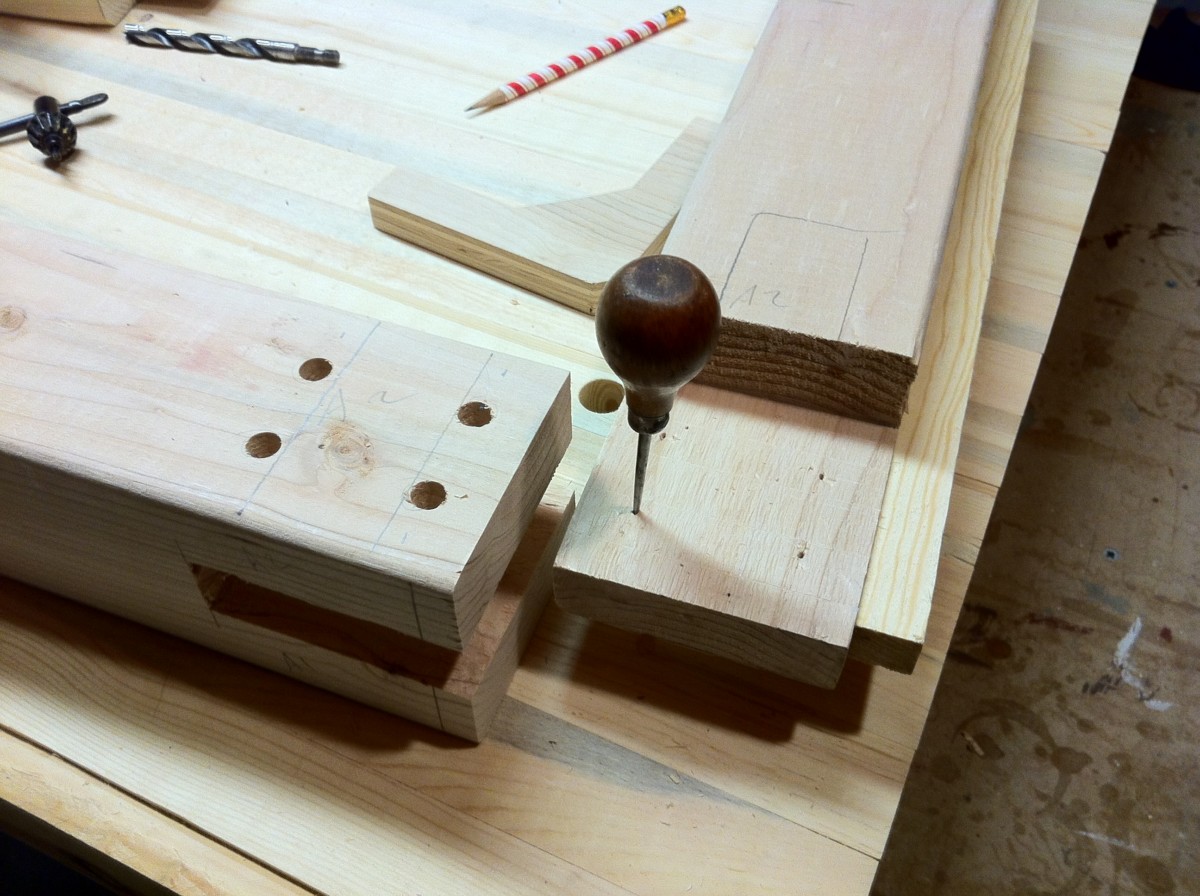
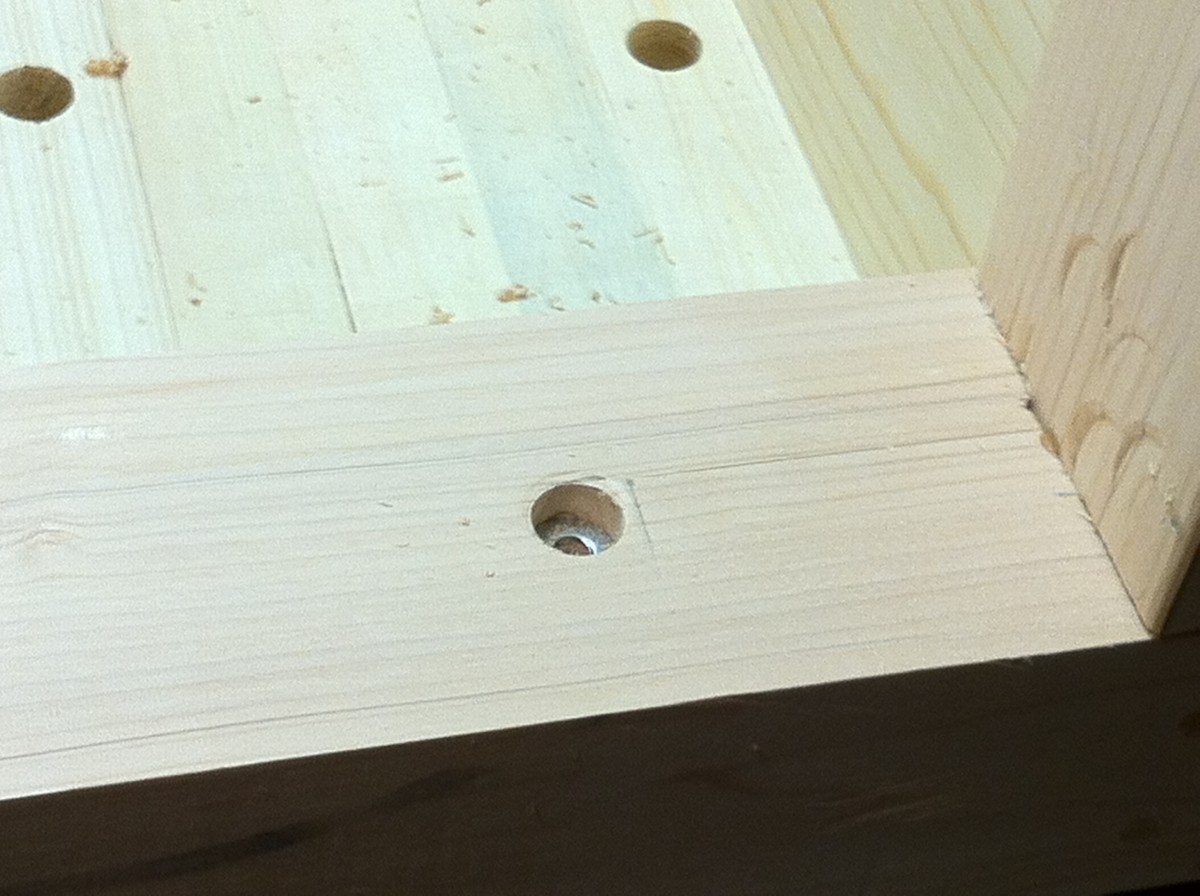
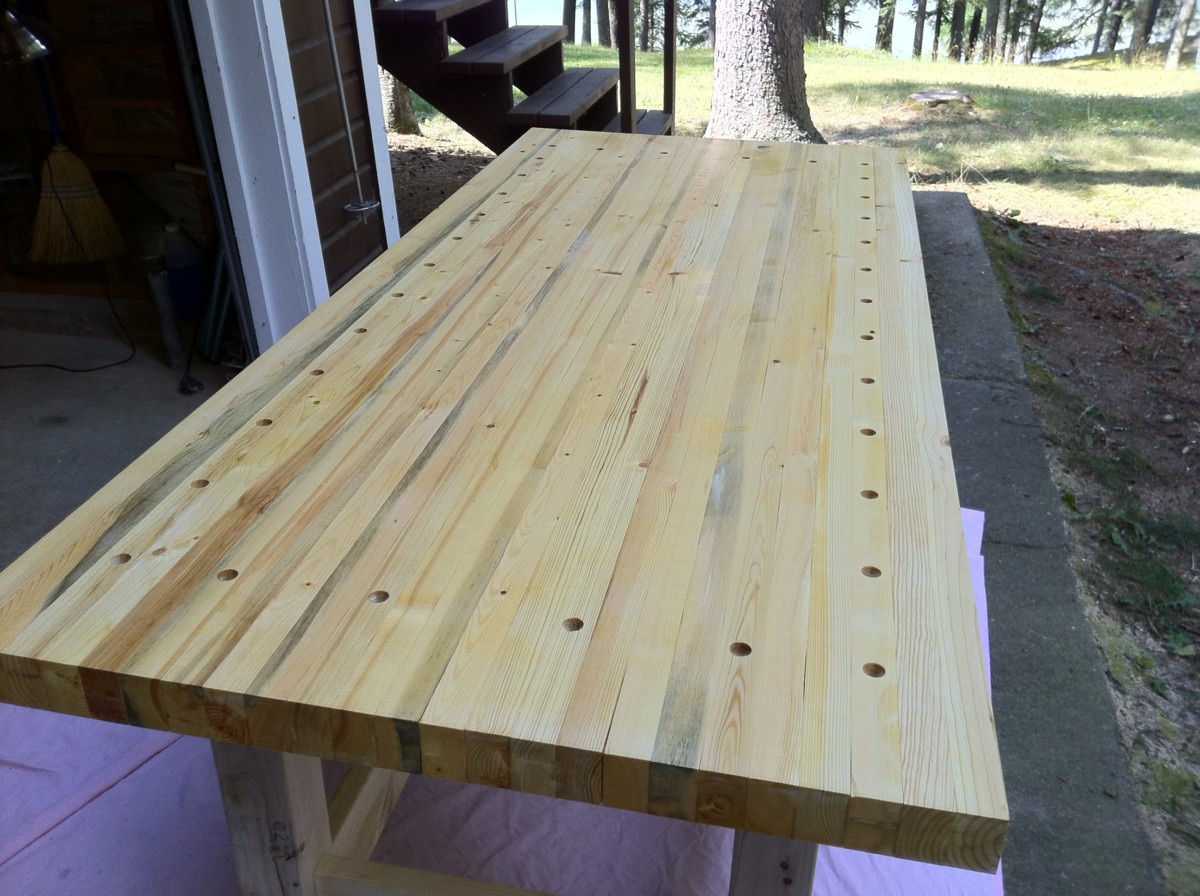
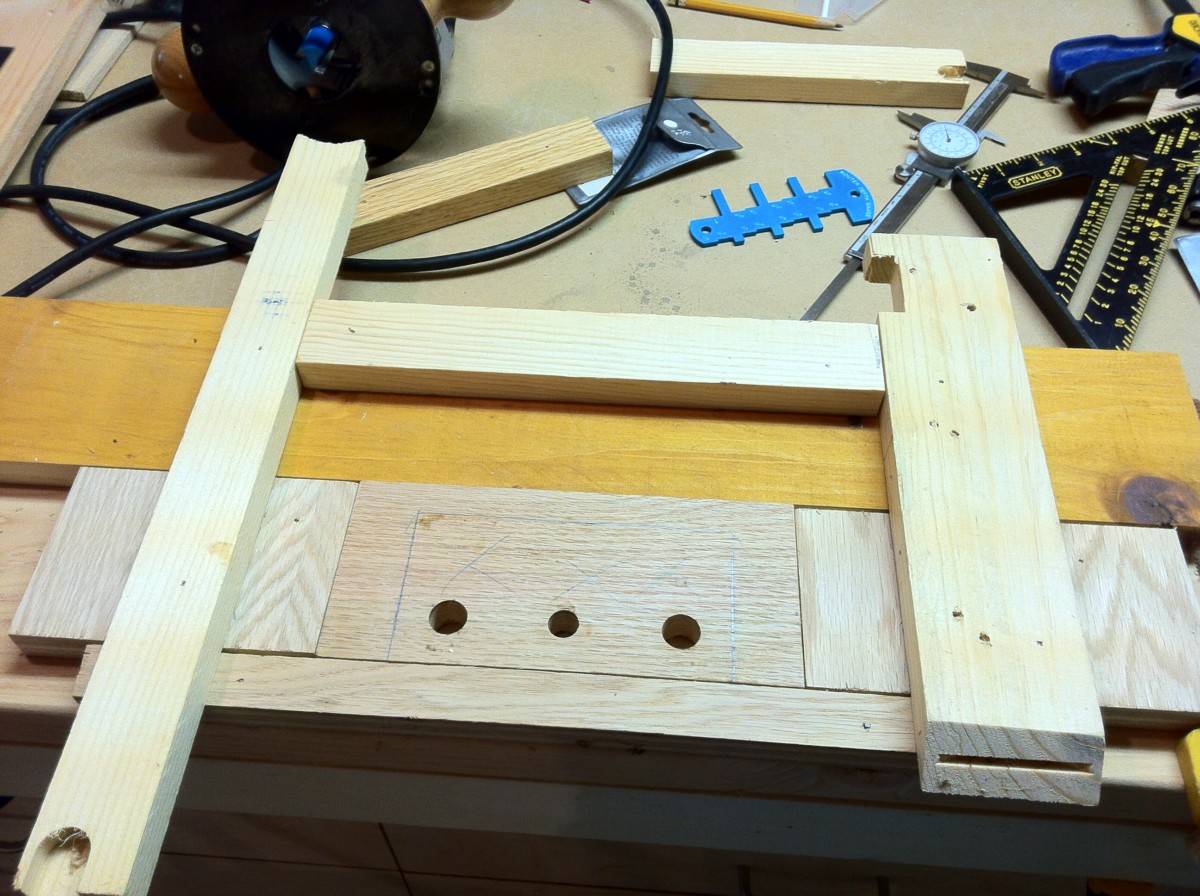
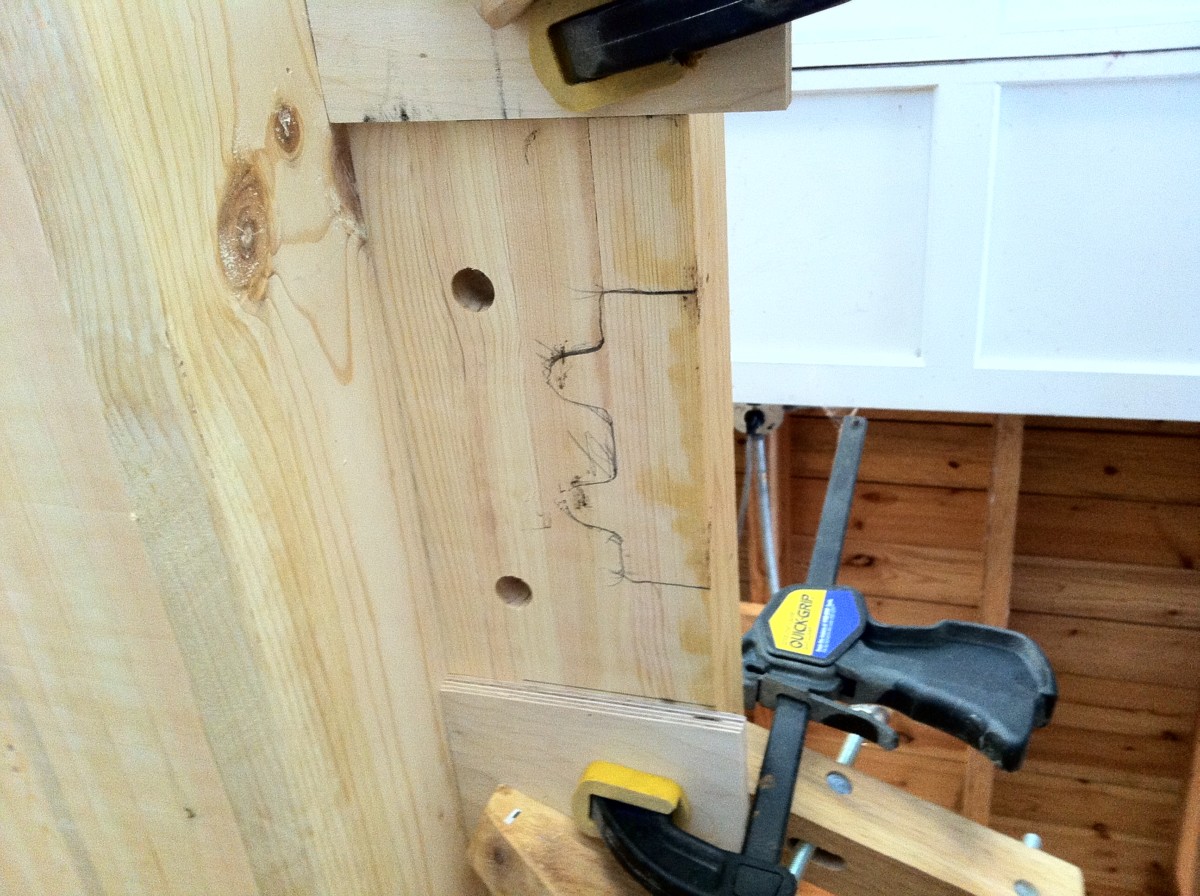
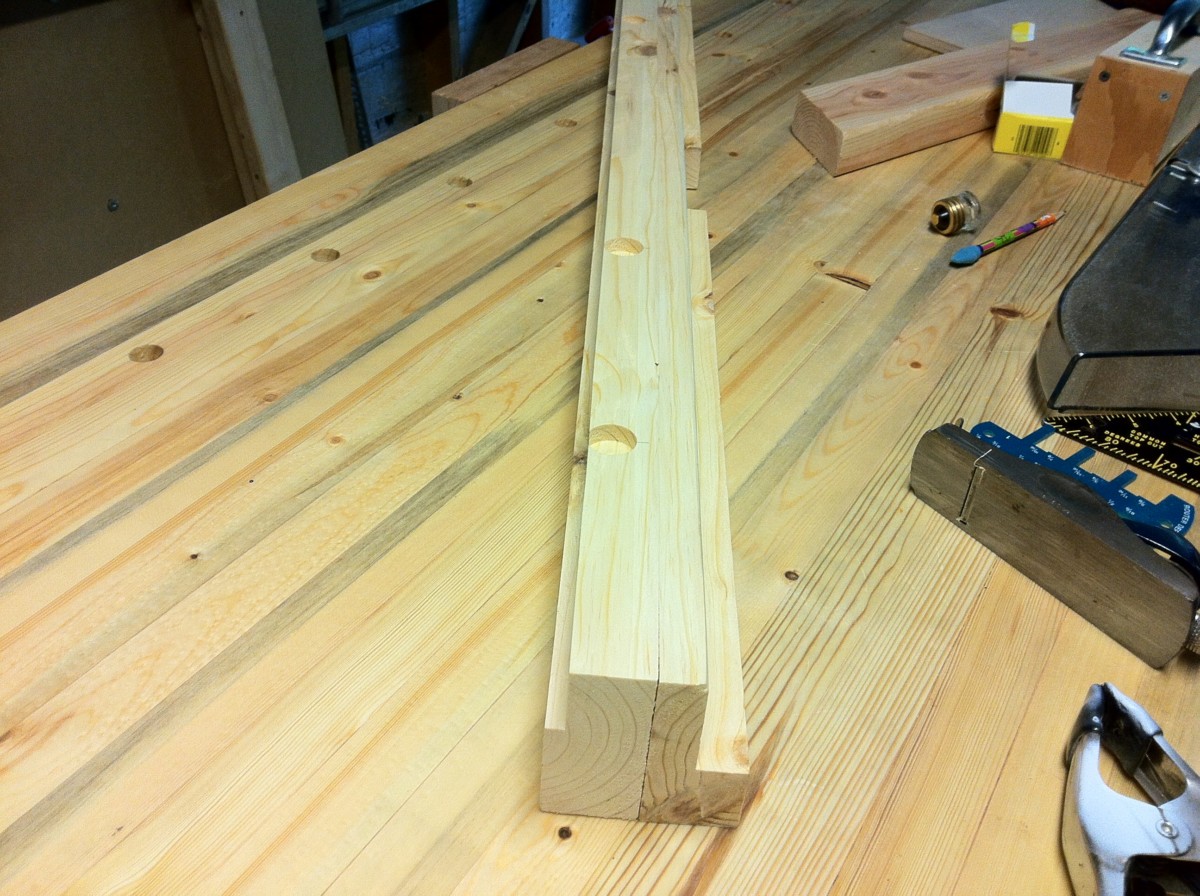
I need some 3/4" holes drilled near the edge spaced about 6" apart. These are drilled from top to bottom.
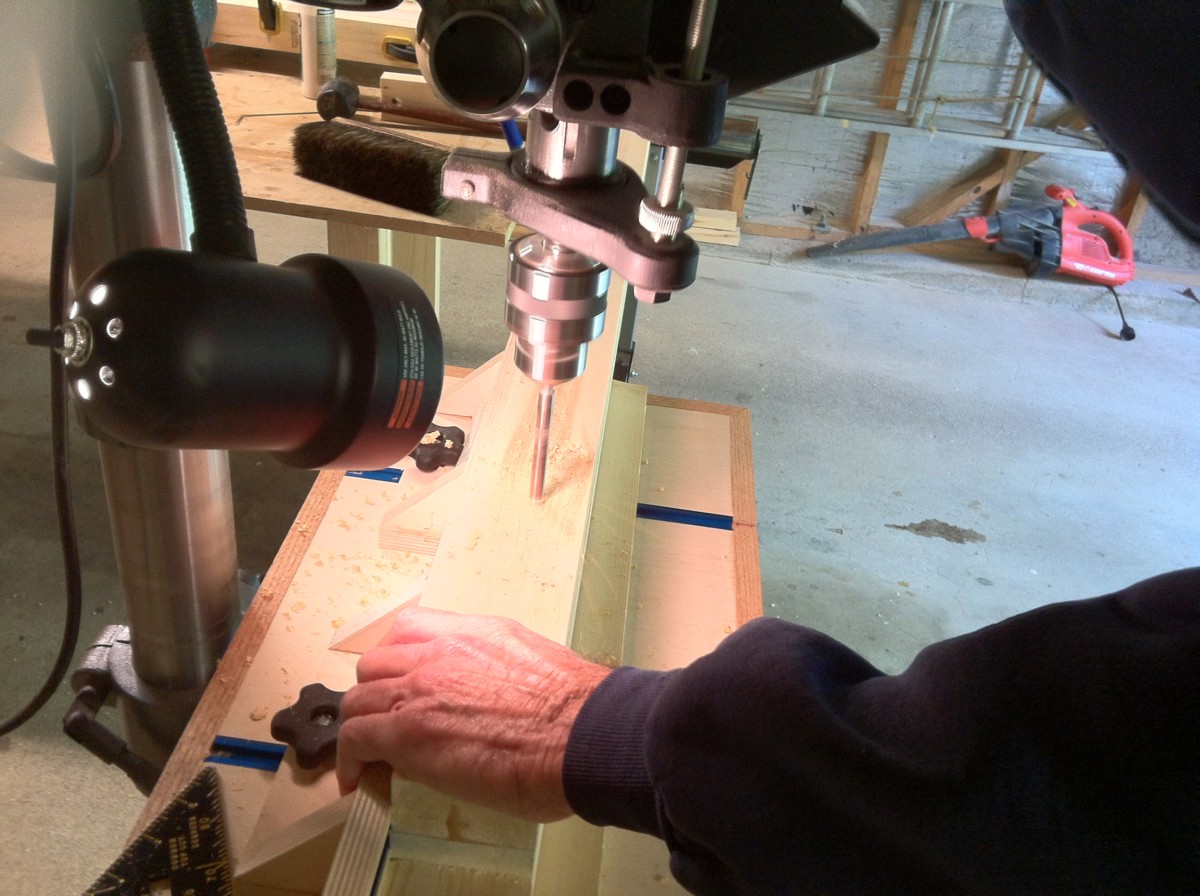
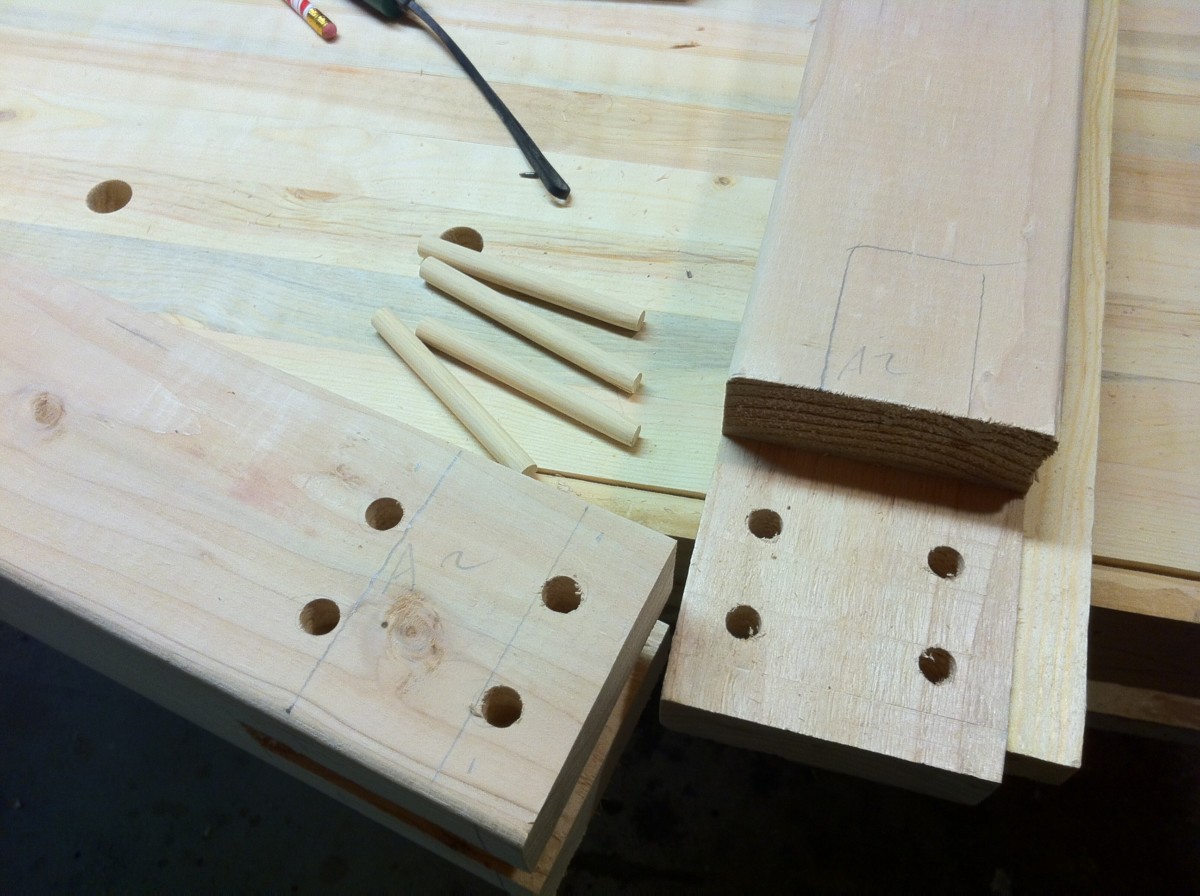
Also I need three 5/8" holes drilled sideways through all of the boards. These need to line up so a threaded rod can guide and hold all the pieces of this slab together.

I had to countersink the outside holes for the three 3' threaded rods. These rods worked pretty well to hold the completed top together.
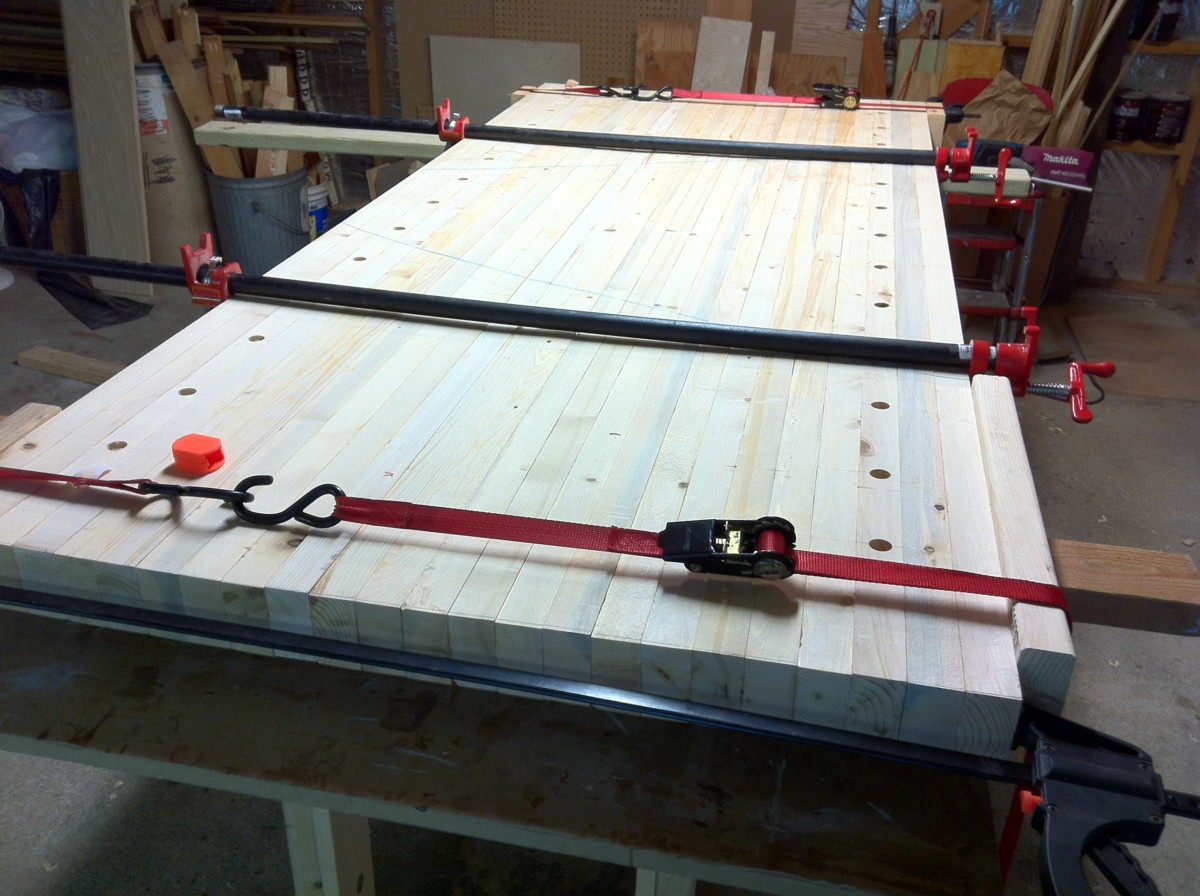
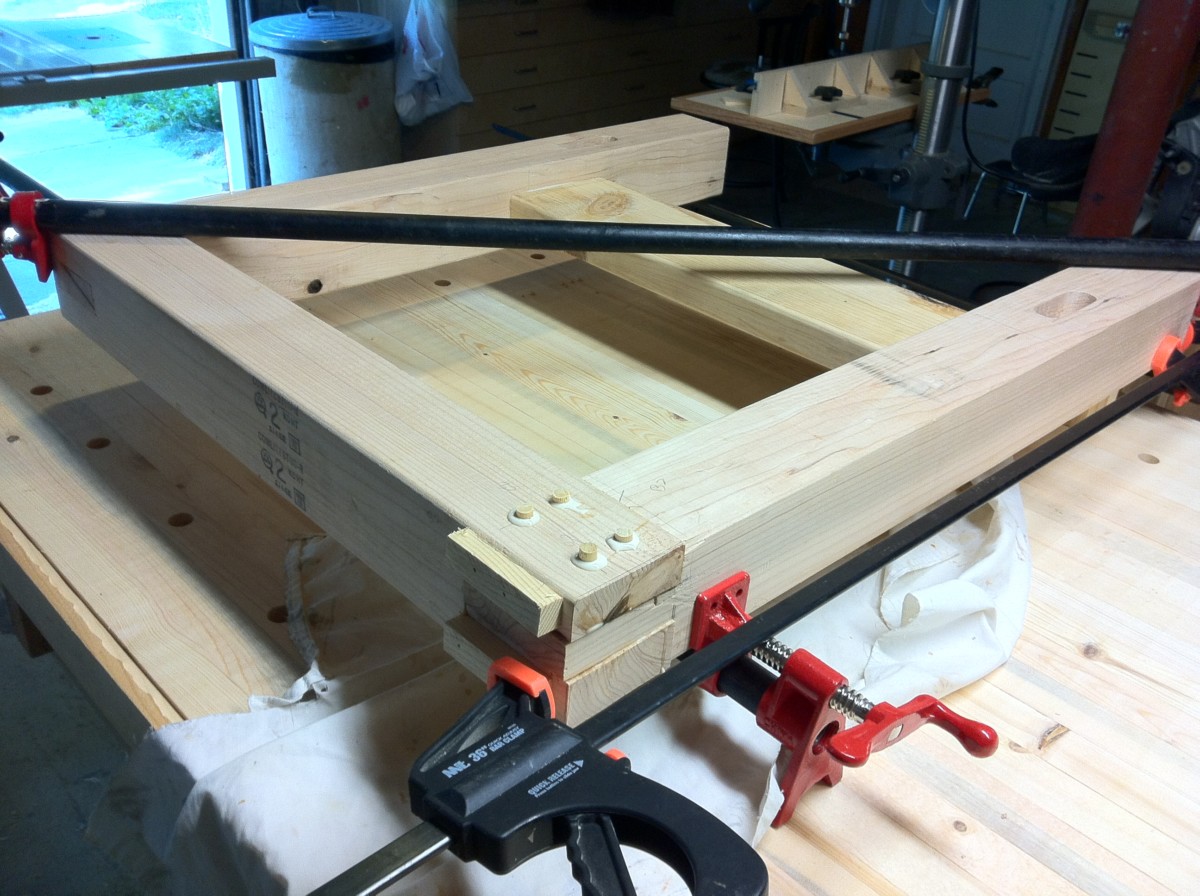
Here's the last glue-up. It's wide enough that I needed to use my 2 pipe clamps, the threaded rods and some cargo straps to pull it tight.

Bill 45.9 (20)
Chris 41.4 (21)
FINAL SCORE
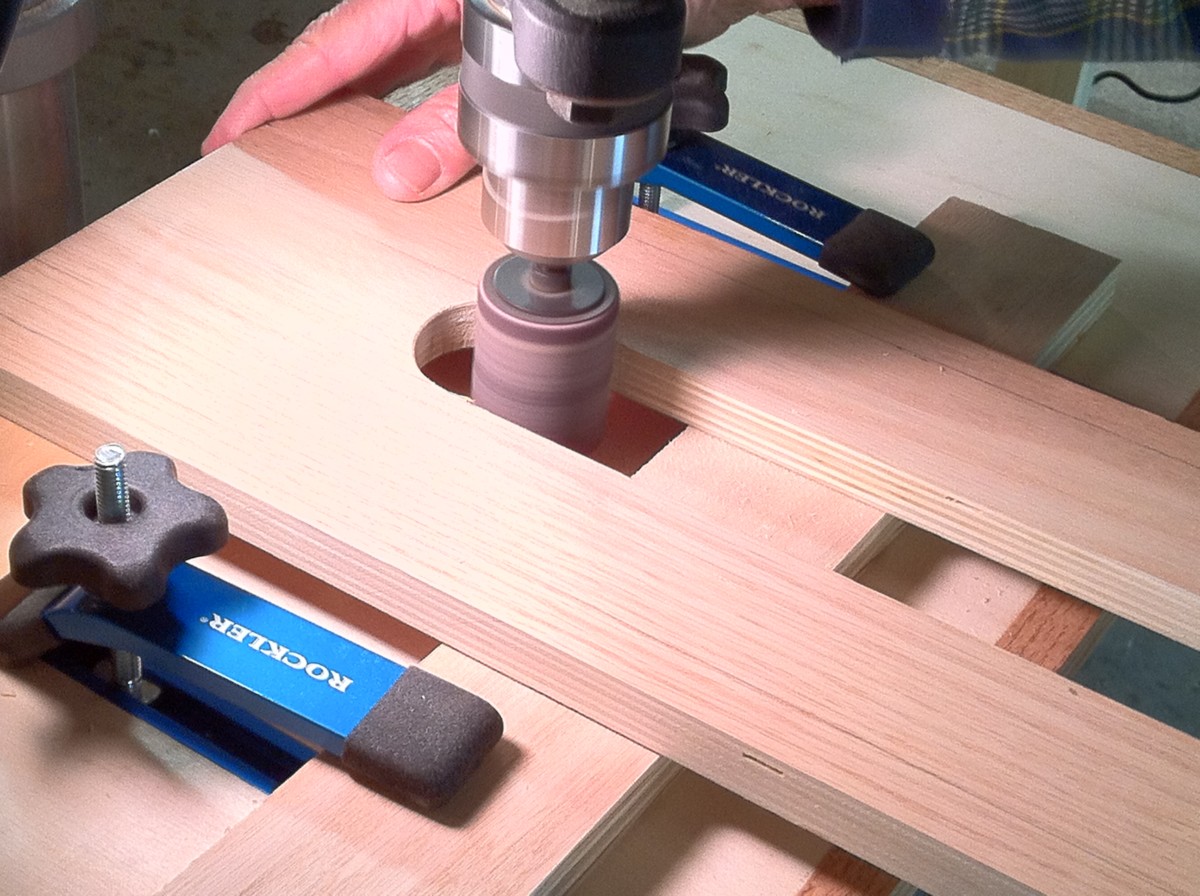
A chance to use the new sanding drum with the drill press to smooth out the slot on the router sled.
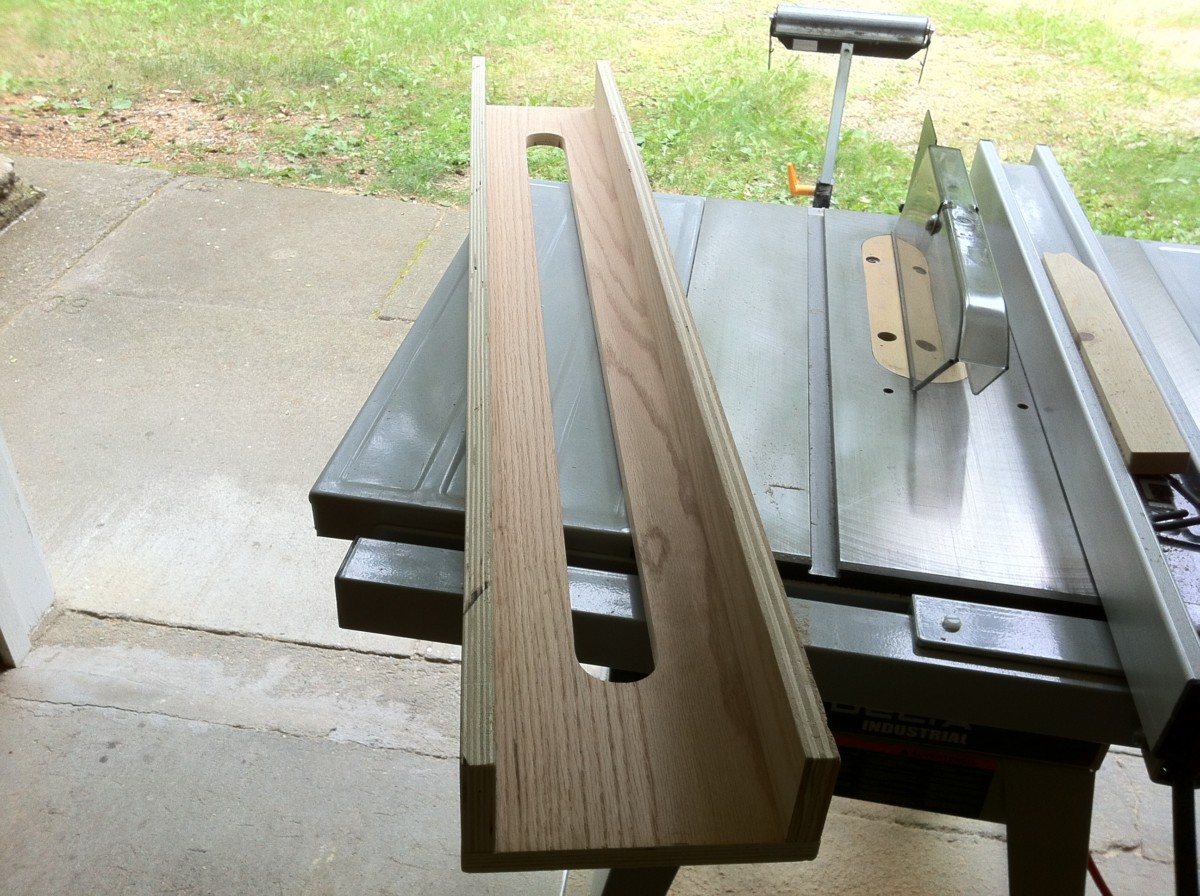
This is the router sled, which is the whole purpose of this elaborate exercise.

The router base nestled in the sled. Soon things should get interesting.
I nailed spacers on the outside edges and then mounted rails on the outside of that. The rails are cut absolutely straight!

The top of the rail on one side is positioned 1/4" above the top of the slab and screwed into place.
On the other side only one end is screwed in 1/4" above the slab. The other end needs to be adjusted to make it parallel with the first side.
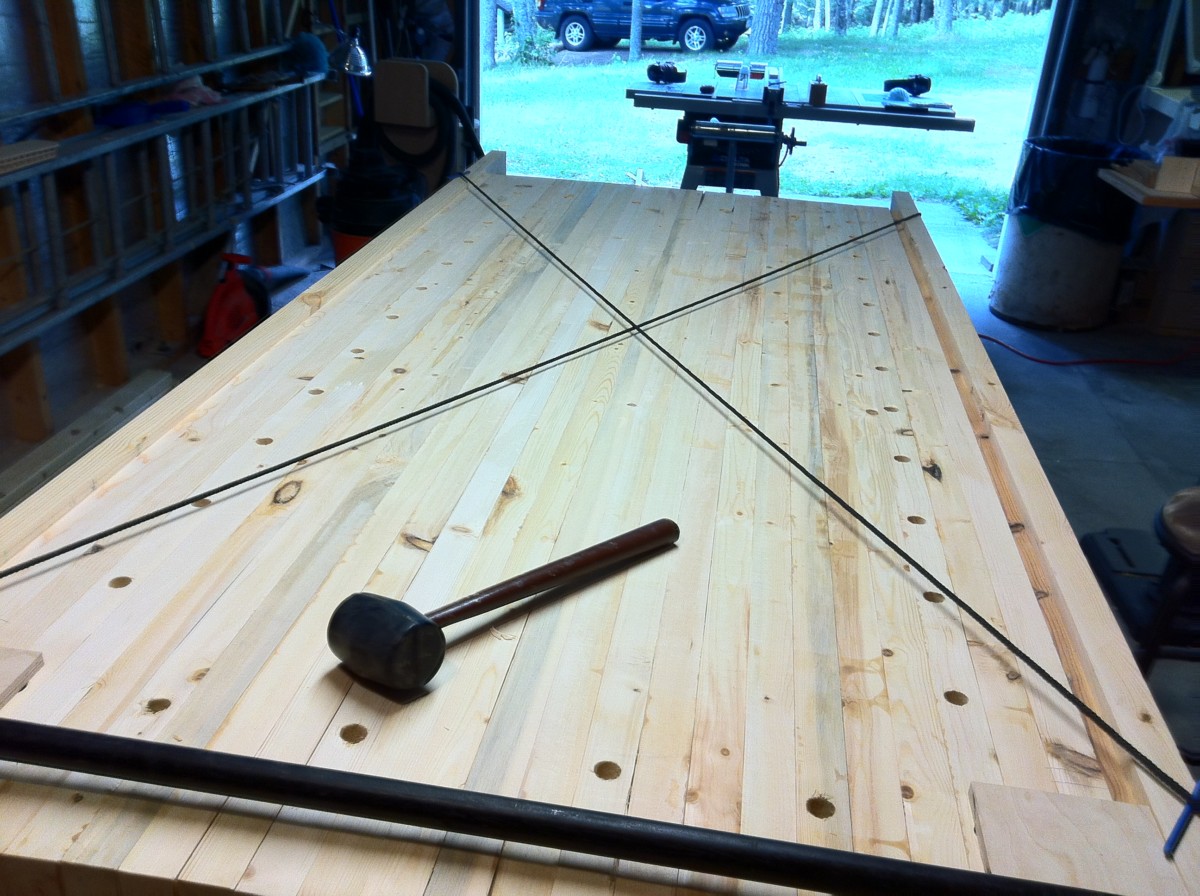
That's what the diagonal strings are for.

The string that passed over the other one is raised up by the width of the string.
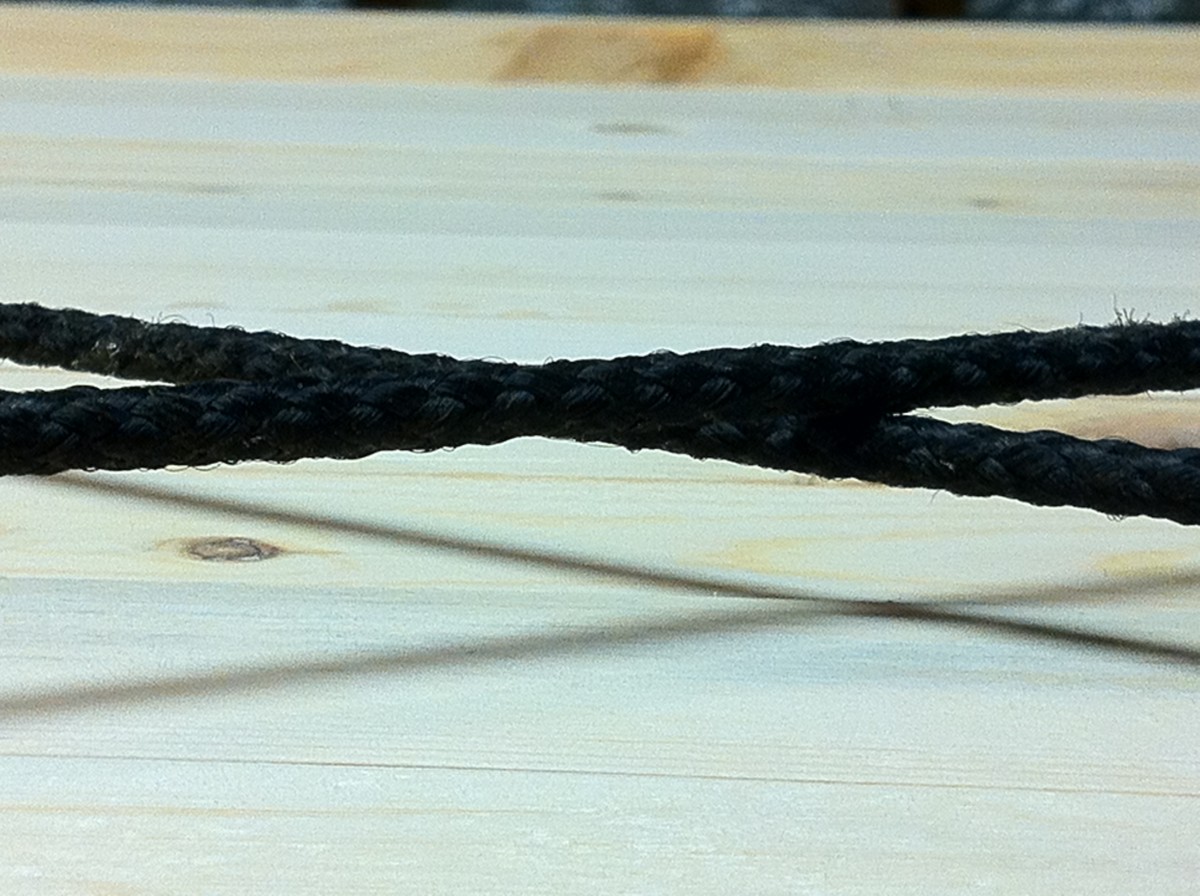
The end of the rail that still moves is adjusted until the two strings just barely touch. Then that rail is screwed into place so it cannot move.

This is a 1 1/2" dado bit that will scour the top flat.

This is a 1 1/2" dado bit that will scour the top flat.
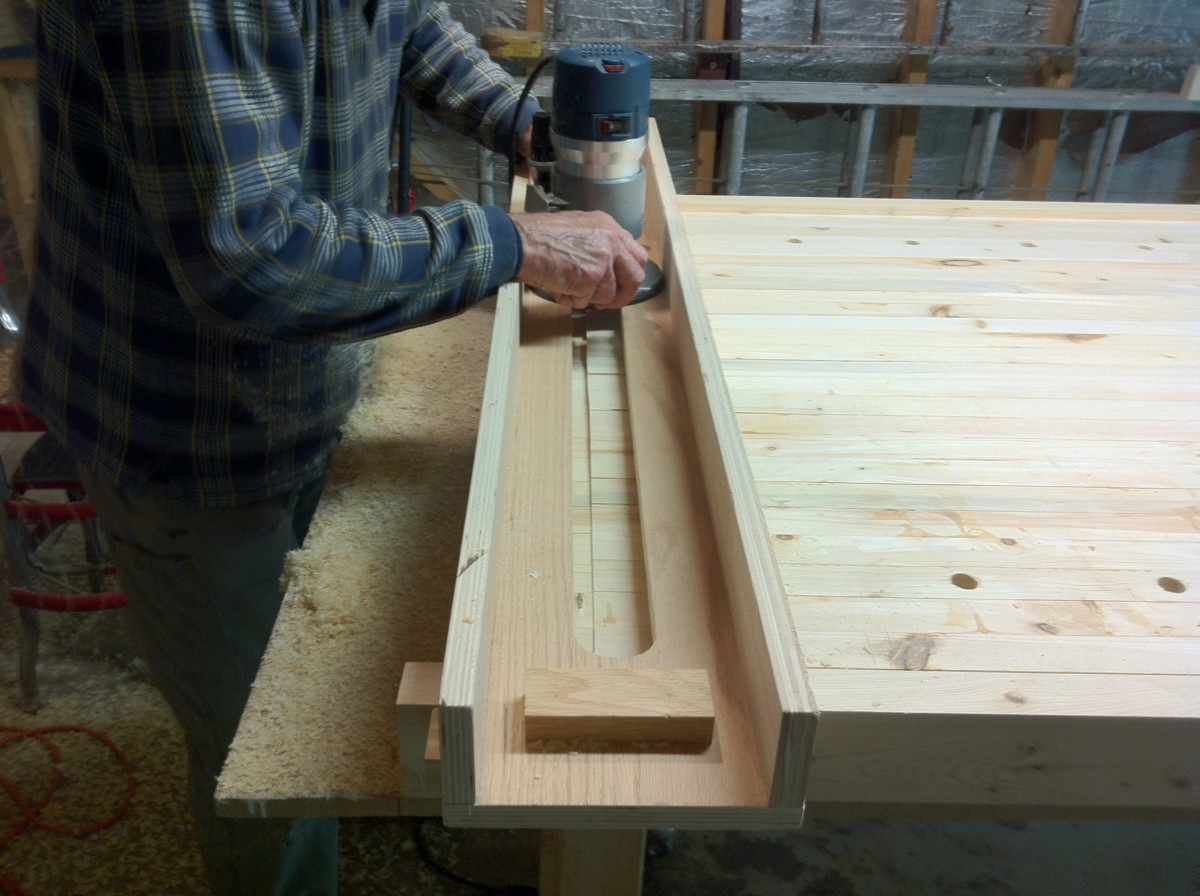
Then it's just a matter of going back and forth, advancing the slid an inch or so after each pass.

I only take off material going from left to right to keep the router from running away.

An hour later it's half done and I already have an impressive pile of wood chips.

I should have started at the other end so the chips would go toward the door.

How about that? Both sides are now parallel and absolutely flat and smooth.
Chris leaves. Thanks, I couldn't have done all this stuff without you. Well, maybe I could have but it would have been much harder and not nearly as much fun.
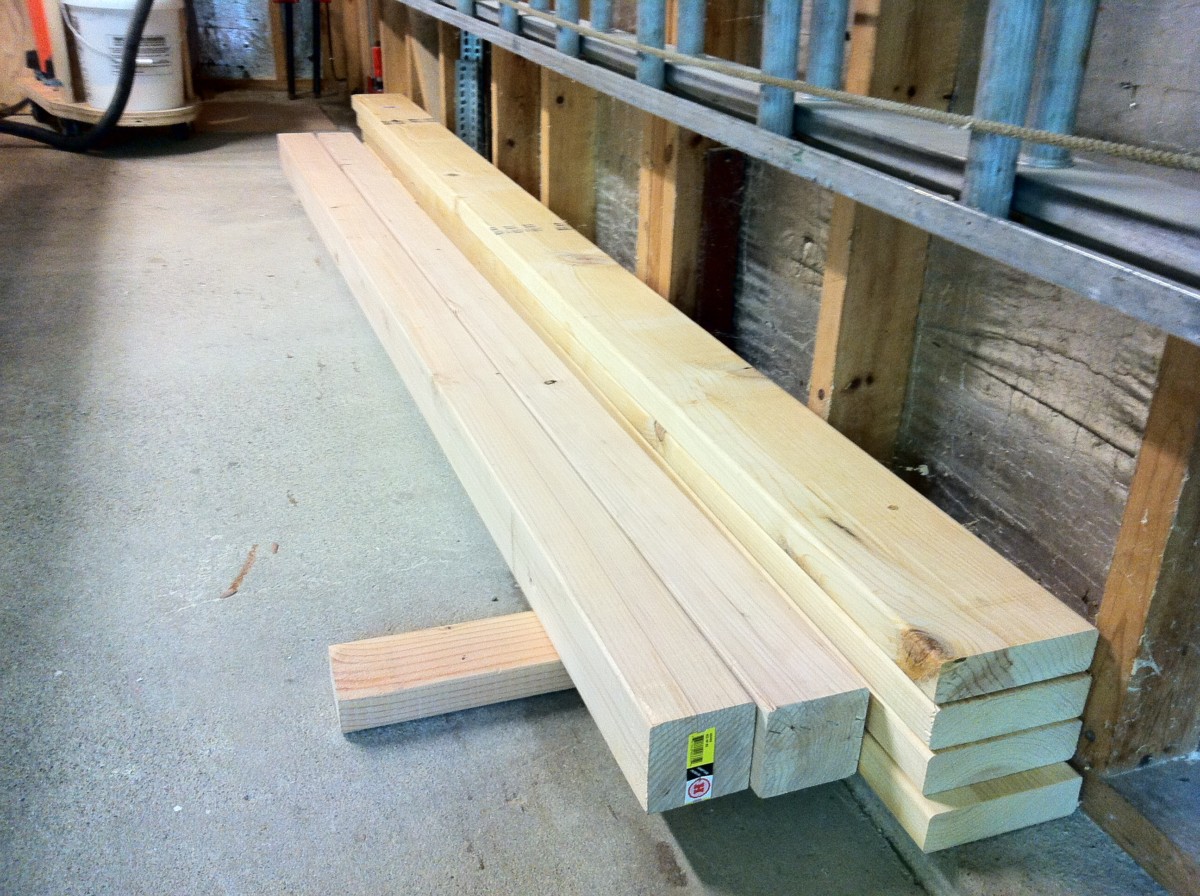
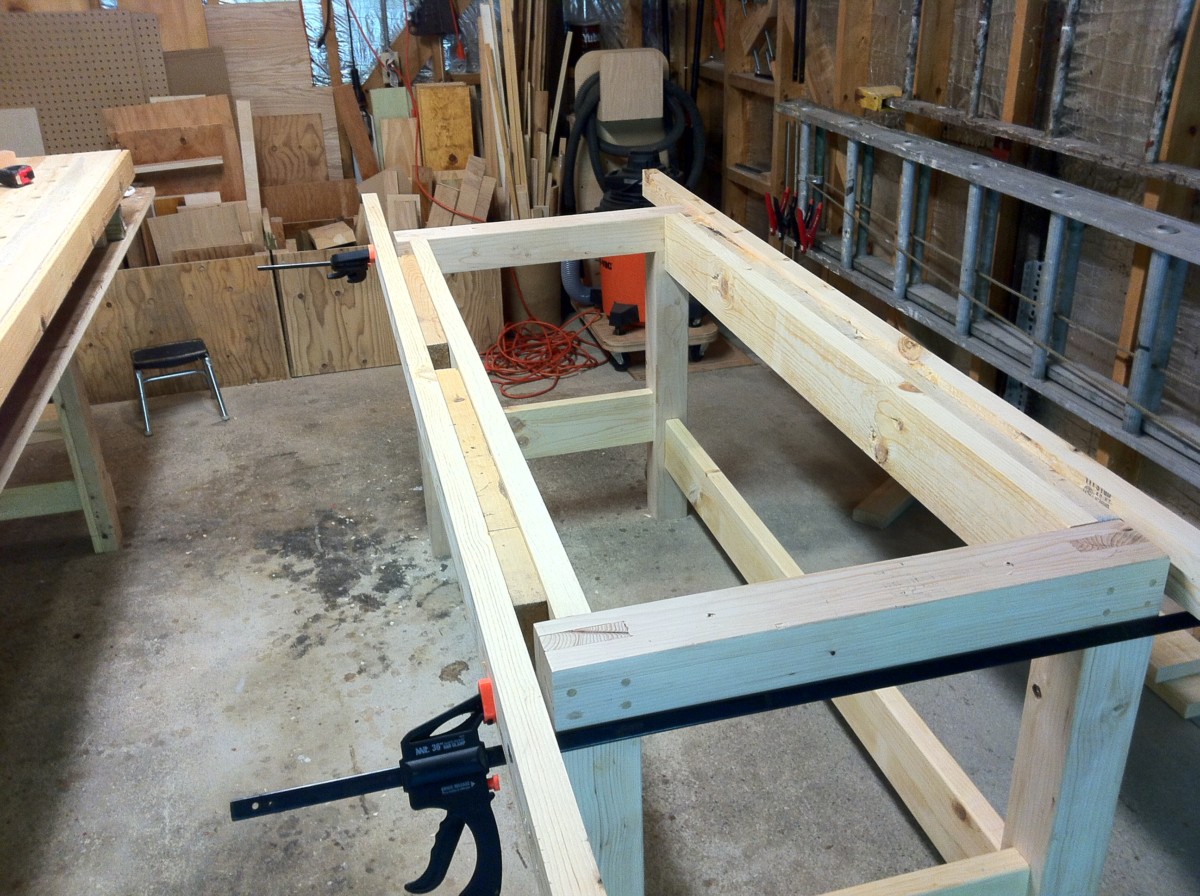
This is the lumber I'm going to use to build the base for the big slab of wood.

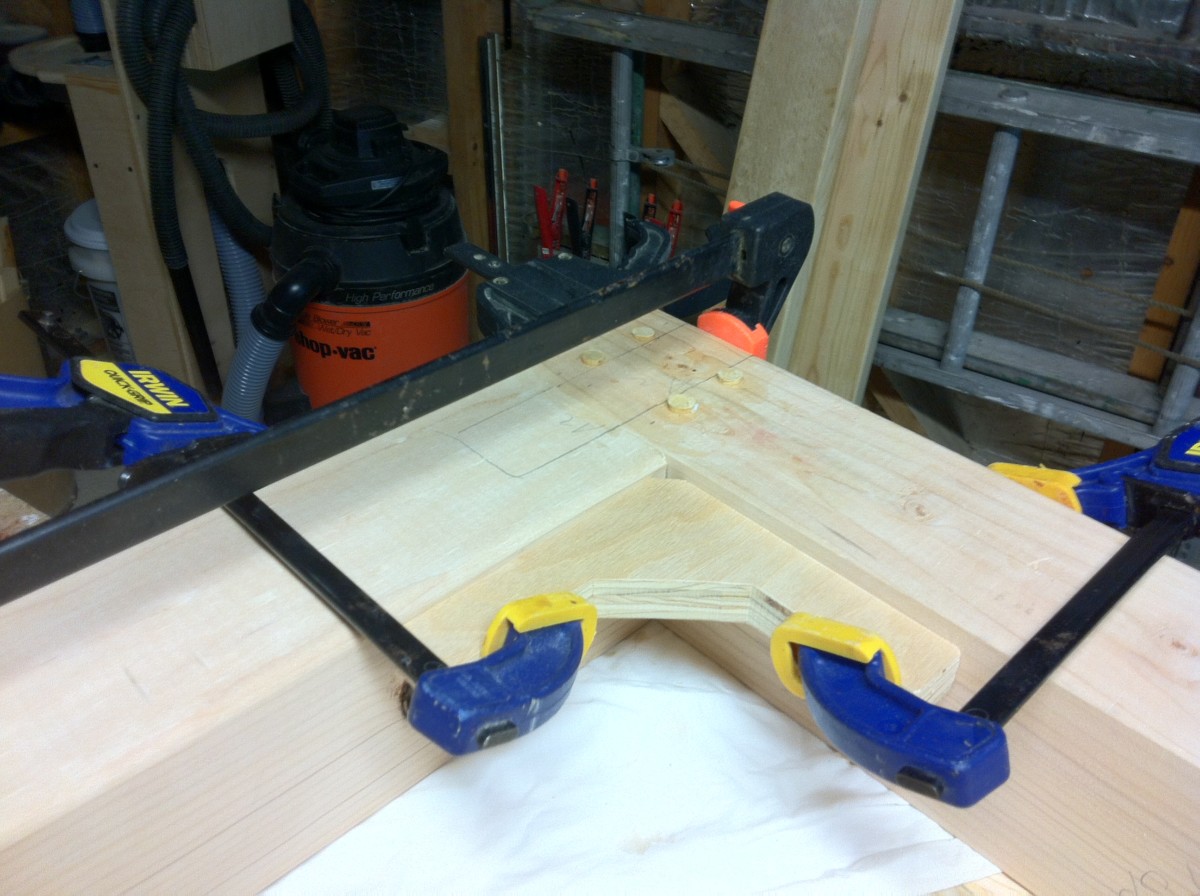
I'm going to try to make a thing called a bridle joint.

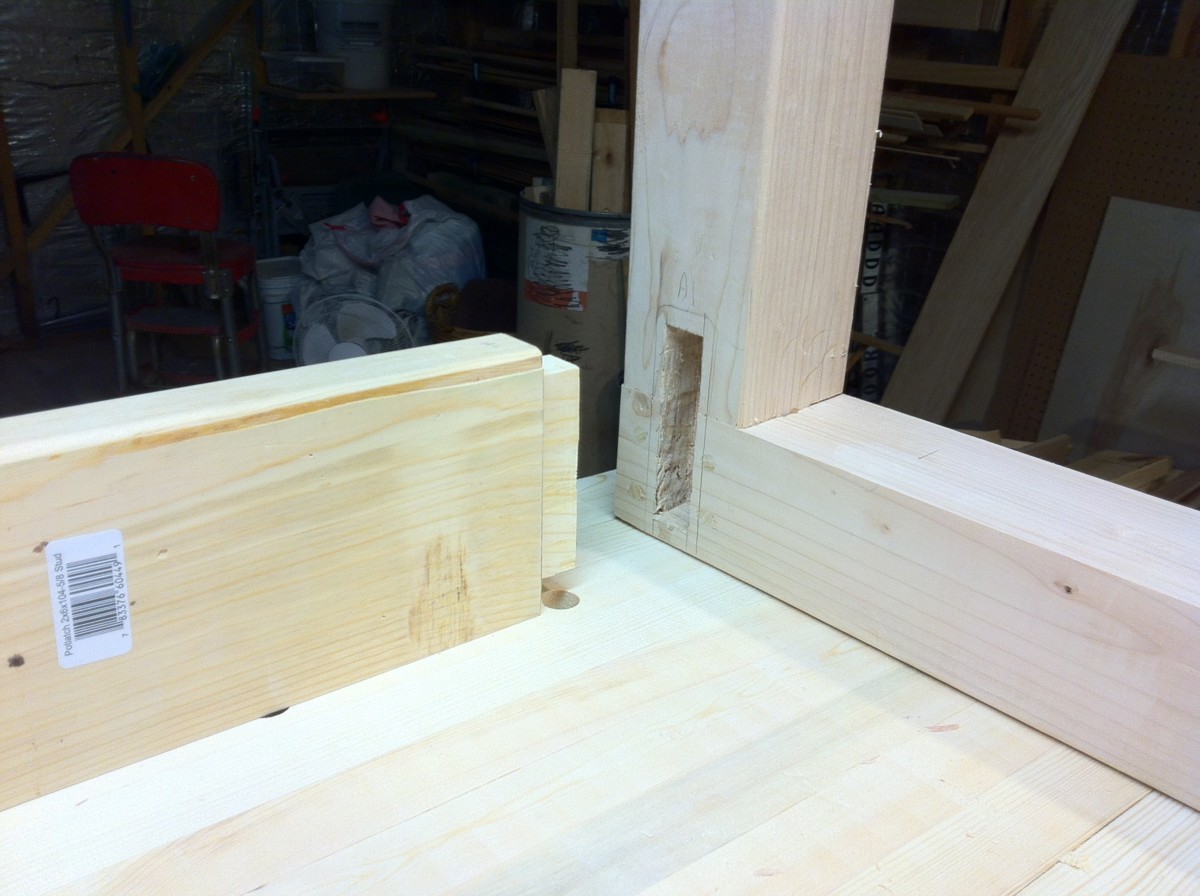
These are the two top rails with an open mortise at each end.
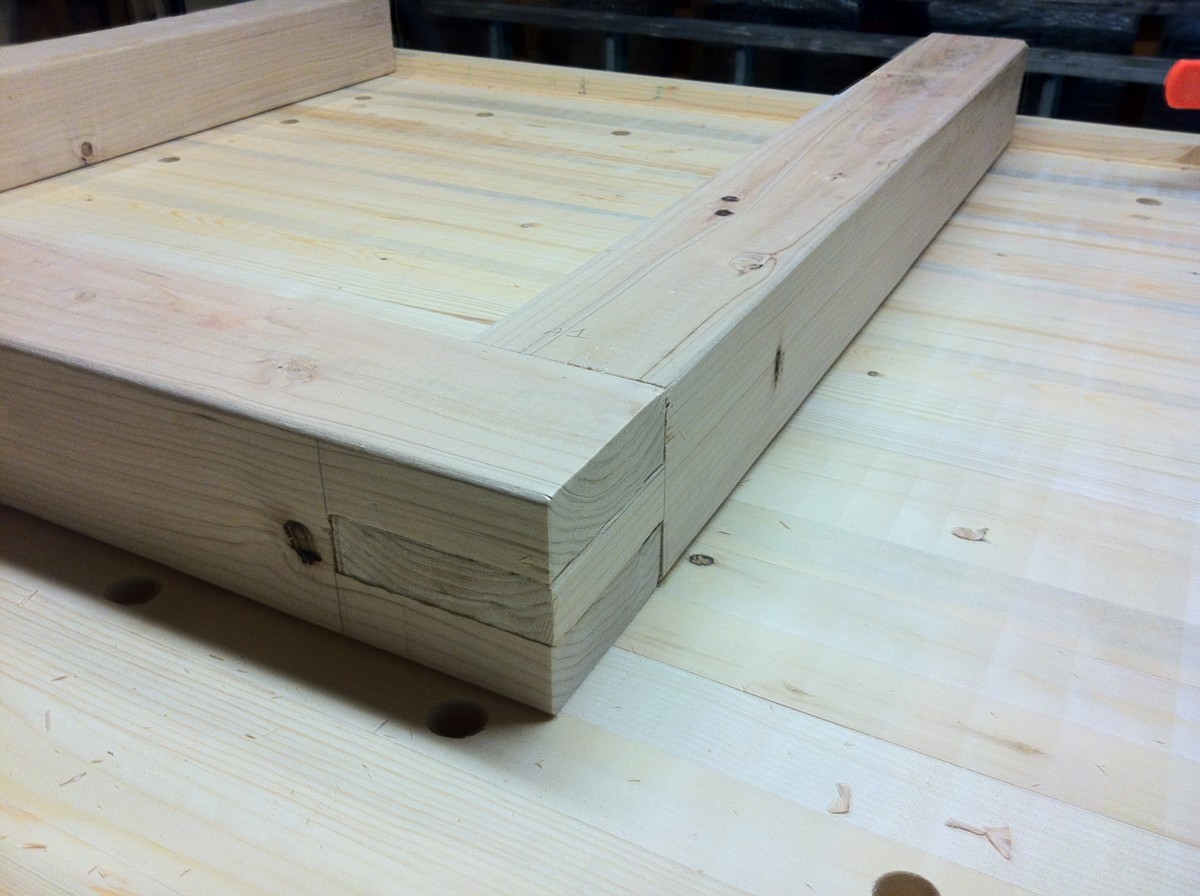
Here is one leg (on it's side) with a completed bridle joint. There's still more to do before I can glue it up.
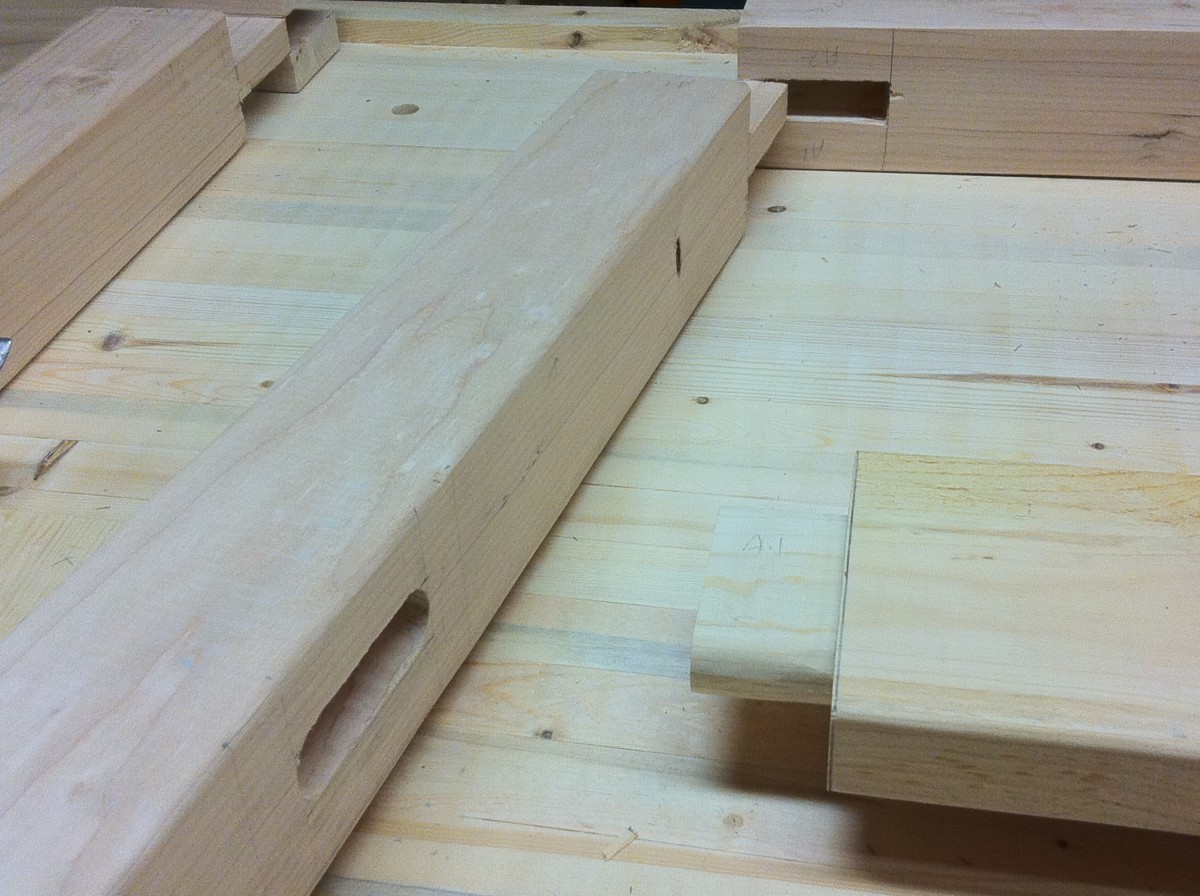
The short stretchers use a conventional mortise and tenon. I find it easier to round off the tenon rather than square the mortise.
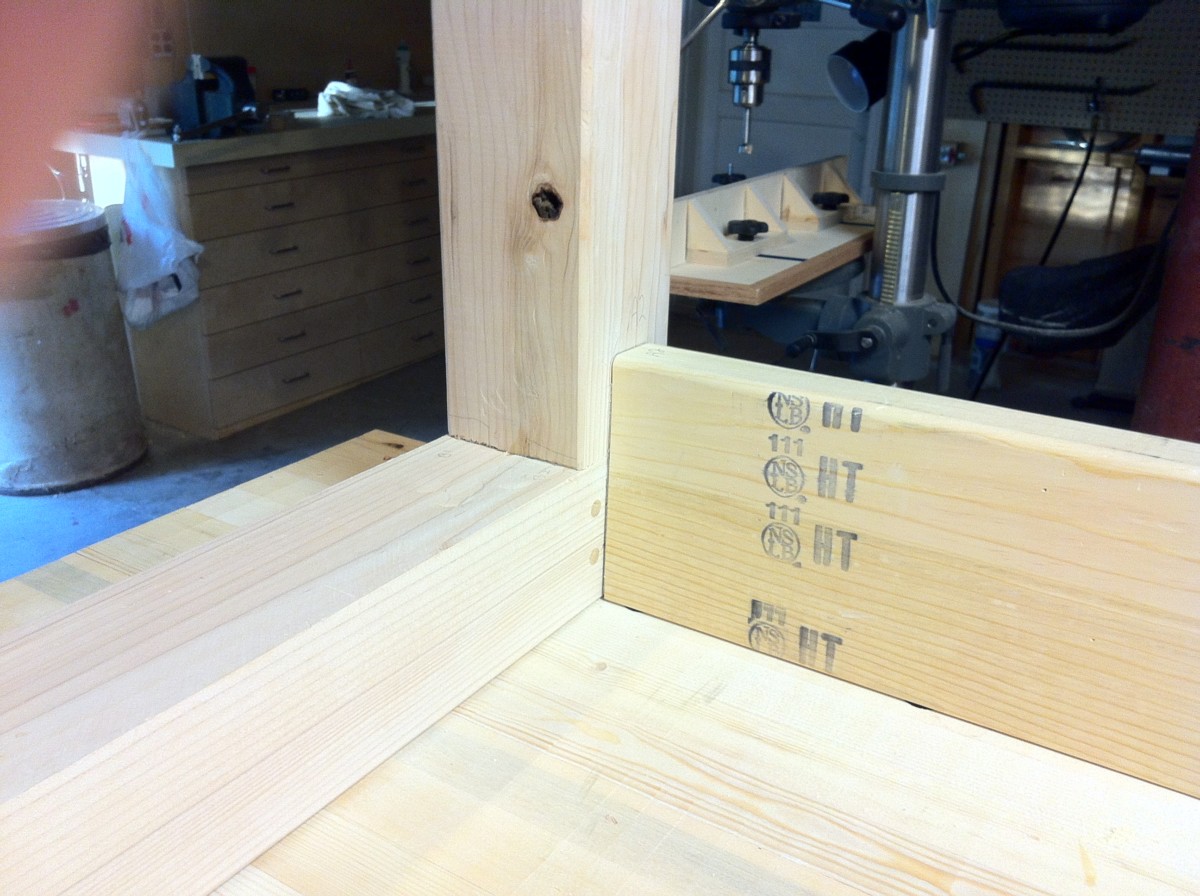
This is the end leg assembly.

I decided to make the end leg assembly 3" narrower so I need to extend the top open mortises and then cut 3" off the ends.
I also need to shorten the stretchers by cutting new tenons and lopping 3" off these too.
Now when I install the long apron it will not cover the bottom of the dog holes. This is why it takes me so long to do things.
I'm still making mortises ...
... and tenons. These are for the long stretchers.

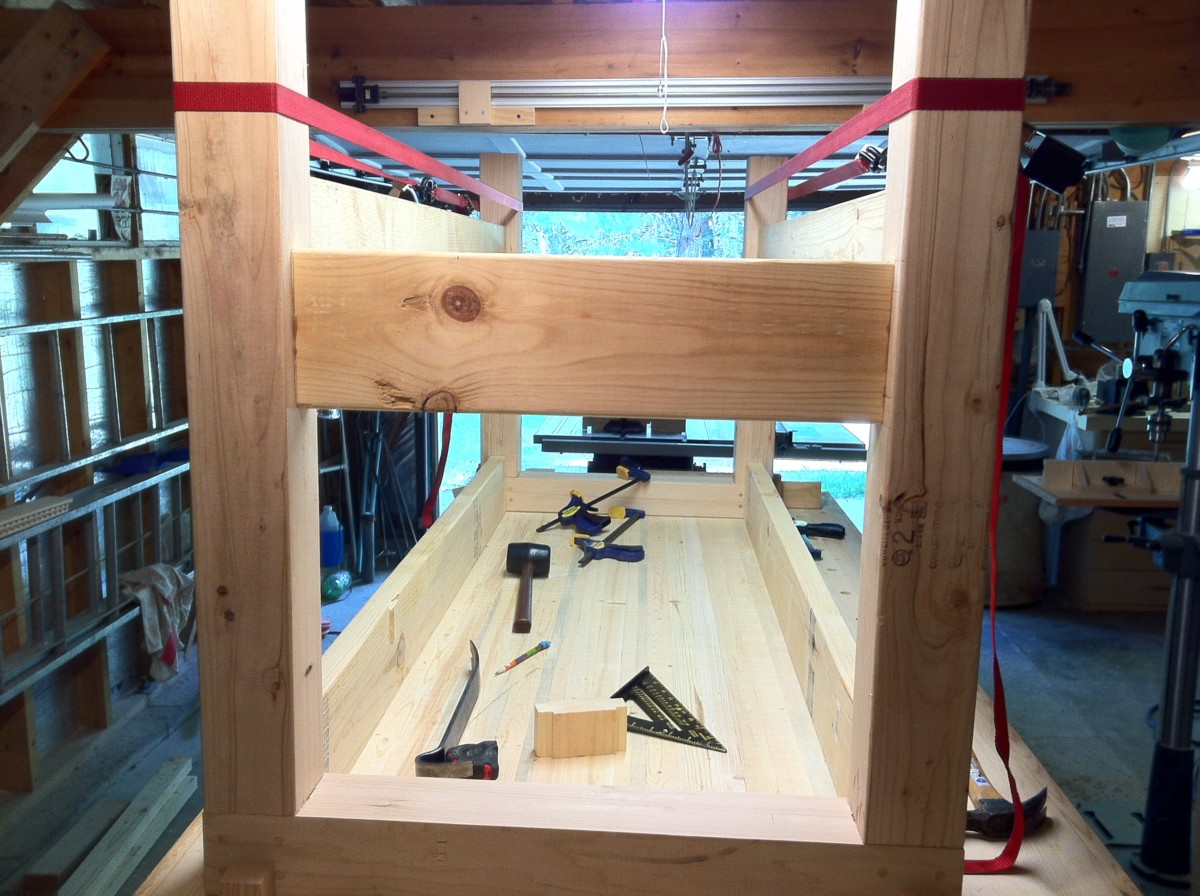
Here we can, at last, get a sense of what it will look like.

Gluing up the end assembly. I'm going to use some pegs to tighten up the joint. First drill holes through just the open mortise part.

Next slide the tenon into the mortise and use the same drill bit to mark the hole location on the tenon.
Now use an awl to locate a point about 1/16" to the outside of where the hole would have been and drill there.
Now the tenon holes are slightly misaligned so when the dowel is driven through the joint it will cinch up the tenon tightly into the mortise.
It worked pretty well.
While I'm waiting for the last leg assembly to glue up ...

... I tried my hand at making a bench dog.

It's OK but not perfect. Drilling an absolutely vertical hole into the exact center of an oak block will take some practice.
I decided that I needed to glue up the bridle joint before I cut the mortise, which required some old school work with a chisel.
One side done.
Base glue-up ...
... no, this is just practice. It's taking too long. I'll wait until Dorothy gets here to lend a hand.

The base is finally right side up. I think I'll need to do some more work to make all the top edges flush.
I added temporary rails to use the router sled again. I need to ensure that the top is exactly parallel and the same height on all sides.

This won't take too much. The high corner is only about 1/4" above the low corner.

Almost there. The top still needs to be attached to the base and then checked again to see if it is still absolutely flat - no warping.
The top has had a couple of days to settle now and it did develop a slight warp. If you look closely you can see a bit of daylight under the straightedge.

After attaching the rails again and doing that thing with the strings I'm ready to flatten the top one more time.
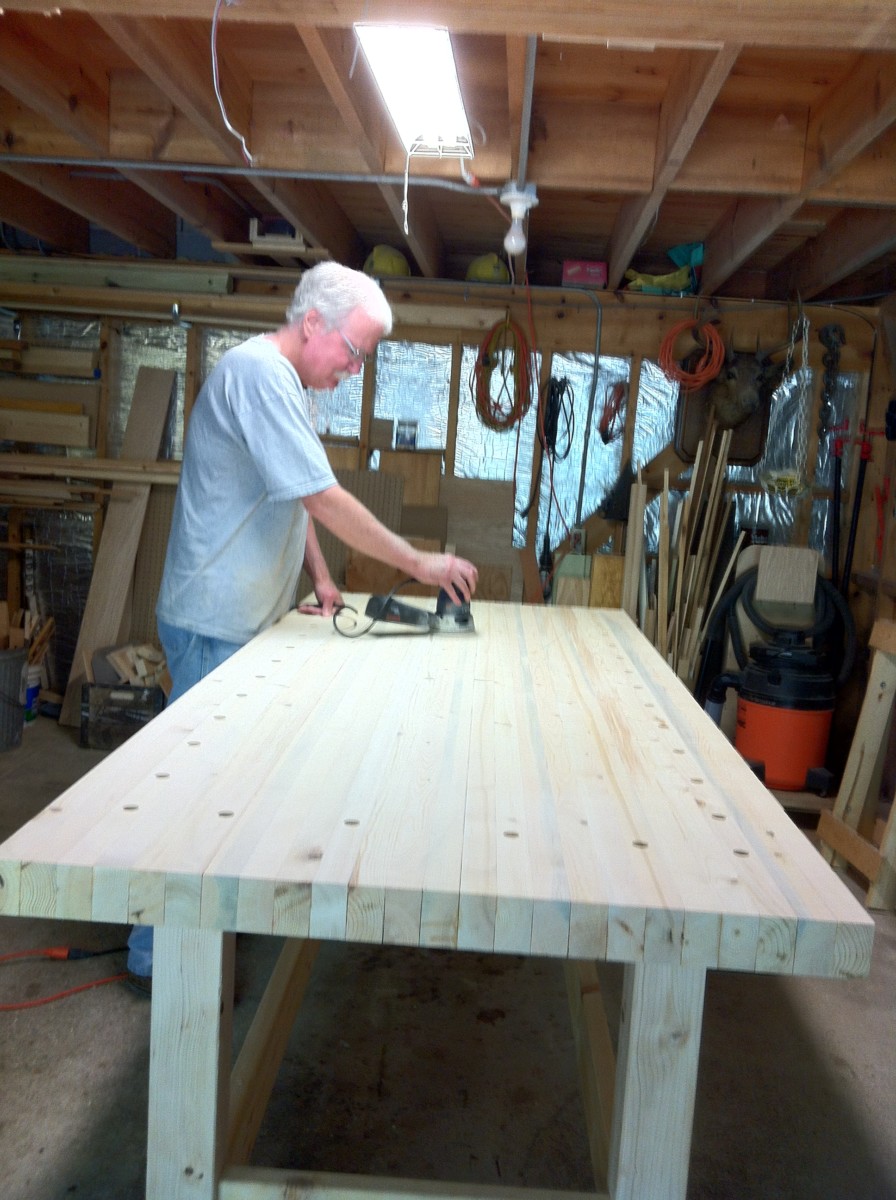
A little bit of sanding to make it feel better to the touch - I don't want it to be too smooth though.

Dorothy flies back to Detroit today.
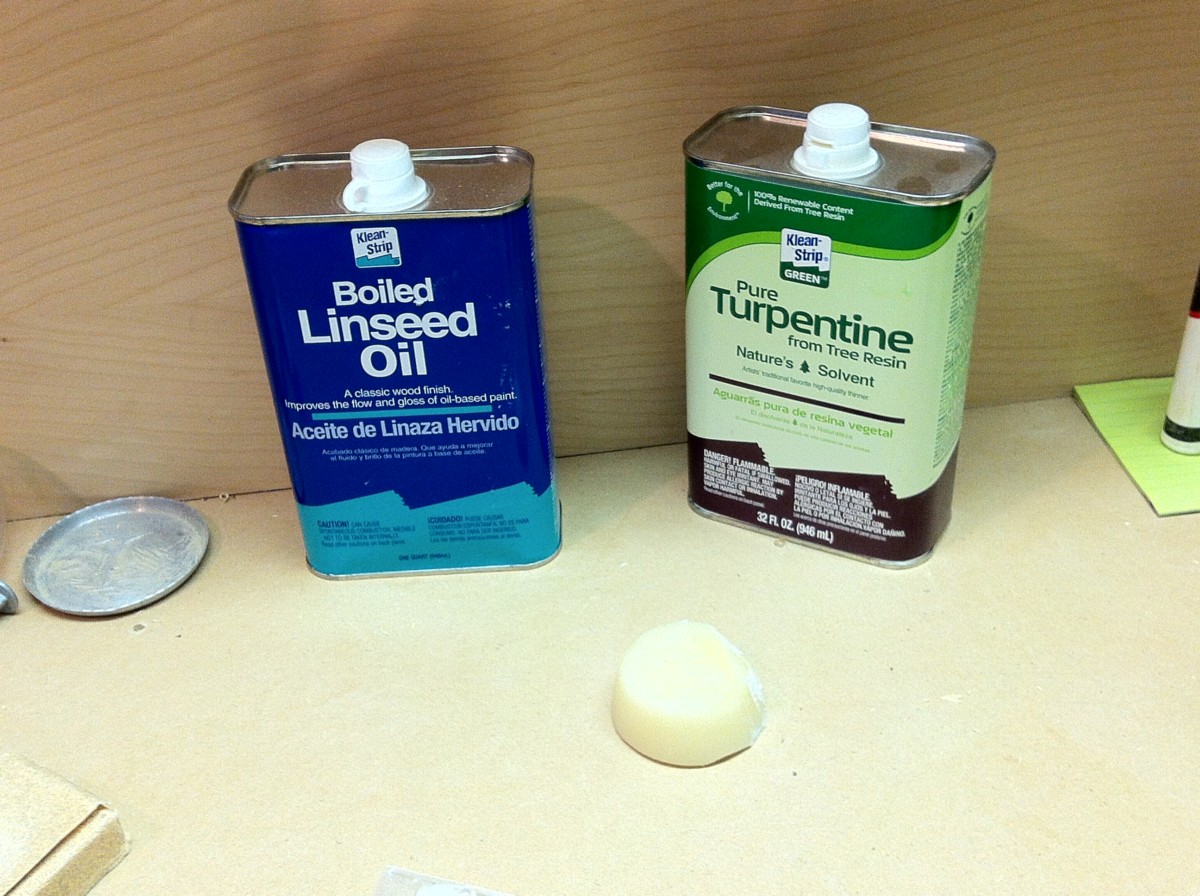
Beeswax, gum turpentine and boiled linseed oil.

Rob, Terri & Brandon arrive on the hottest day of the year - 95°. Welcome to the lake.
I'm applying a mixture composed of 2oz beeswax + 16oz gum turpentine + 16oz boiled linseed oil. I'm doing this outside because this stuff is, well, pungent.
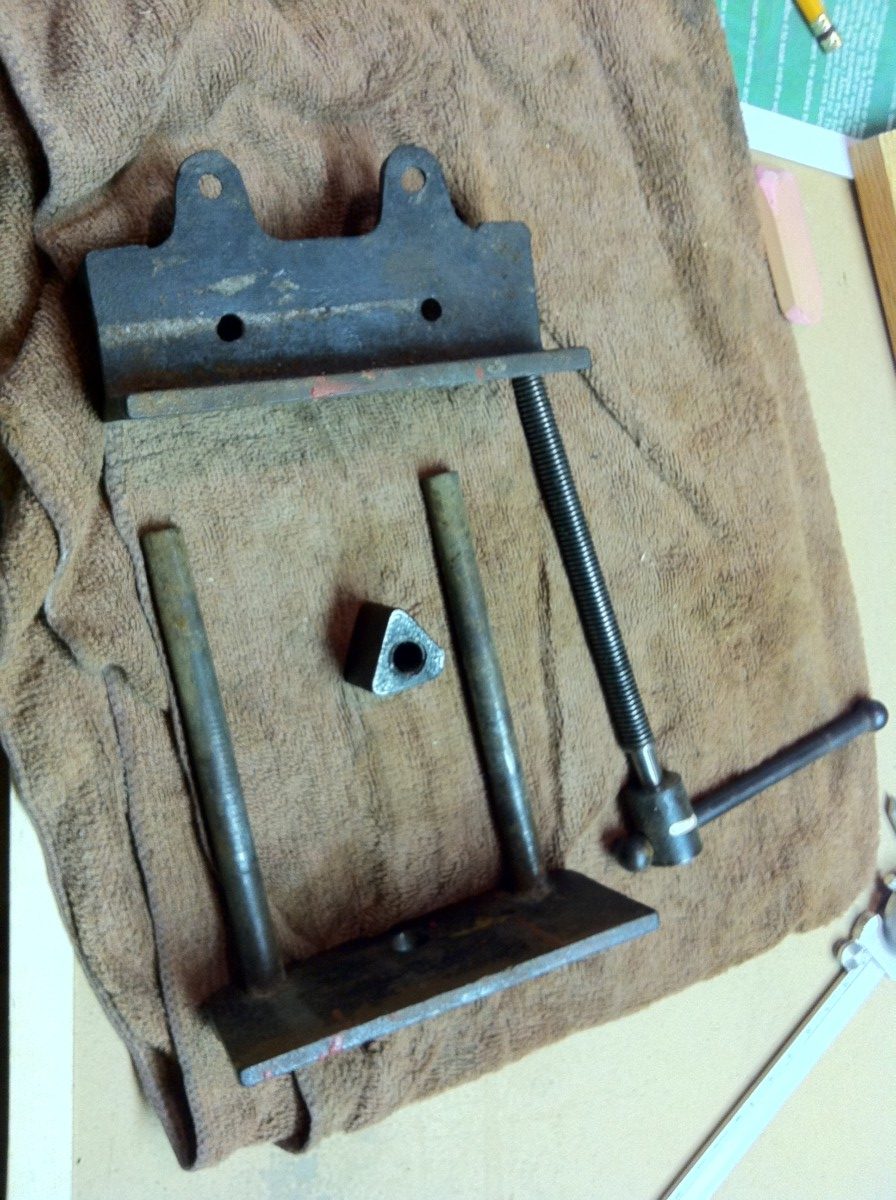
I have an old side vise I will try to rejuvenate.
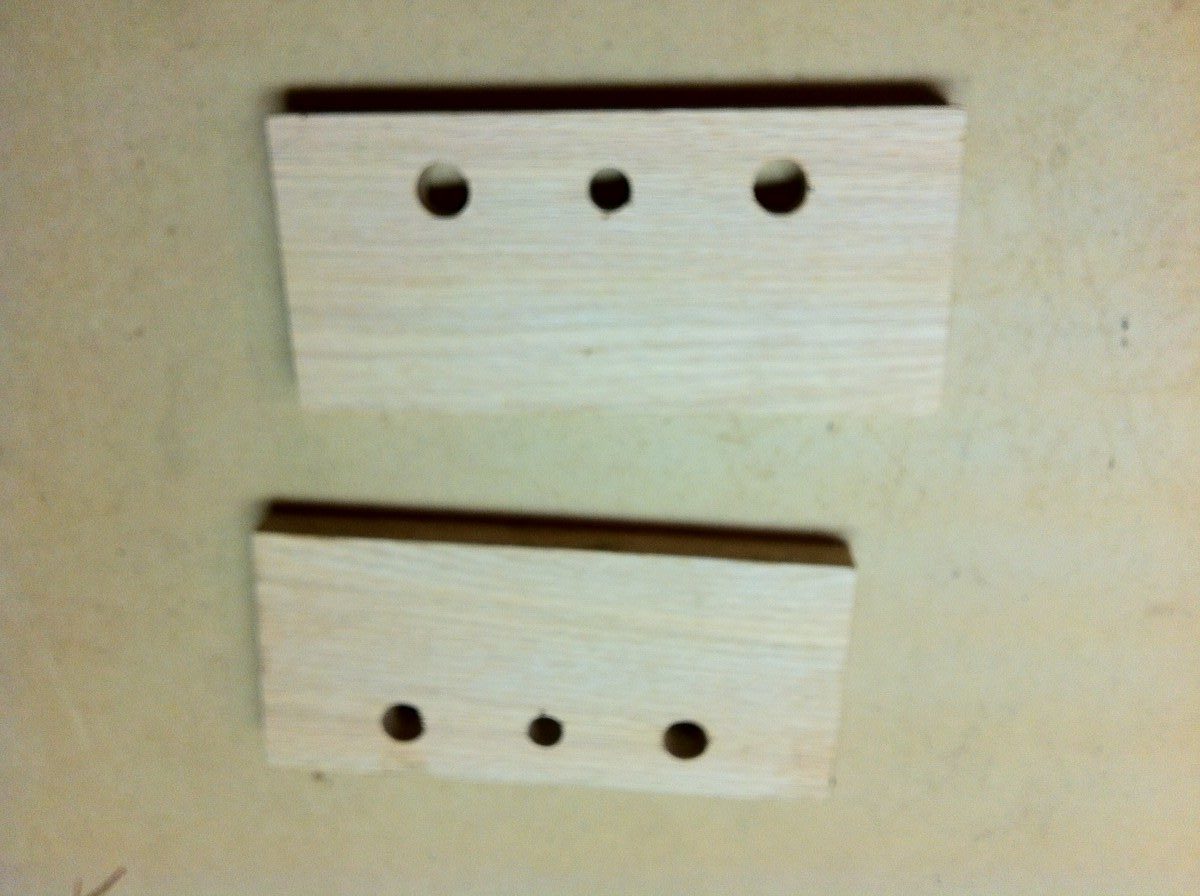
First a couple of pieces of scrap oak to use as jaw pads.

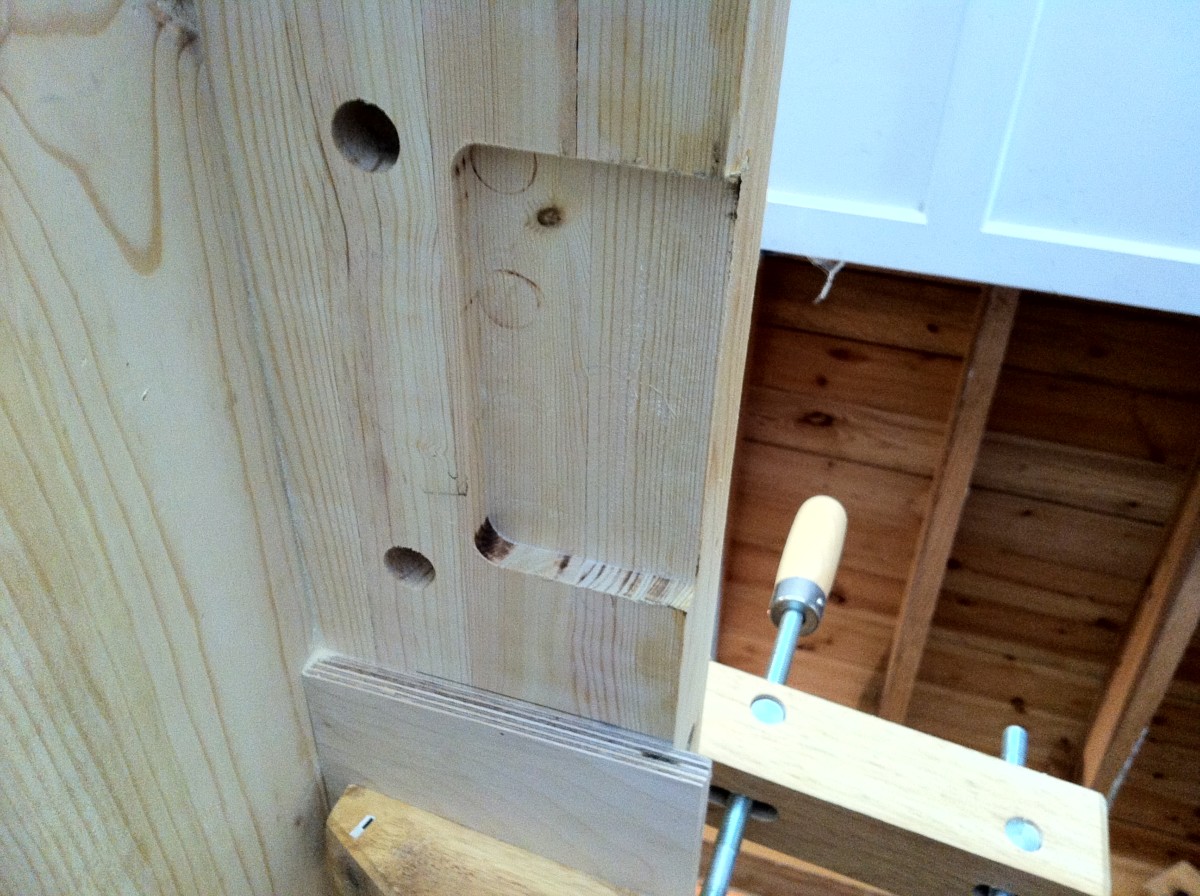
They line up alright but I think I would like the metal to be mortised into the oak.

I need to remove 1/4" of material from inside the lines.
Here's a jig set up with the rails spaced properly for a 3/4 dado bit.
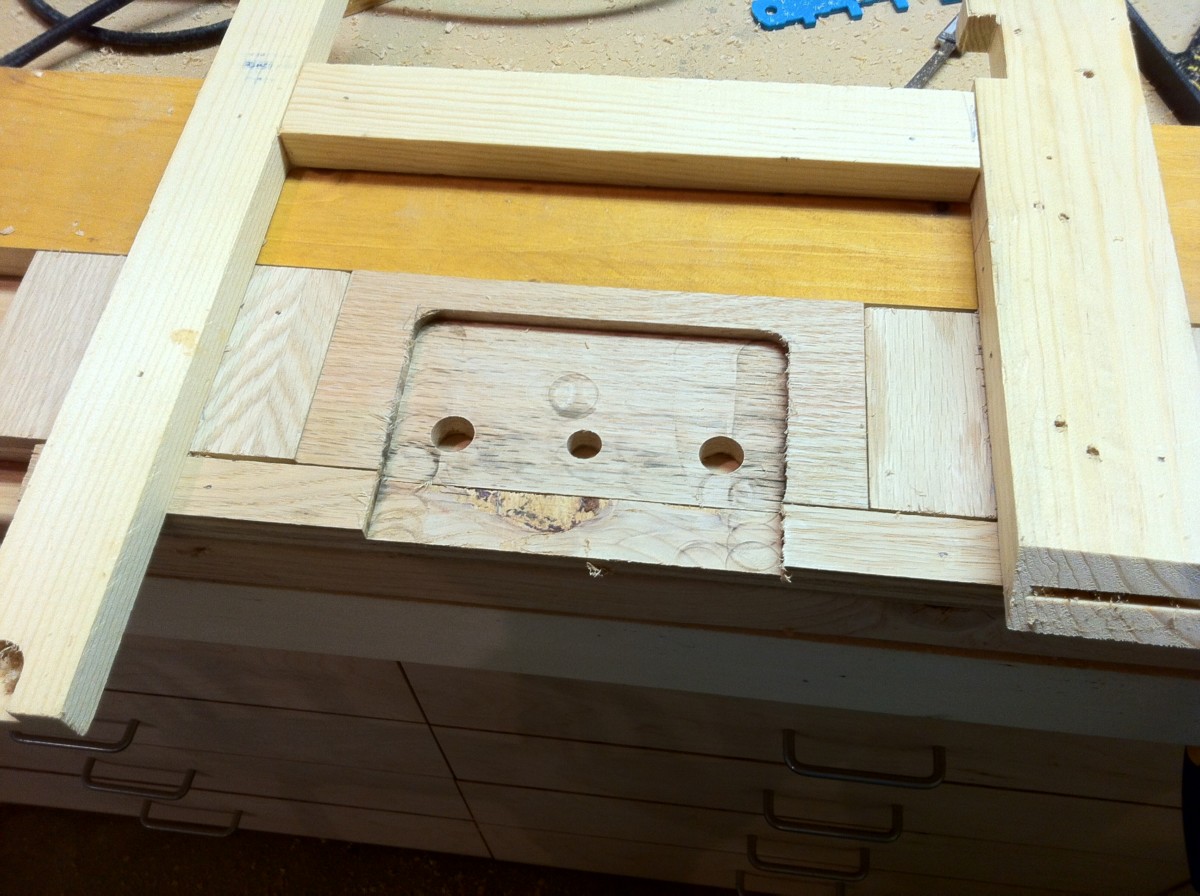
I just worked the router back and forth inside the rectangle with the bit set at 1/4".
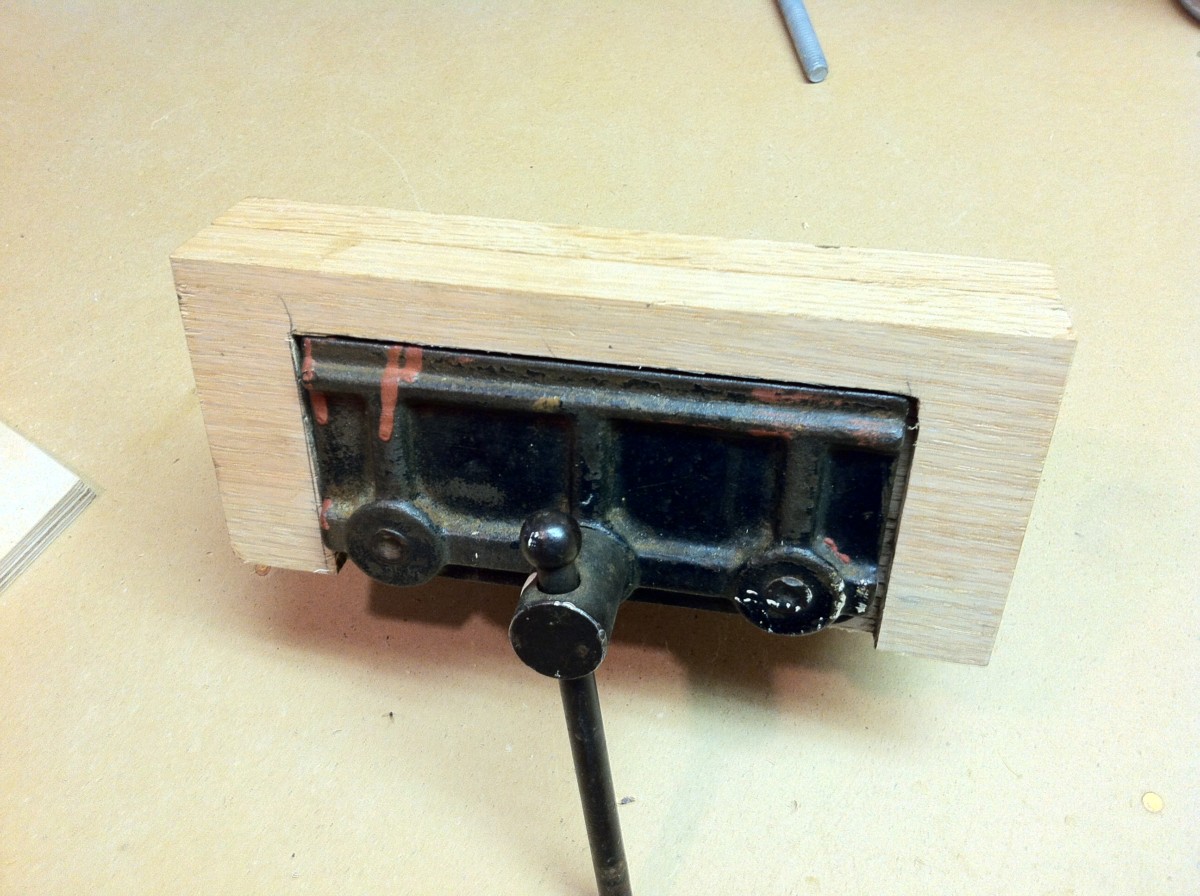
No bad.
But now the top of the vise is 1/2" below the top of the bench.
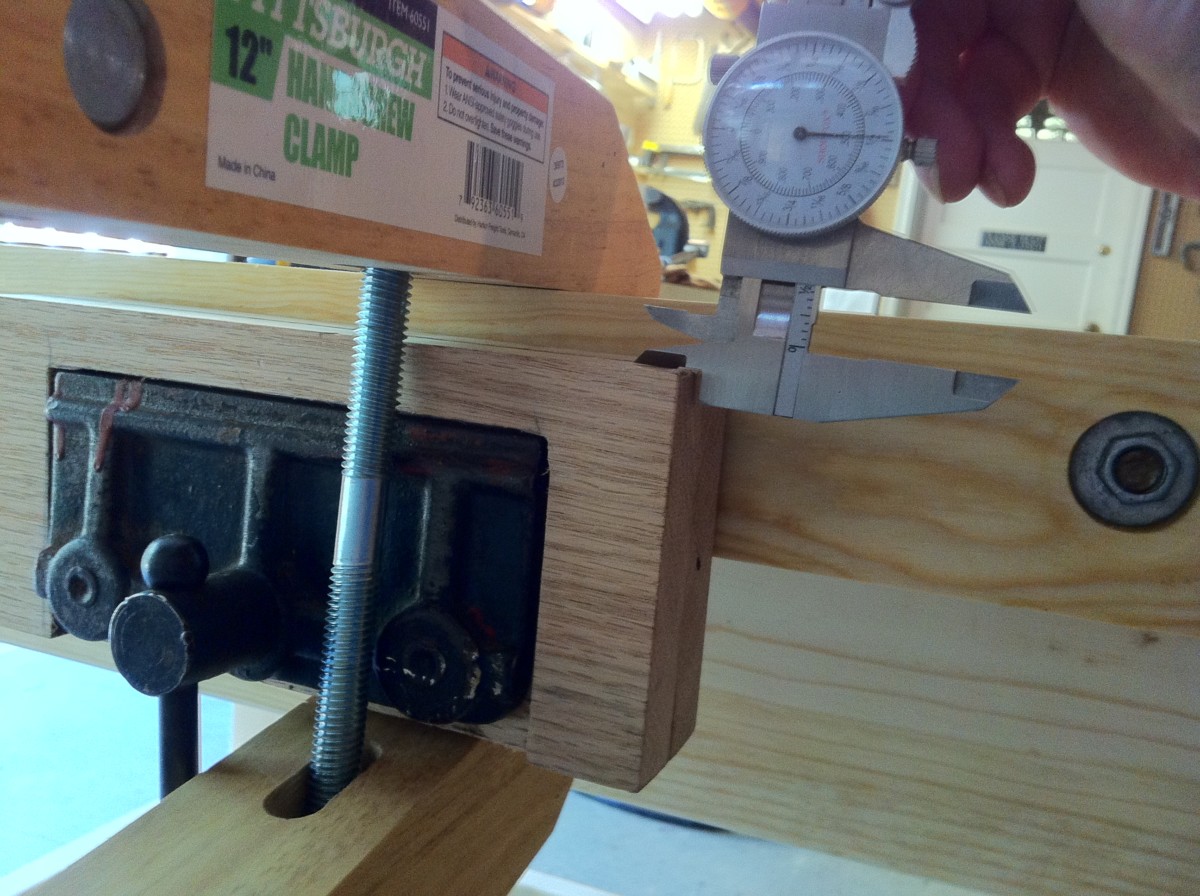
The same deal as before with the guide rails spaced the proper distance from the actual cut line.
It's a little tricky doing this upside down but it came out OK in the end.
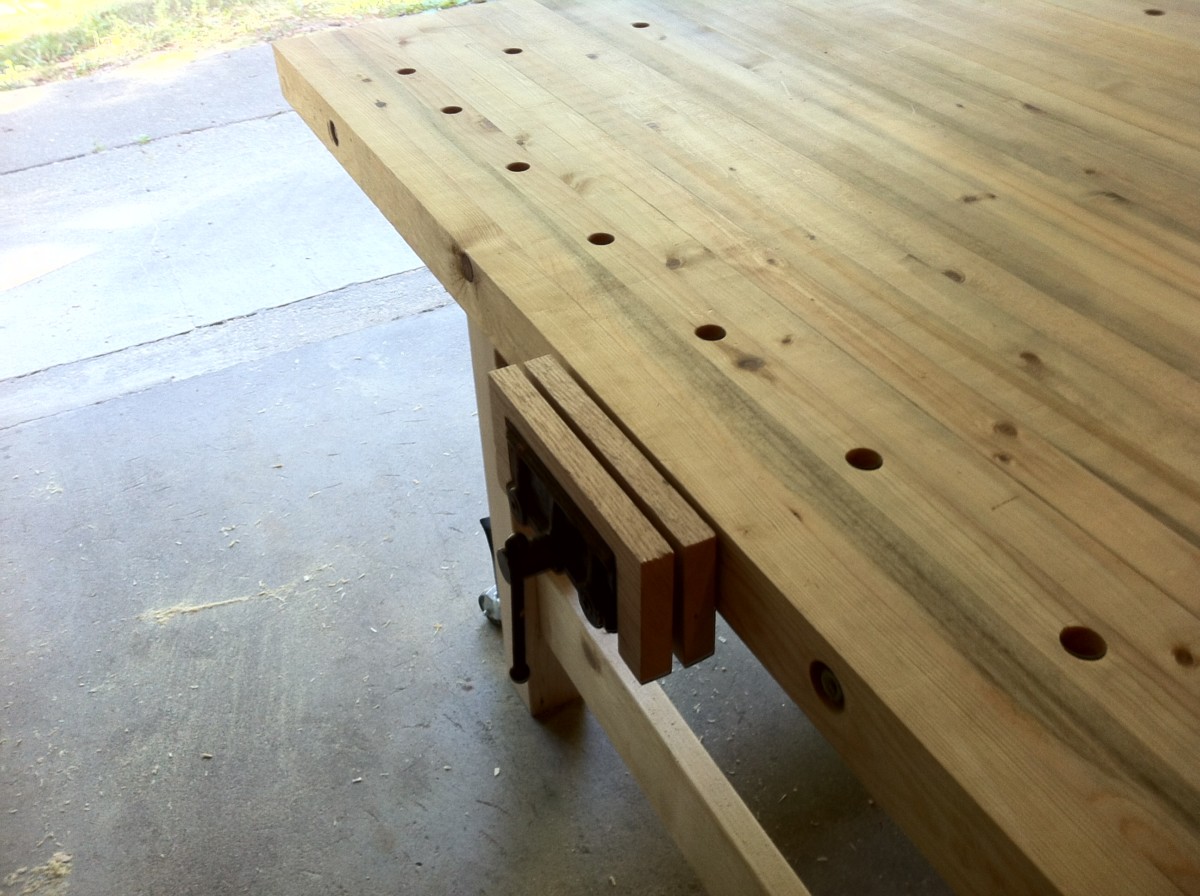
Ta-da
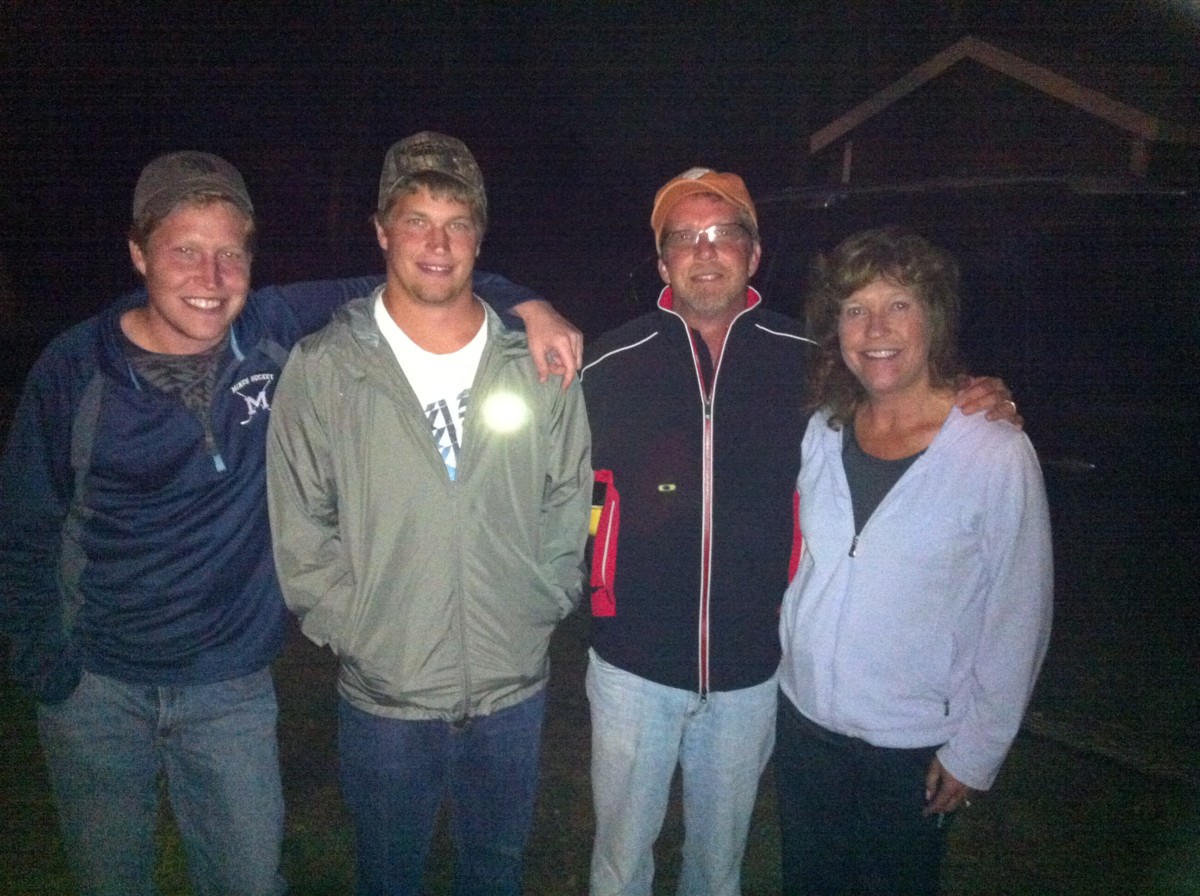
Rob, Terri, Andrew & Brandon ready to leave. I'm glad you guys could all make it up here this year.
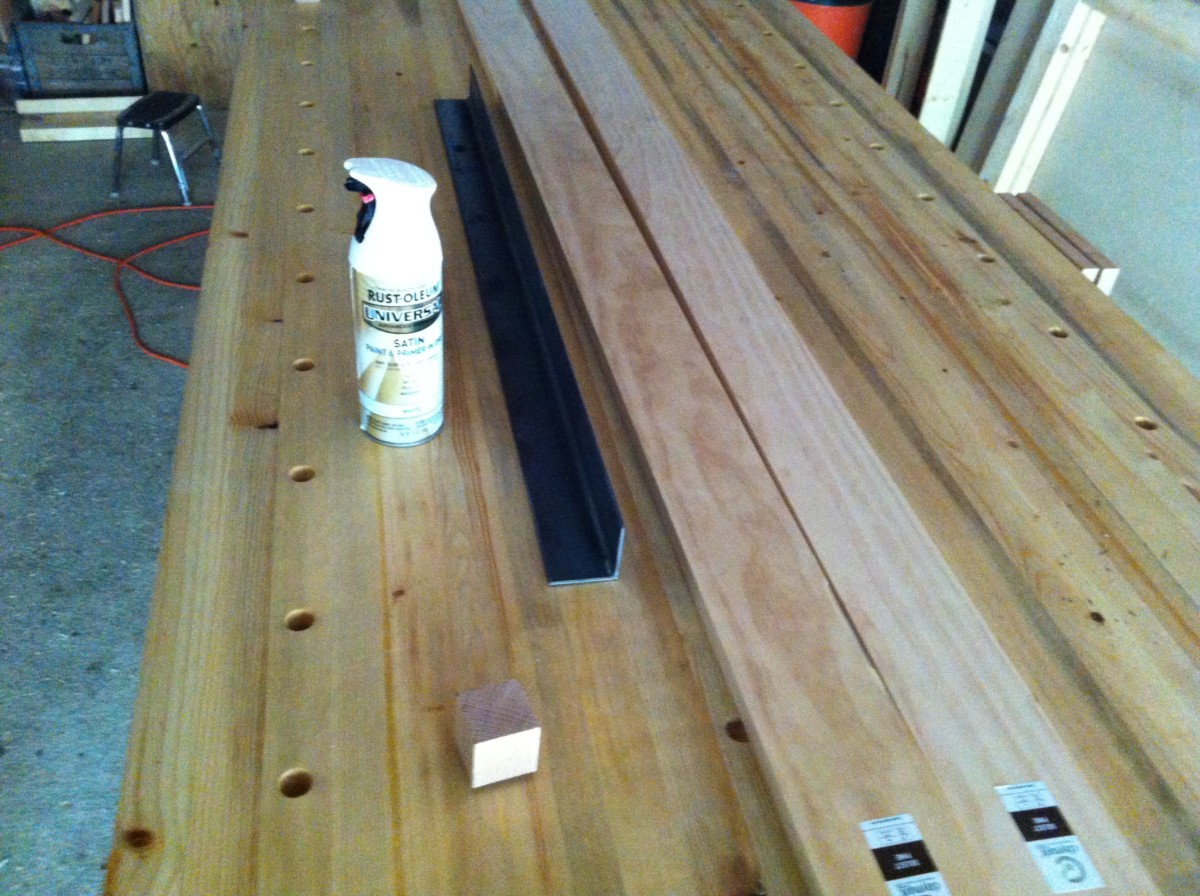
Some more supplies: a couple of pieces of clear pine, a 3' piece of 2" x 2" x 1/8" angle iron and a can of white Rust-Oleum
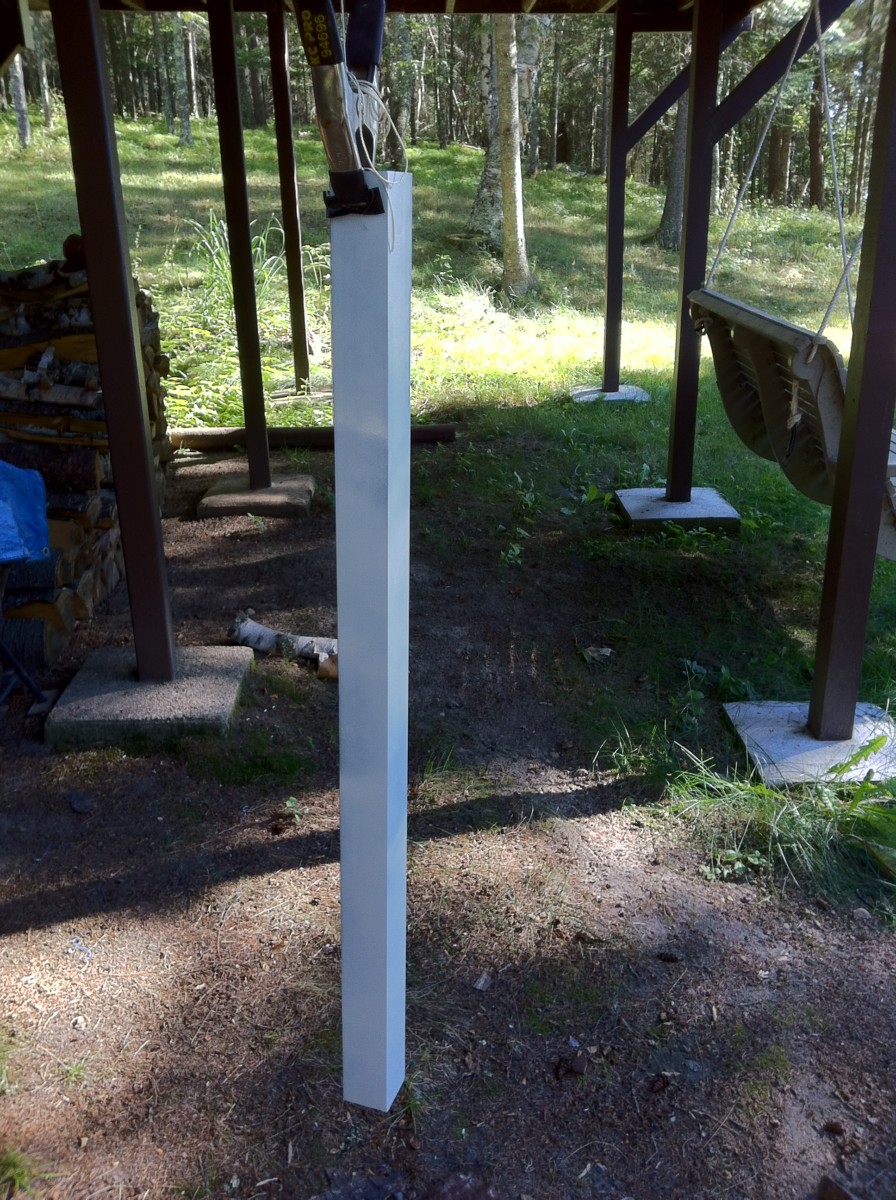
The angle iron needs to be painted or else it rubs off on my hands.

Apparently I do not have bits that are hard enough to drill through steel. I had to take this into town to have the holes drilled.

Now the bracket that holds the blade guard is in the way.
I'll need to notch out the bracket to clear the new angle iron. This is starting to look like one of those projects that presents an unexpected problem at every turn.
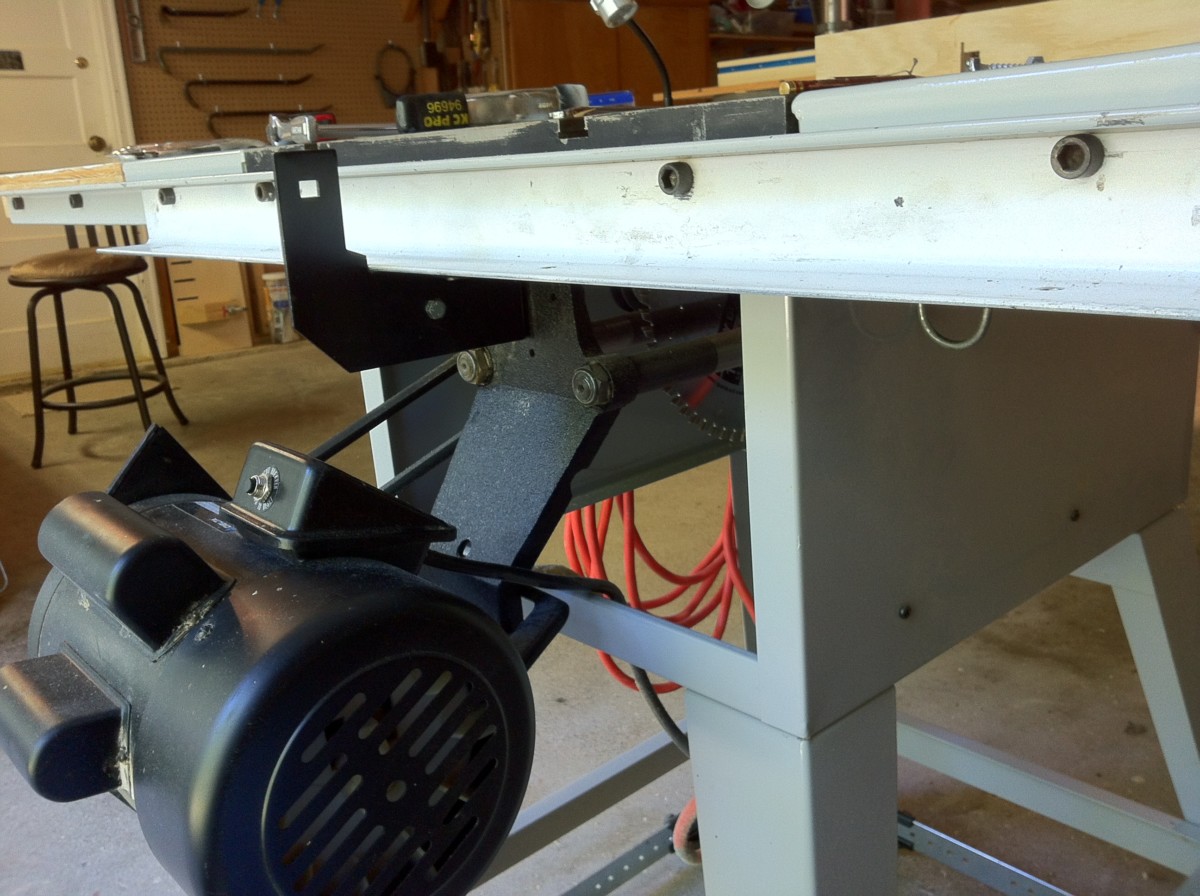
Here is the new angle iron installed over top of the existing fence guide angle iron.

The table saw extension must not interfere with that mechanism that holds the fence.
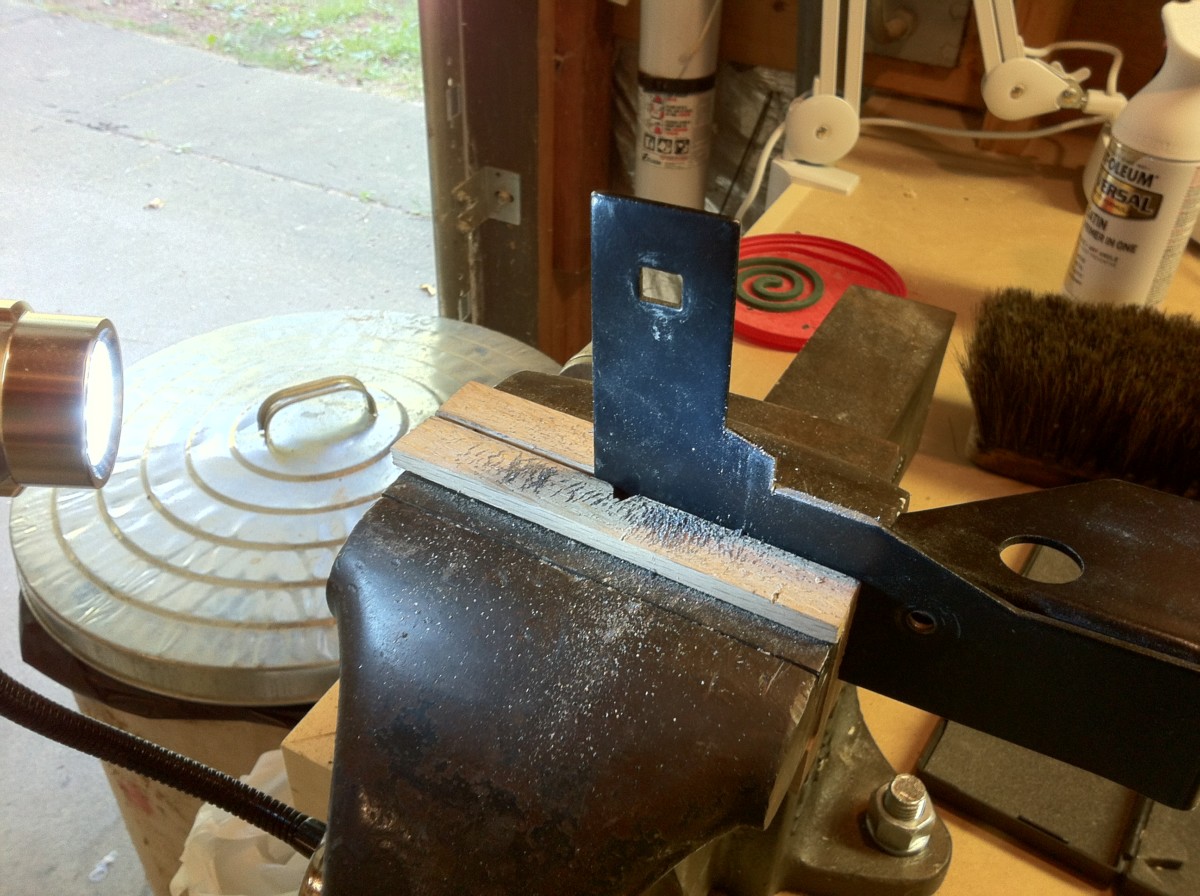
This chunk of wood needed a couple of dadoes to fit between the angle irons and four holes to fit over the mounting screws. That's just to start.
Here's the first fitting. I'm still not completely sure how this is going to work yet.
Now I need a rabbit to let the fence guide slide along the back rail.

Like this.
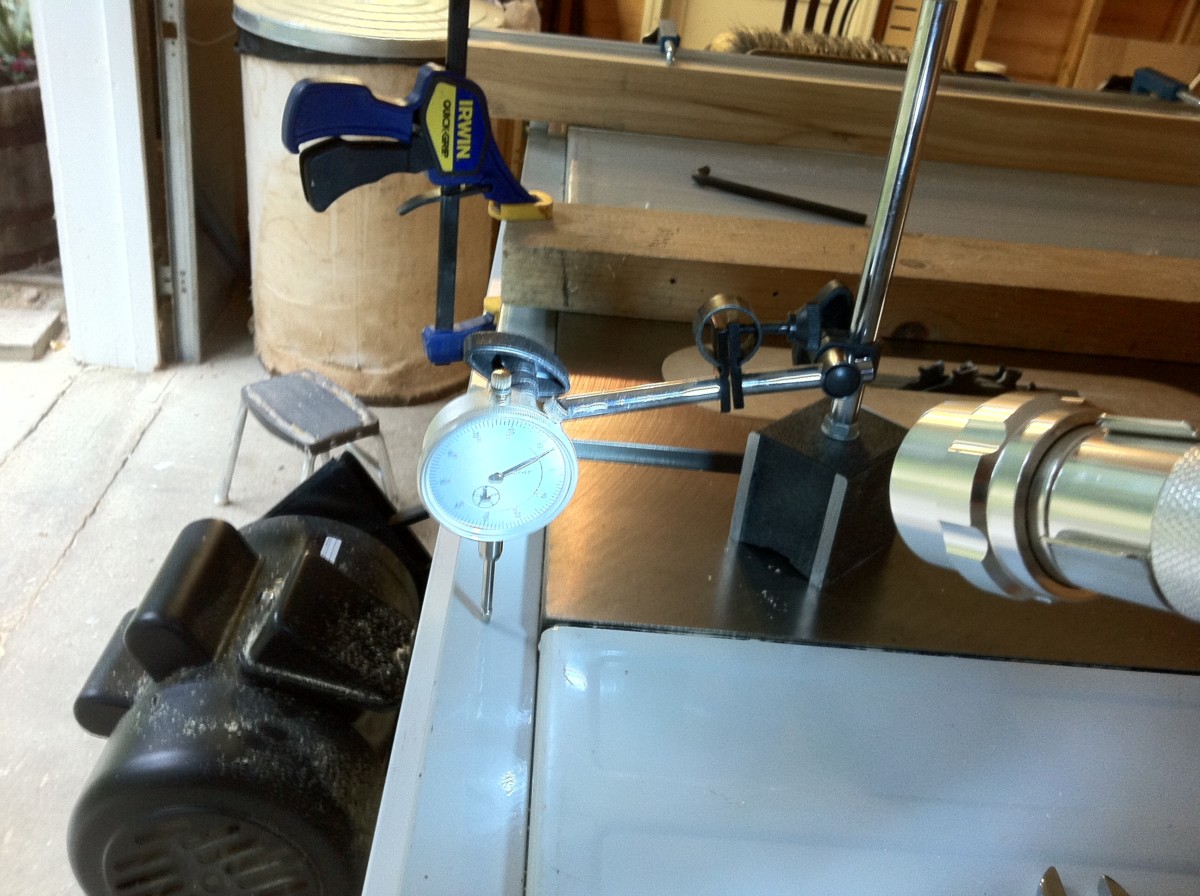
Before I get too far along I thought it would be a good idea to adjust the back rail so it is parallel with the table saw top.

I think we've crossed some sort of sad boundary here - I haven't seem a single hummingbird all day.

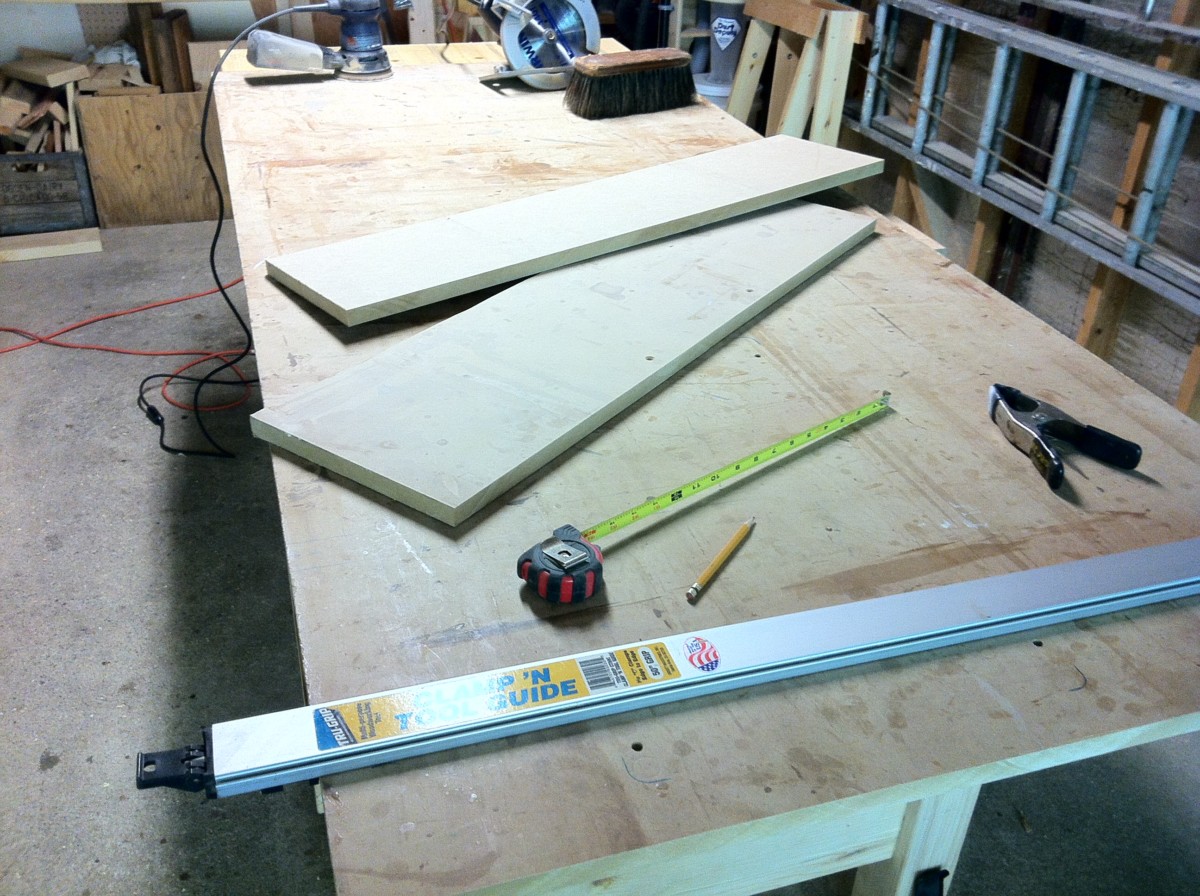
I'm cutting up the 3/4" MDF that was the top of the old assembly table.
I'll glue two pieces together.
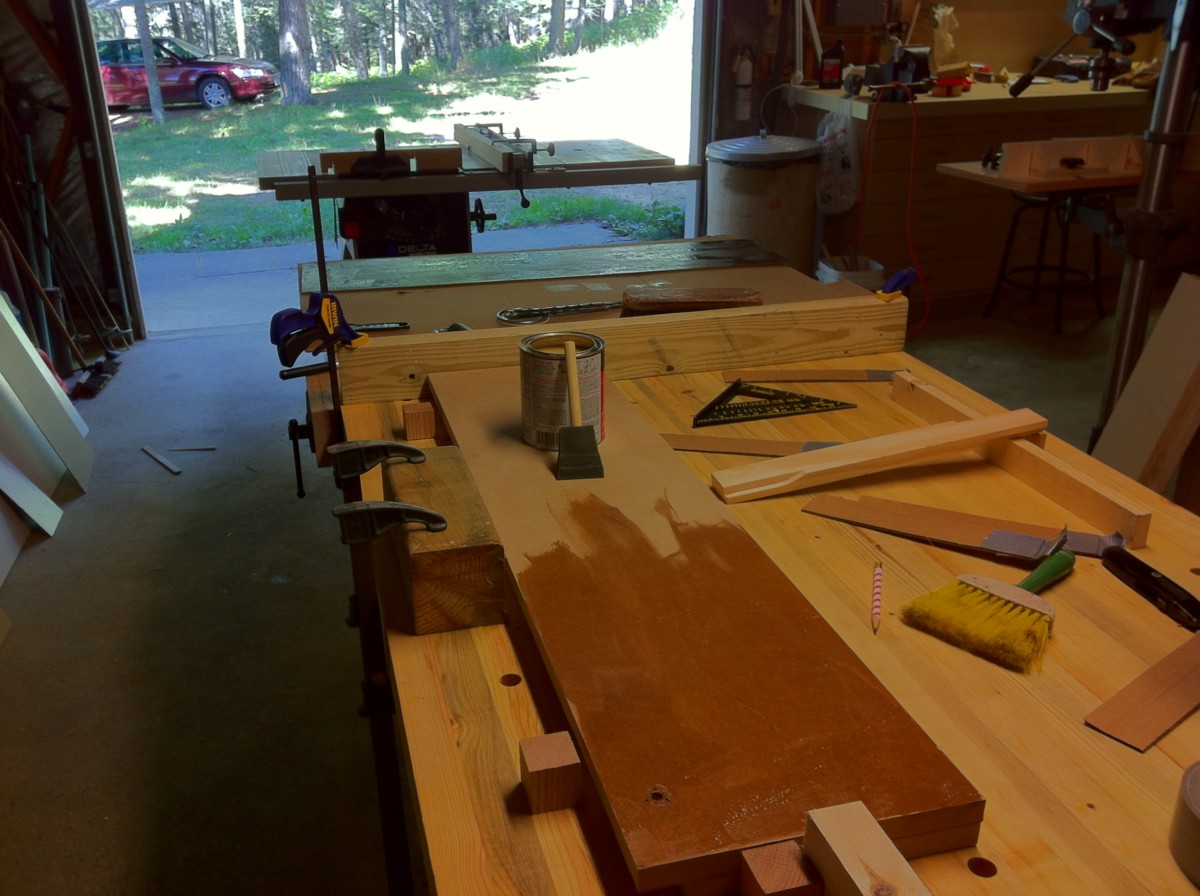
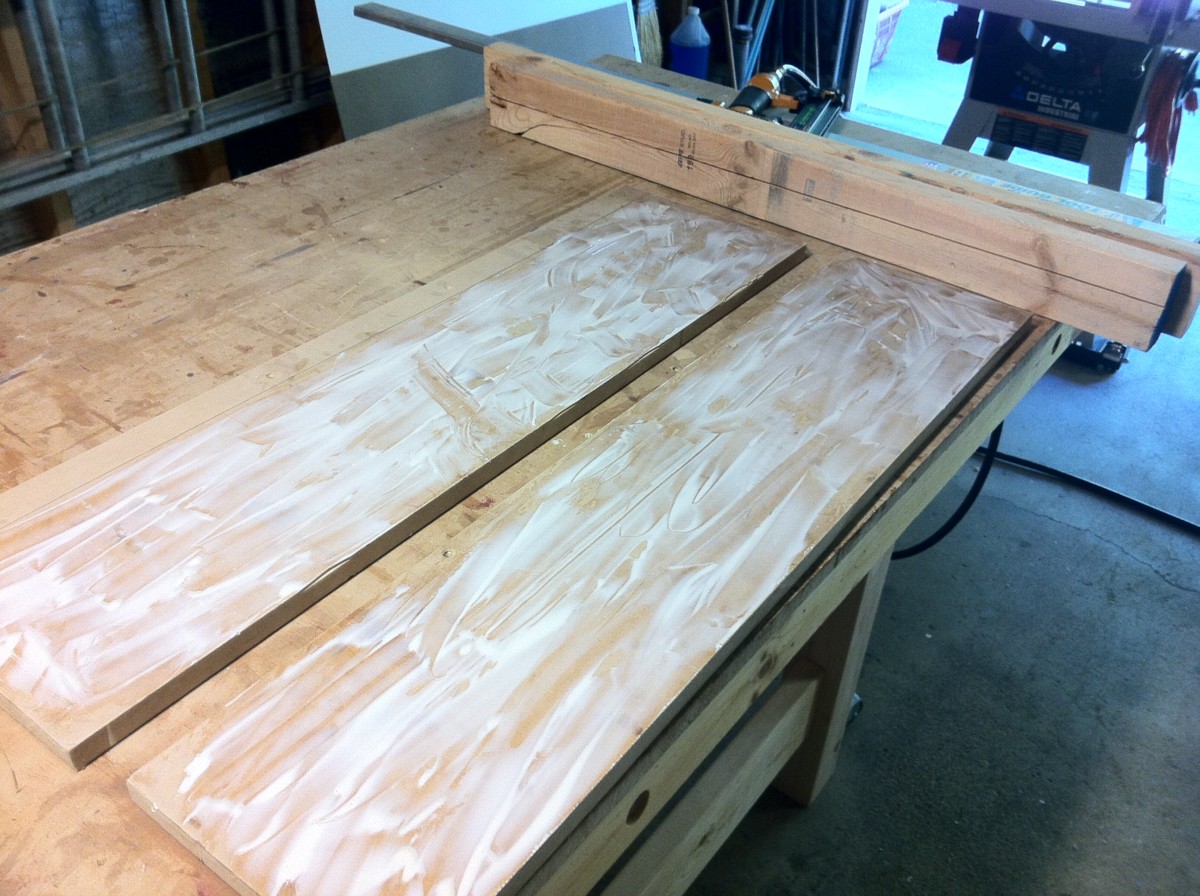
Applying contact cement to MDF.

After the contact cement is dry I need to position the laminate-like stuff to the MDF.
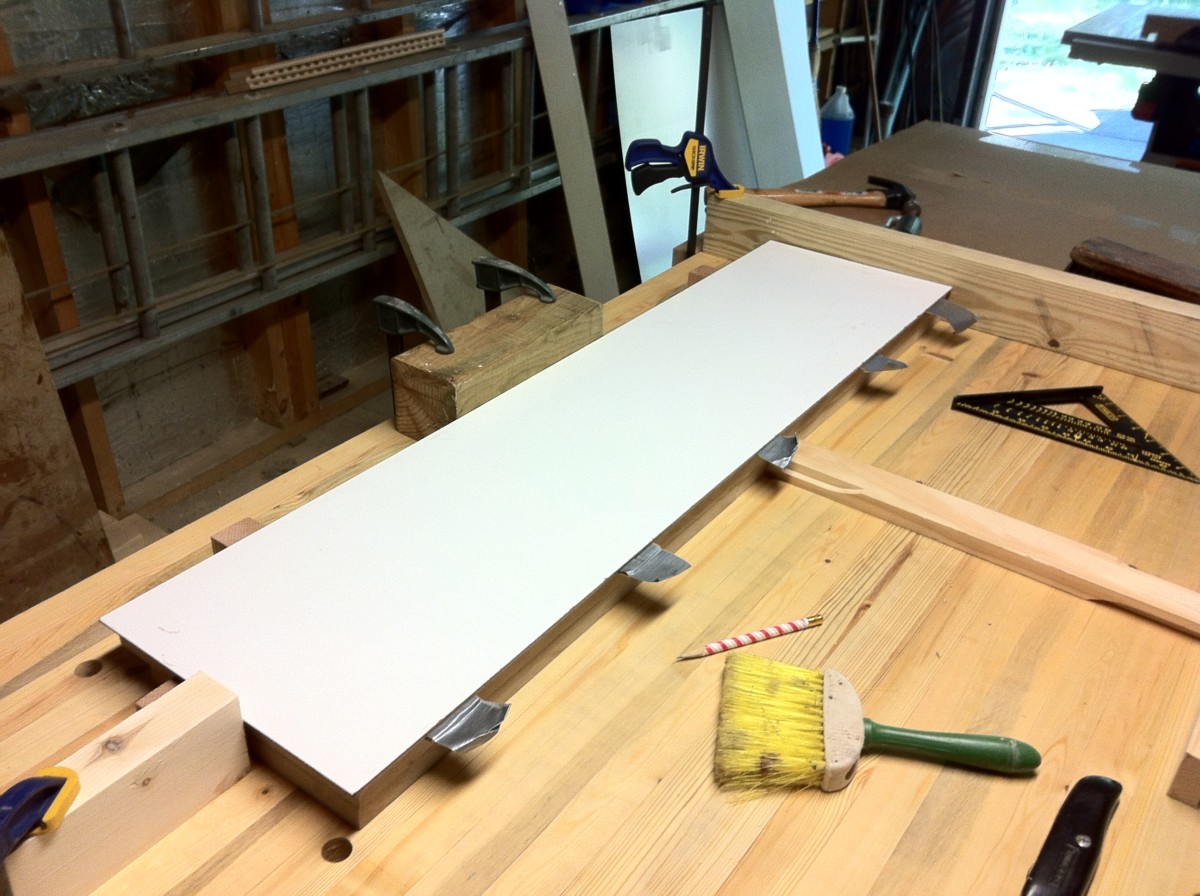
Pieces of cardboard separate the laminate from MDF until it's positioned correctly.
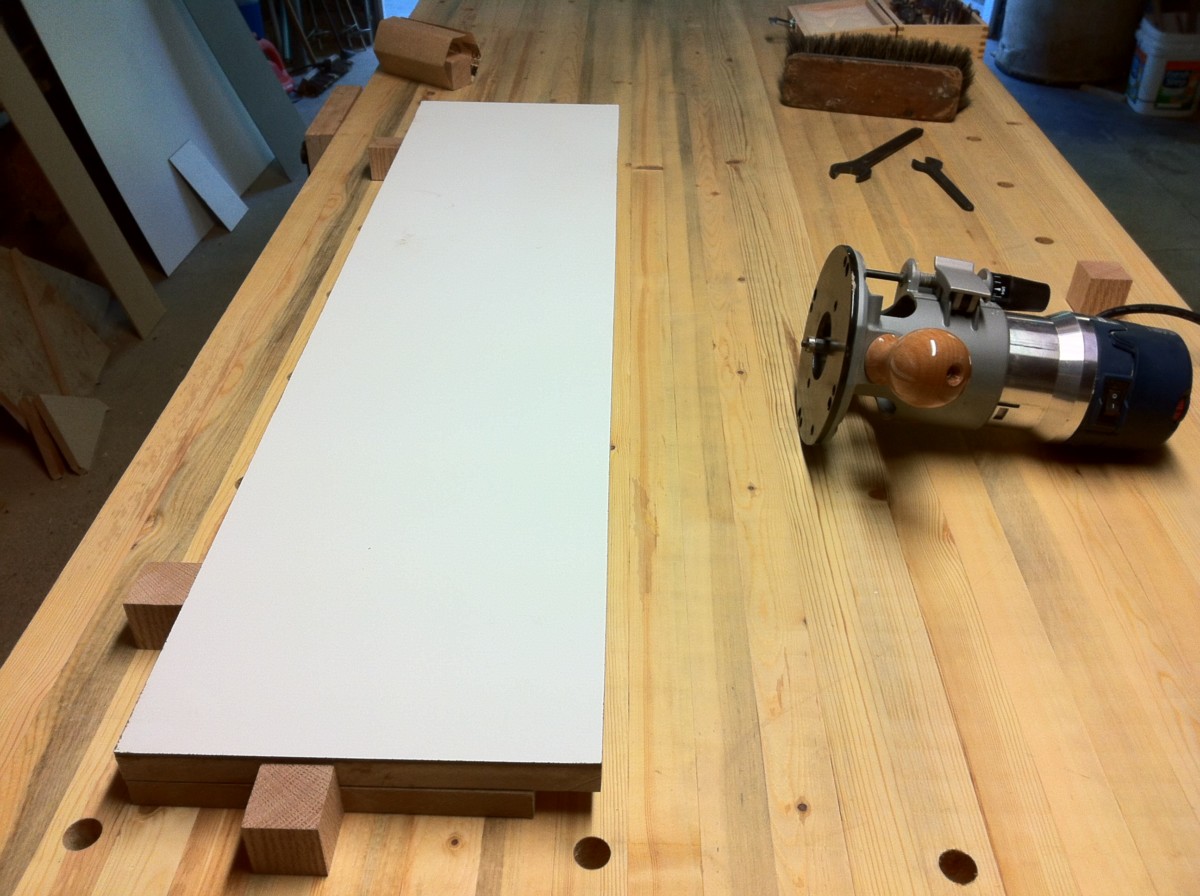
The laminate is cemented to the MDF and trimmed flush.

I need to make a cutout for the blade guard. I did a rough cut with a jig saw and then used the router to make a smooth cut.

It looks like it's lining up OK.
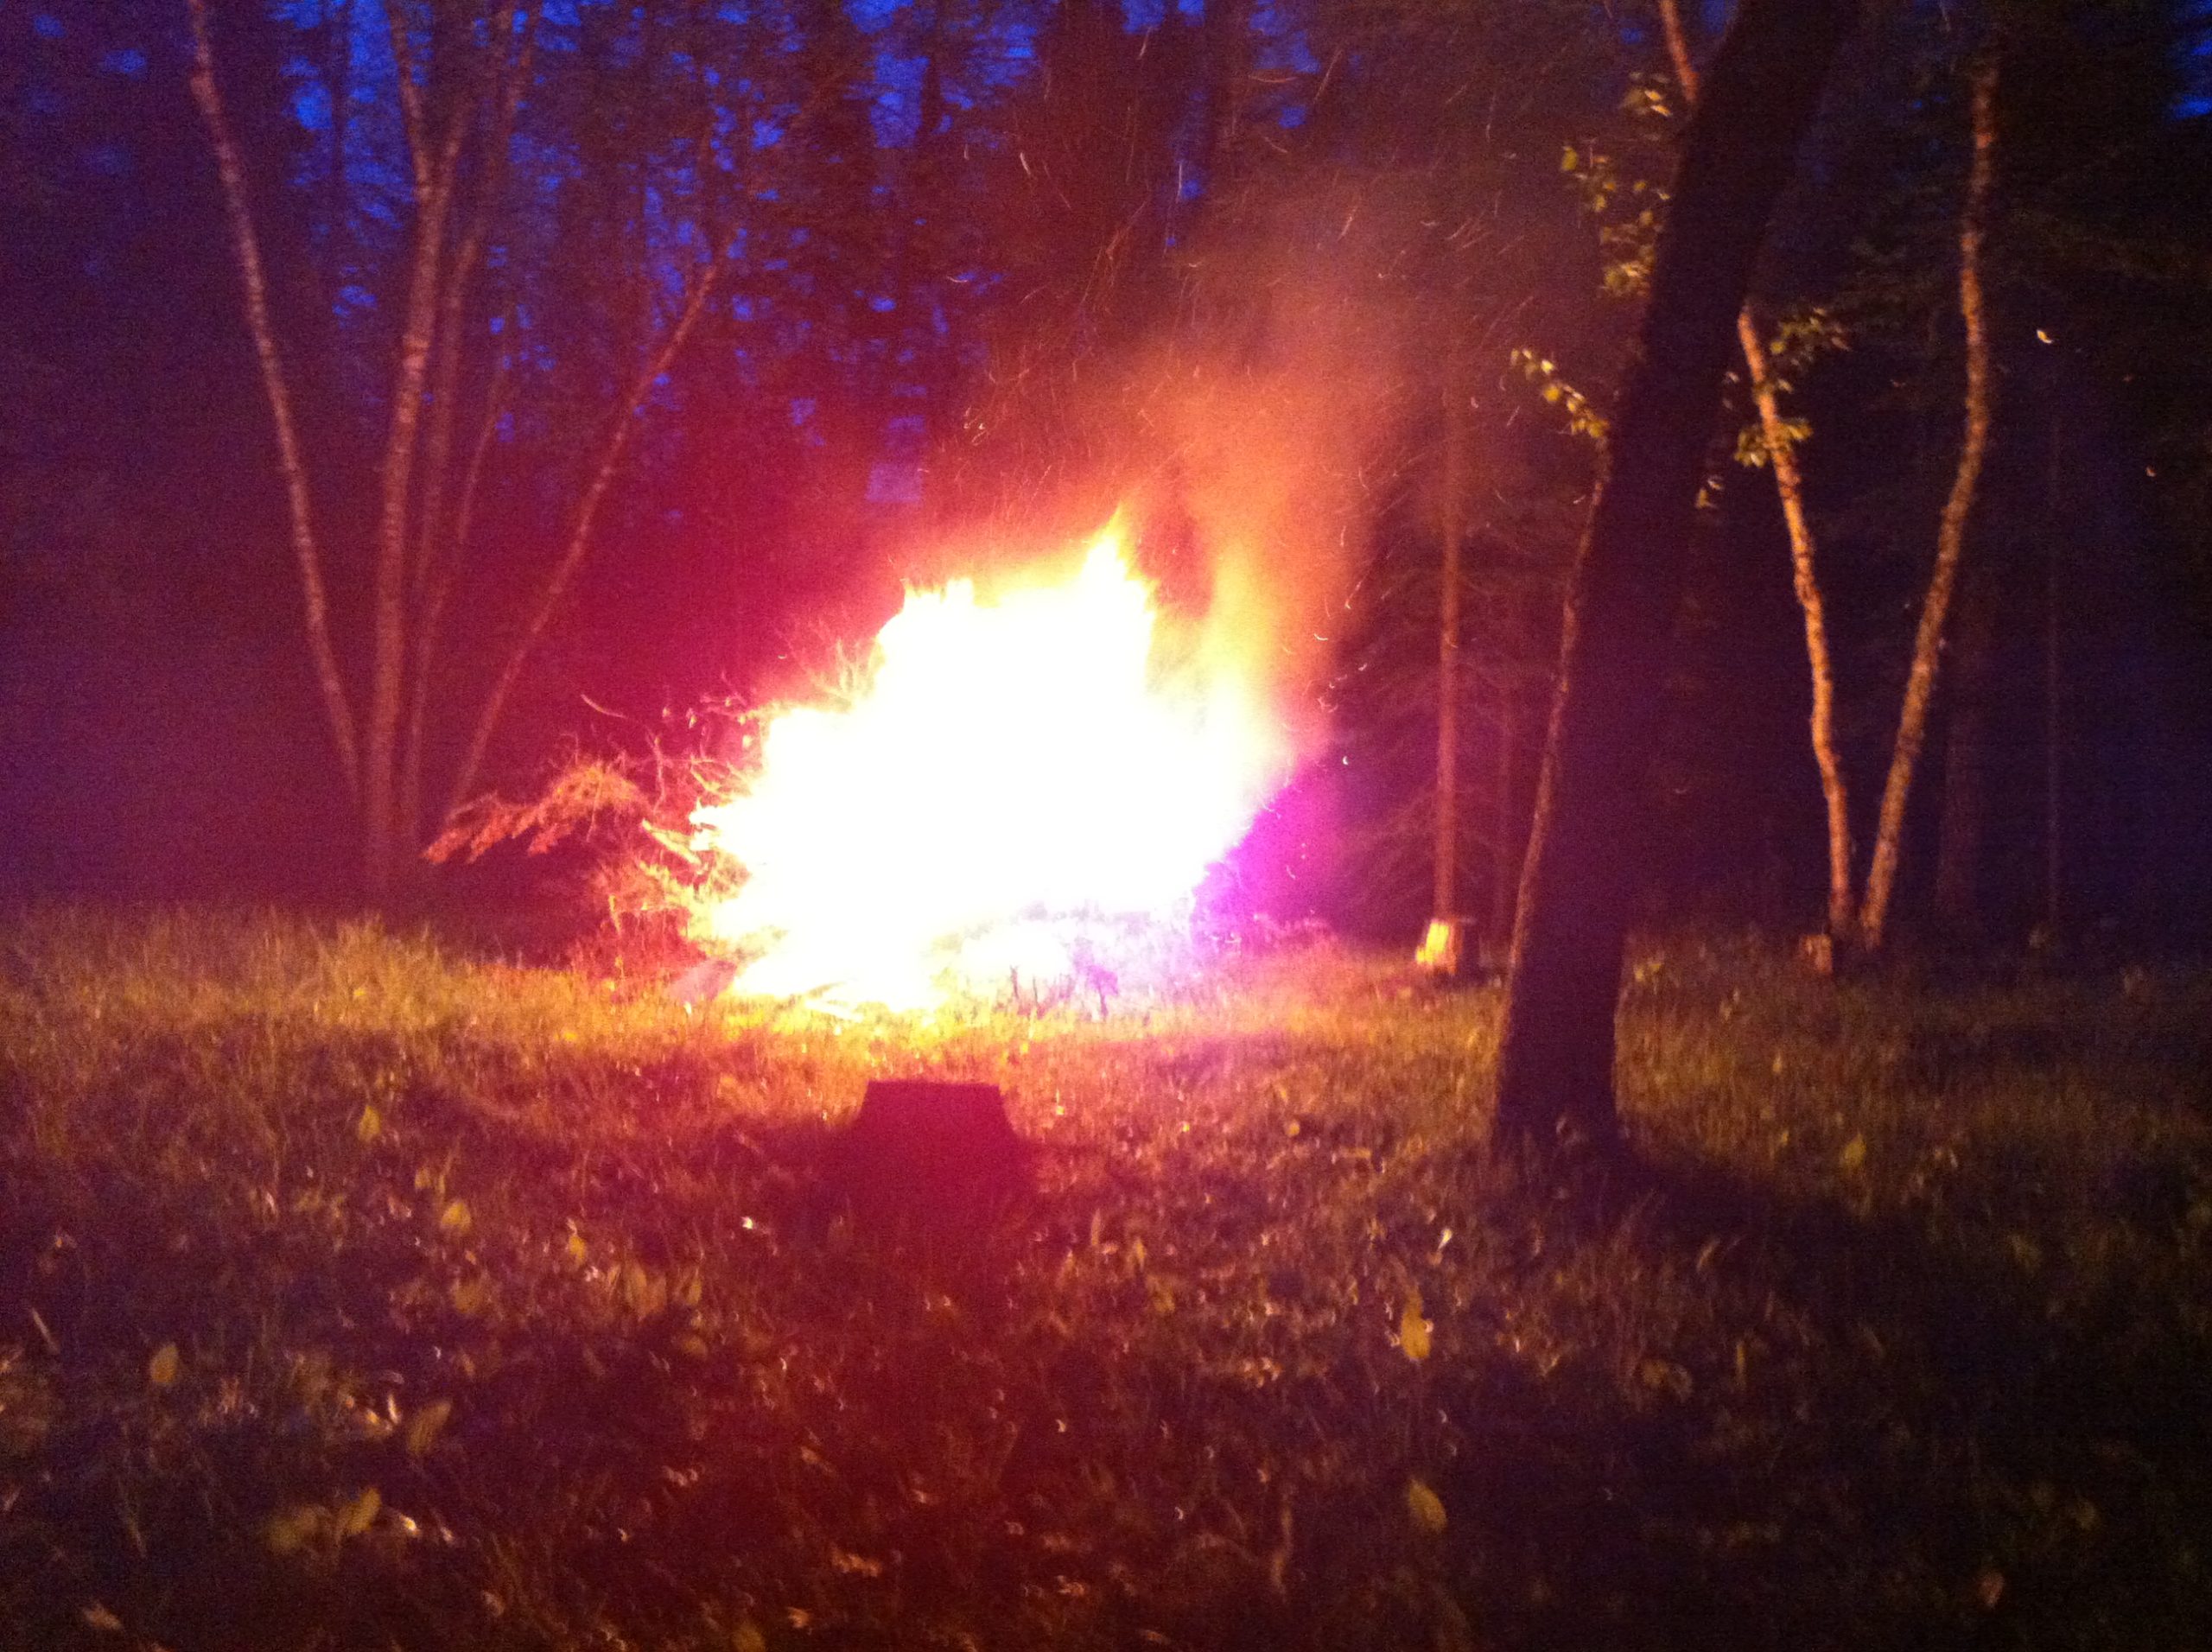
It's been raining all afternoon so here's my chance to get rid of that last burn pile.

I need to have the table saw's t-track extended onto the extension so the miter gauge can be pushed past the blade.
This would be a good time not to screw up

I need diagonal braces to hold the extension in place. These 1/2" plywood blocks will pin the bottoms of the braces.
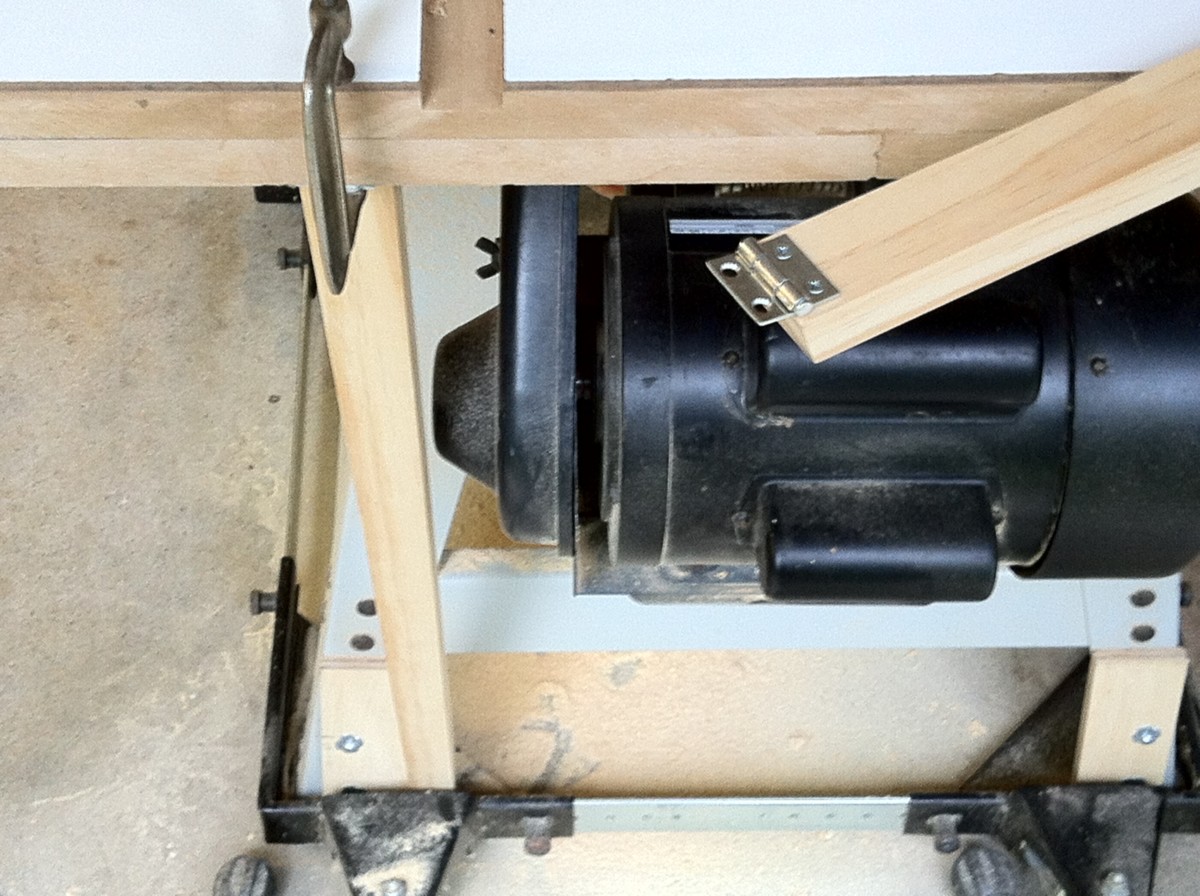
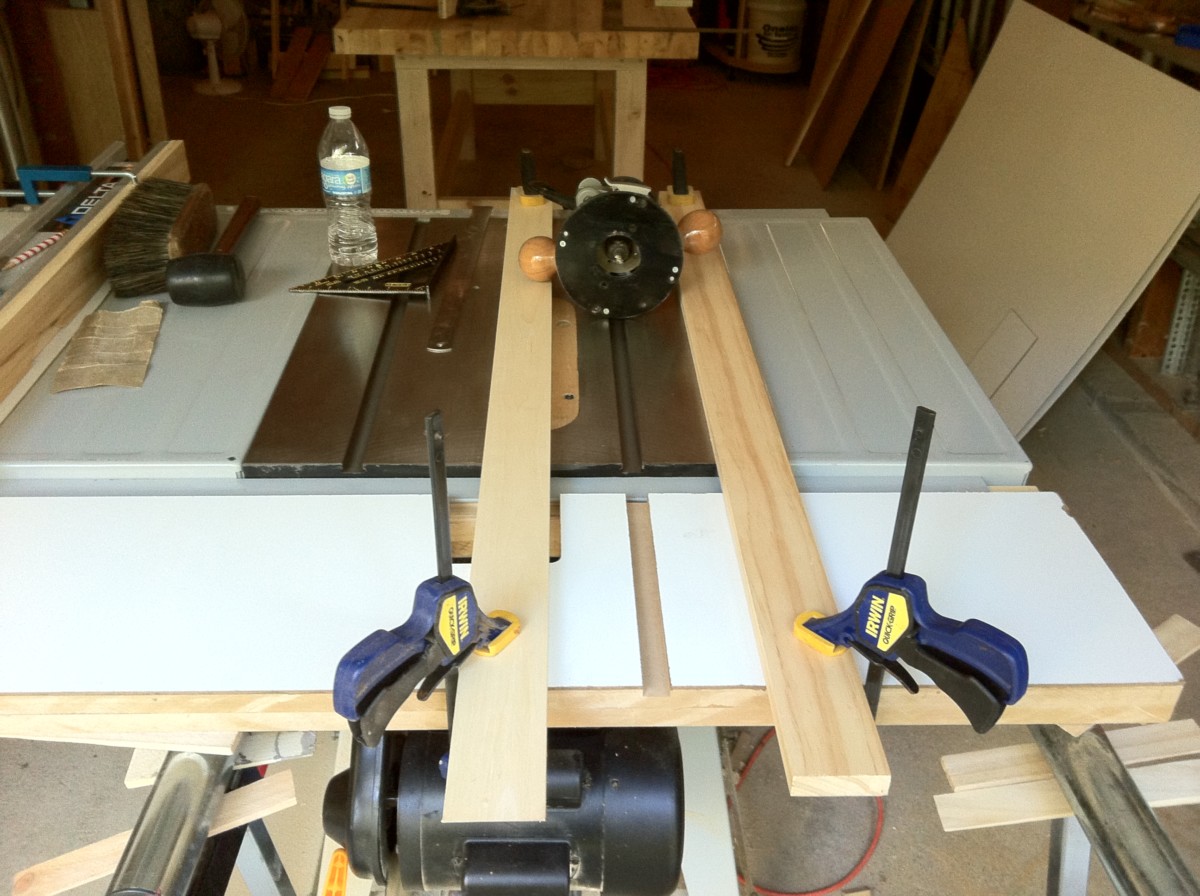
These 1x2's will serve as the braces. I'm using little hinges at the top to make it easier to do the final adjustments.
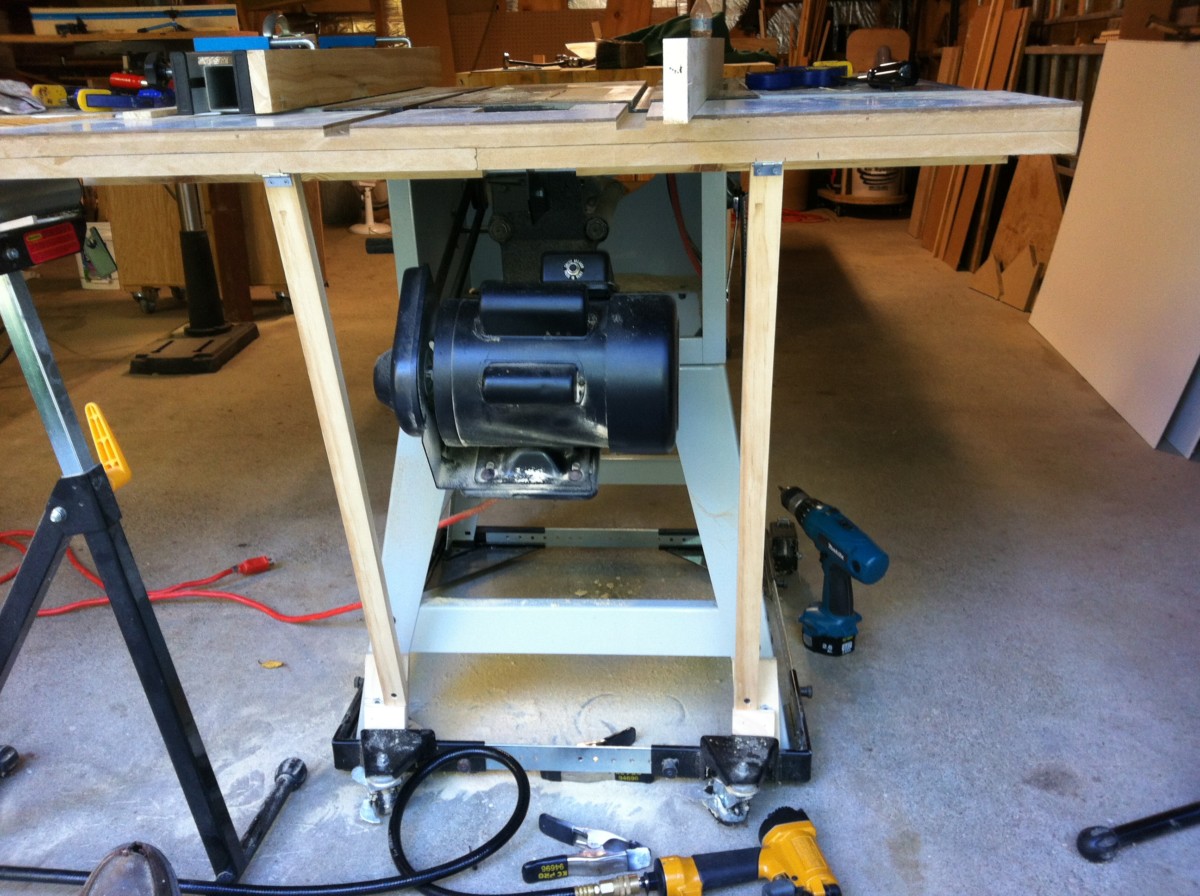
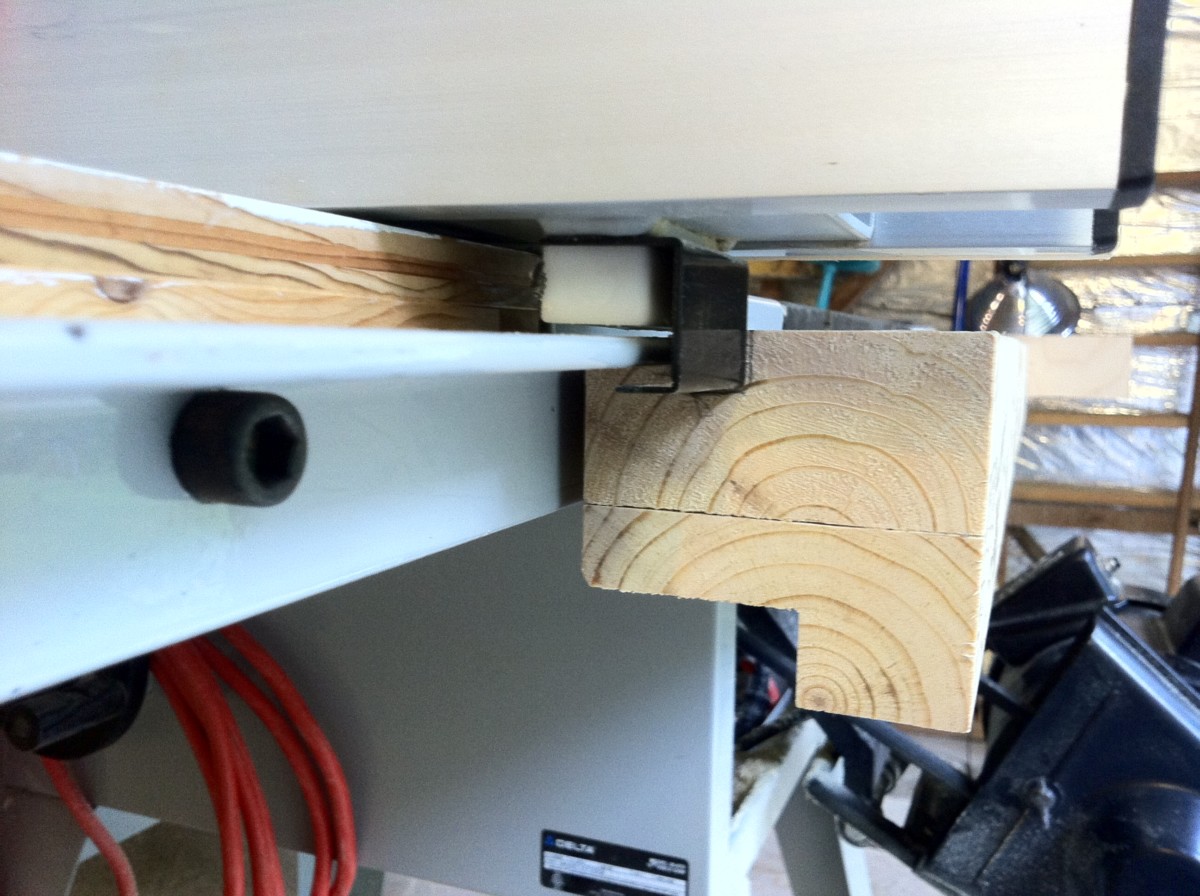
After a lot of crawling around on the floor I think I have these set correctly. The extension is parallel with the saw's cast iron table and below it by about the thickness of a piece a paper.
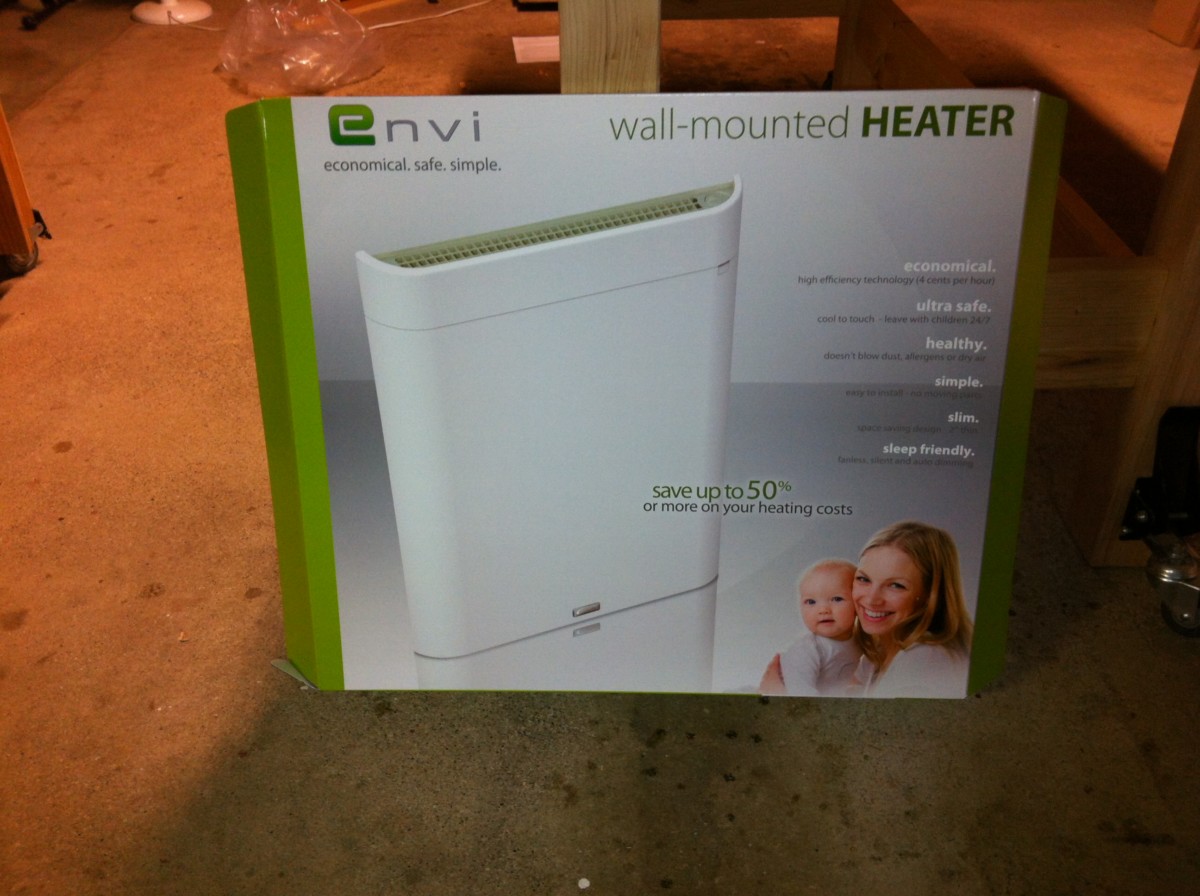
I decided that I need a heater in the bathroom. I saw this slim, wall mounted unit advertised in Family Handyman Magazine.
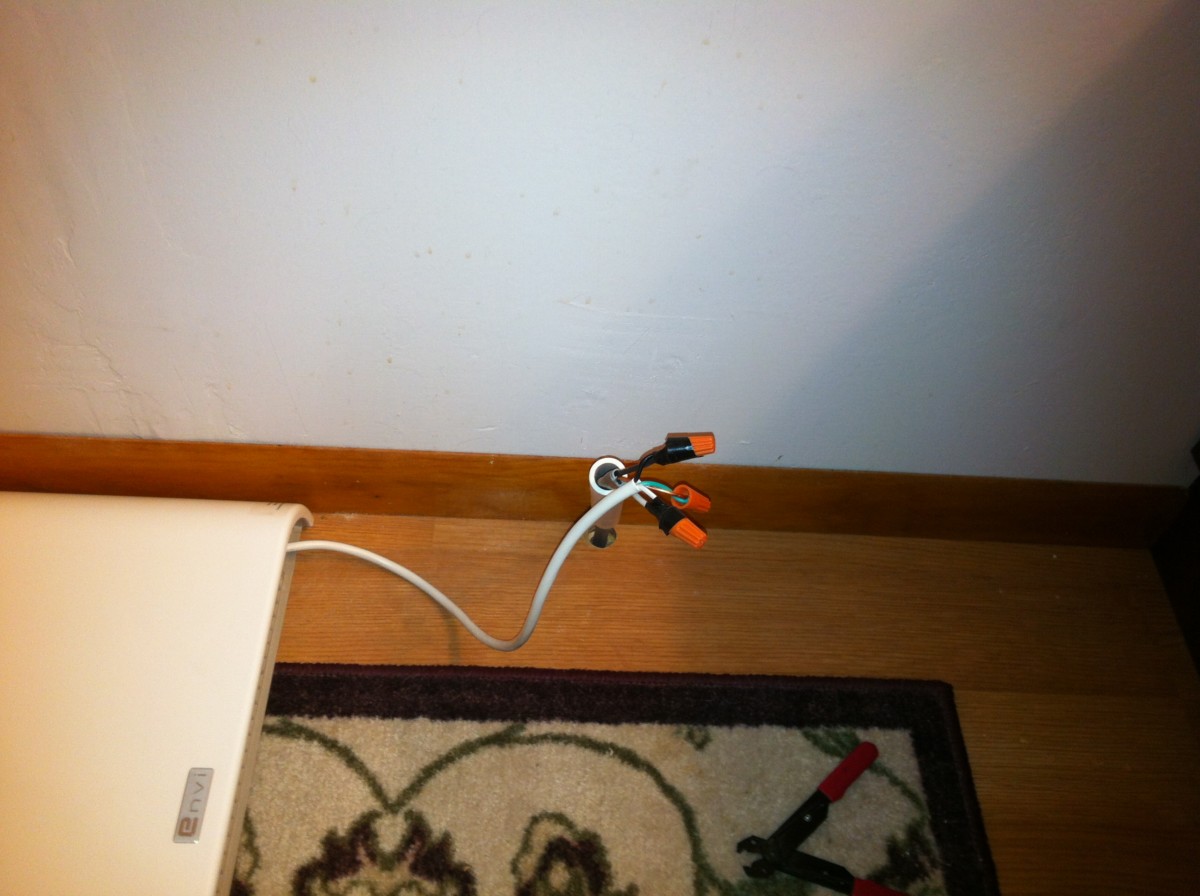
I'll mount it under the window and run the wires through a 1/2" PVC tube into the garage.

This part wasn't so bad - except that I initially made the wire too short and had to do it over.
Now for the tricky bit. I need to pull out the old 220v wires that were still there from the old baseboard heater I disconnected last year and connect the new 110v wires.
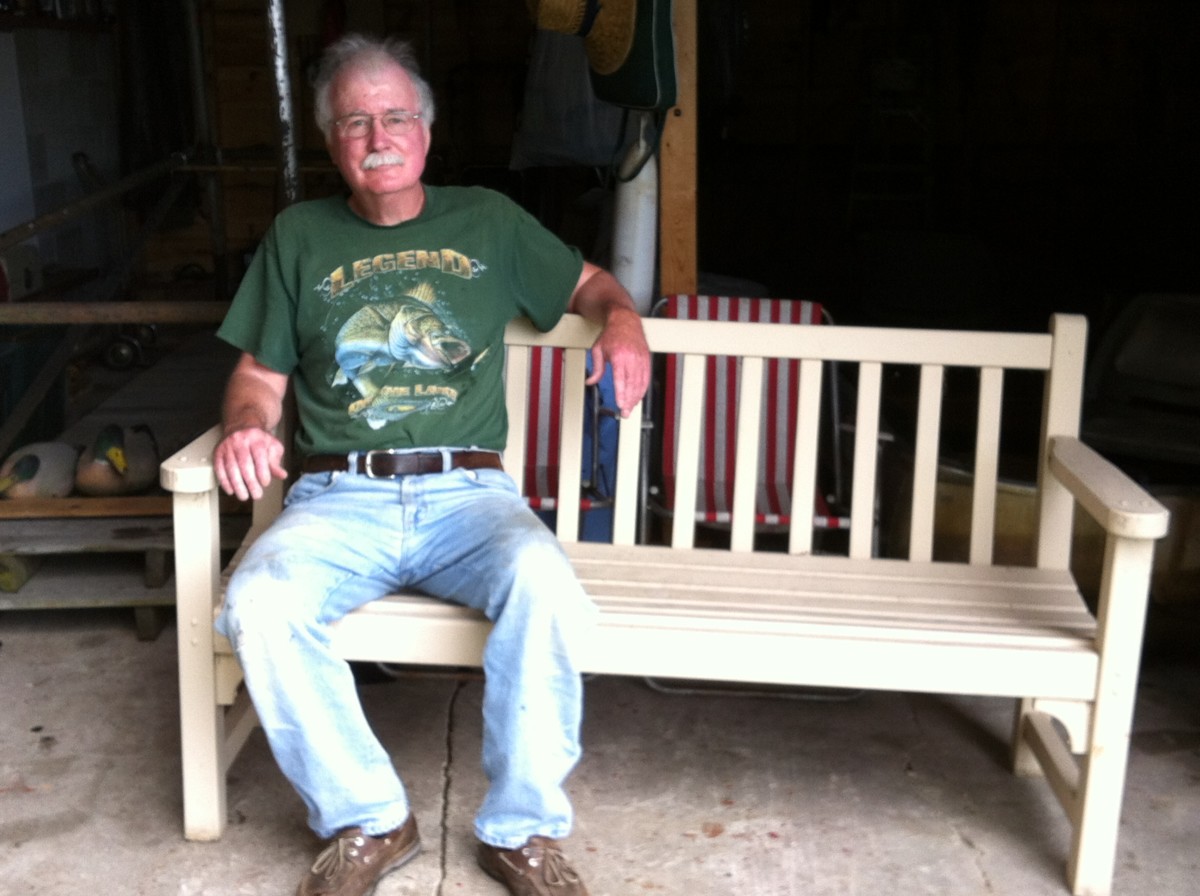
The log cabin is winterized: fridge empty, water drained and anti-freeze in the drains. I just need to bring in those two chairs and lock up.

The dock and boat are out of the water. I've still got some time left up here but I wanted to get it done before the weather turned nasty.
An hour and a half of huffy and puffy and it's done. Poor ducks, locked away for 6 months.

This is the cover to the outboard motor. The rubber gasket has been loose for the last couple of years and I haven't found an adhesive that will fix it.

I think I'll try contact cement.
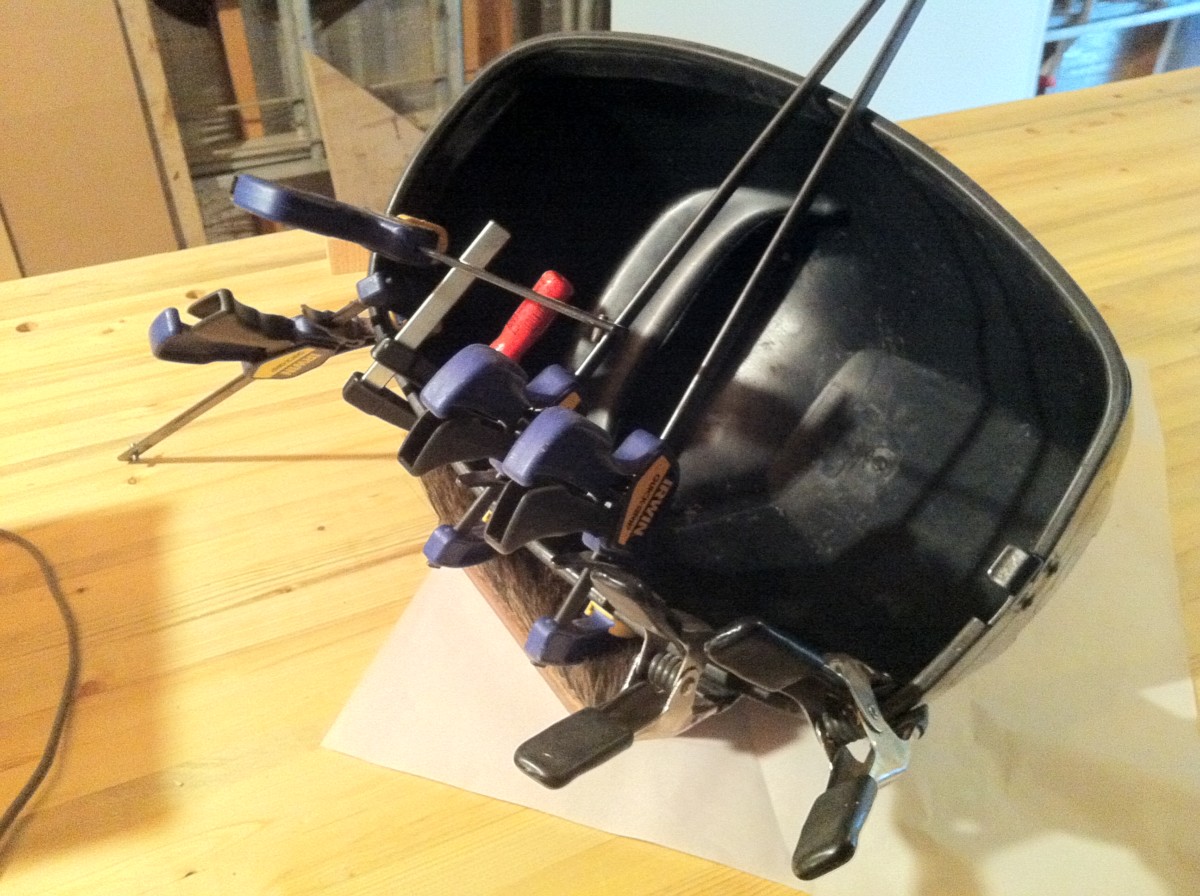
I'll see tomorrow if it works.

Queuing up a project for next spring: replacing this ...
... with this.

Some fall color.
Oops! I've really been pretty lucky this year so I'm not complaining.
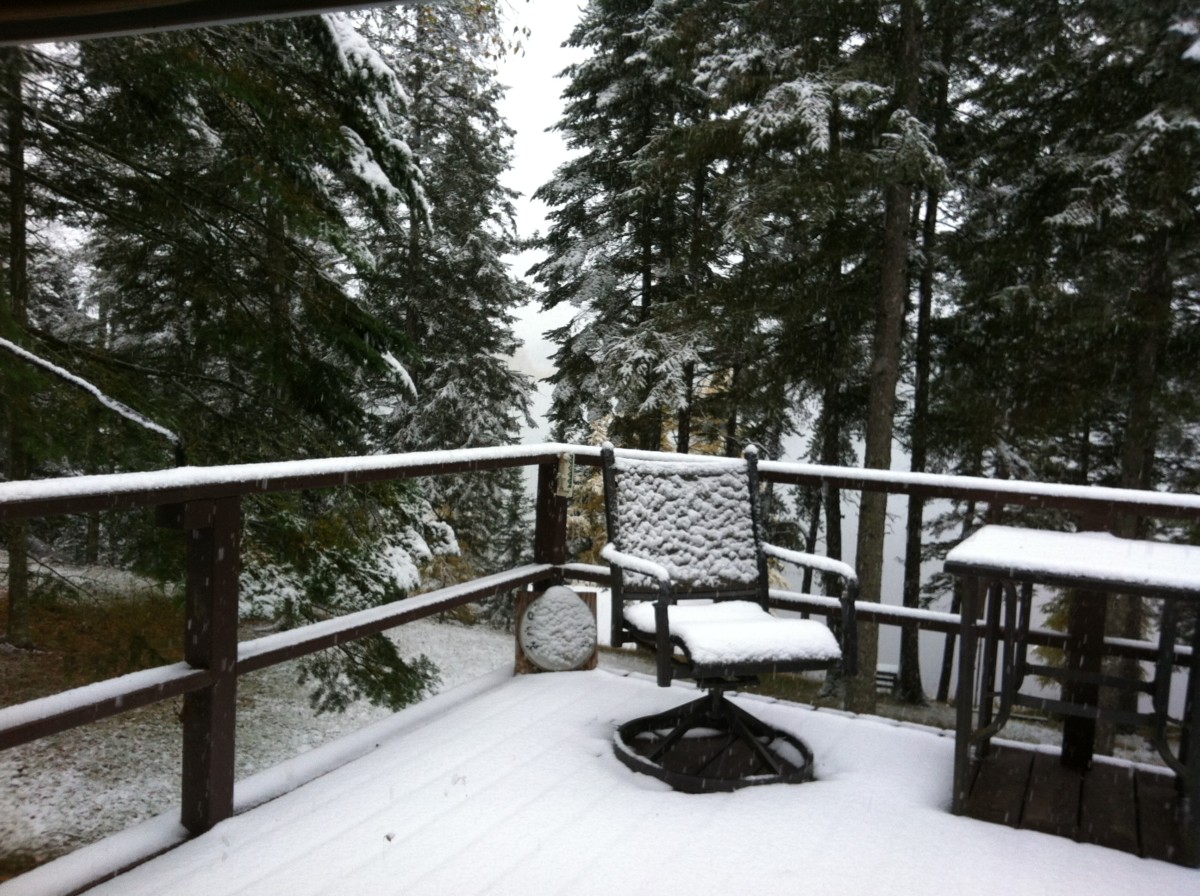
Did I wait too long? I may be stuck here 'til spring.

Alas, it's time to leave. It feels like just a few weeks ago that I got here.
I left some chairs out for hikers to use.